Introduction
Tracking button clicks on your website is essential for understanding user interactions and optimizing your site’s performance. Google Tag Manager (GTM) makes it easy to track these events without needing to modify your website’s code directly. This guide will walk you through the process of setting up button click tracking in Google Tag Manager, allowing you to gain valuable insights into user behavior and improve your marketing strategies.
Step 1: Setting Up Google Tag Manager on Your Website
Before you can track button clicks, ensure that Google Tag Manager is properly installed on your website. Log in to your GTM account and create a new container for your website if you haven’t already. Once the container is created, Google Tag Manager will provide you with a code snippet. Insert this code into the <head> and <body> sections of your website’s HTML. Verify that GTM is working by using the “Preview” mode within the GTM interface.
Step 2: Identifying the Button to Track
The next step involves identifying the button you wish to track. Open your website in a browser and inspect the button’s HTML element. You will need to identify unique characteristics of the button, such as its ID, class, or text content, which GTM will use to trigger an event. Note down these attributes, as they will be essential in the upcoming steps.
Step 3: Creating a Trigger in Google Tag Manager
With the button’s attributes identified, navigate to your GTM workspace and click on “Triggers.” Create a new trigger and choose the trigger type as “Click – All Elements” or “Click – Just Links,” depending on your button type. Configure the trigger to fire only when the click occurs on the specific button you’re tracking. You can refine the trigger by specifying conditions such as “Click ID equals” or “Click Text contains” based on the button attributes noted earlier.
create a new trigger in tag manager 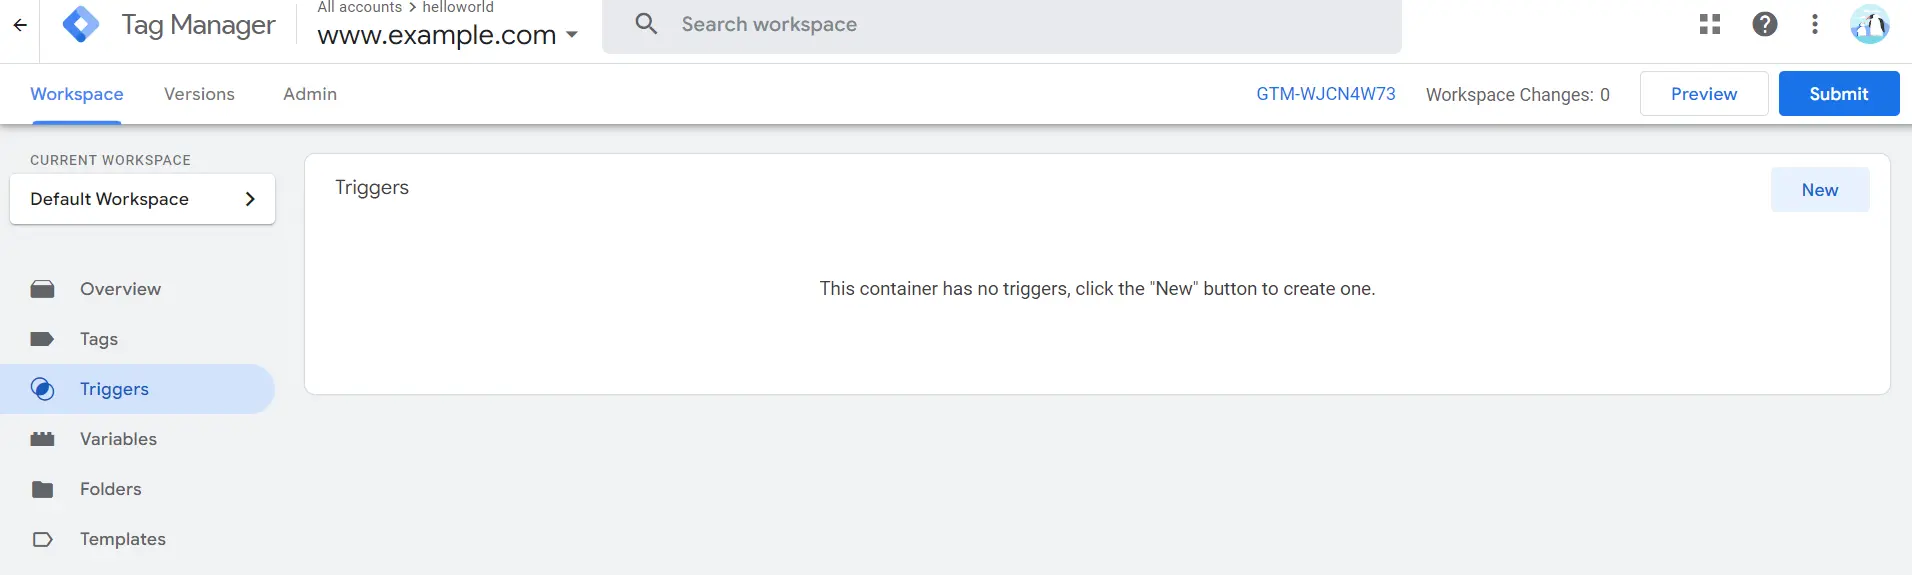
Step 4: Setting Up a Tag to Capture the Event
After creating the trigger, the next step is to set up a tag that will send the button click data to Google Analytics or another analytics platform. Go to the “Tags” section in GTM and create a new tag. Select “Google Analytics: GA4 Event” if you’re using GA4 or “Universal Analytics” for older setups. Configure the tag with relevant event details such as Event Name, Category, Action, and Label, then link the trigger you created earlier to this tag. This ensures that the tag only fires when the specific button is clicked.
click-on-new-tag-to-create-a-new-tag 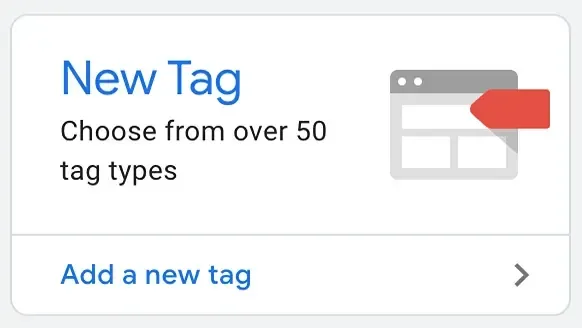
Step 5: Testing the Tag and Trigger
Testing is a crucial step to ensure that your setup is functioning as intended. In GTM, click on “Preview” to enter the Debug mode. Visit your website and interact with the button you are tracking. The GTM interface should show whether the trigger fired correctly and if the tag was deployed as expected. Verify that the event is being captured in your analytics tool, such as Google Analytics, by checking the “Real-Time” reports or reviewing the specific event data.
preview-mode-in-google-tag-manager 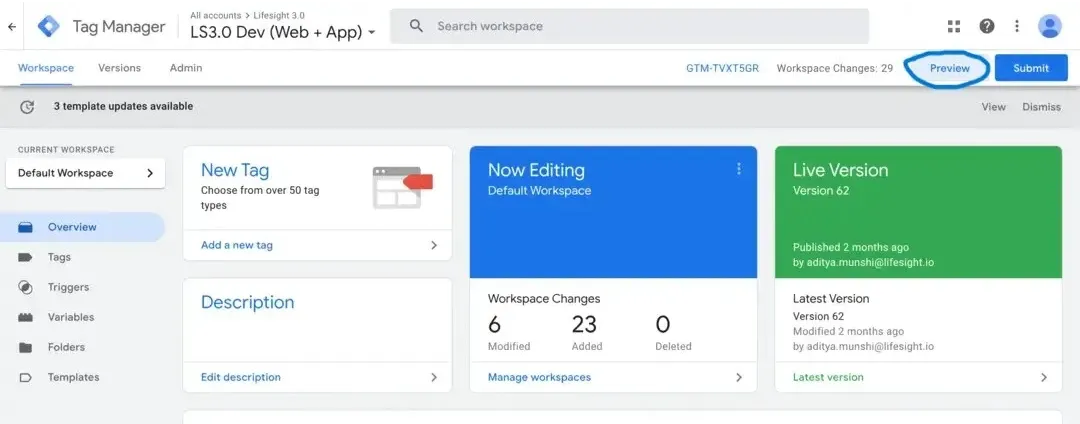
Step 6: Publishing Your Changes
Once you’ve confirmed that the button click tracking is working correctly, the final step is to publish your changes. Return to the GTM workspace, click on “Submit,” which is right beside “preview” button and provide a descriptive name for your version, such as “Button Click Tracking Implementation.” This versioning helps in managing changes and rolling back if necessary. After publishing, the tracking setup is live, and you can start collecting data on button clicks immediately.
Summary
Tracking button clicks in Google Tag Manager is a straightforward process that provides valuable insights into user interactions on your website. By enabling click variables, creating a click trigger, setting up a tag to track button clicks, and testing your setup, you can efficiently track button clicks and gather important data. This information can help you optimize your website, improve user experience, and enhance your marketing strategies.
Free essential resources for success

Discover more from Lifesight