Introduction:
Google Analytics 4 (GA4) is a robust analytics platform that empowers businesses to gain valuable insights into user behavior and measure the success of various interactions on their websites. One critical aspect of GA4 is setting up conversions, allowing you to track specific user actions and gauge the effectiveness of your online objectives. This guide will walk you through the step-by-step process of setting up conversions in GA4, enabling you to make informed decisions and optimize your digital strategy.
Step 1: Access Your GA4 Property
Begin by logging into your Google Analytics account and selecting the GA4 property associated with your website. If you haven’t set up GA4 for your property, follow the instructions provided by Google to create a new GA4 property.
login-into-google-analytics
Step 2: Navigate to the Conversions Section
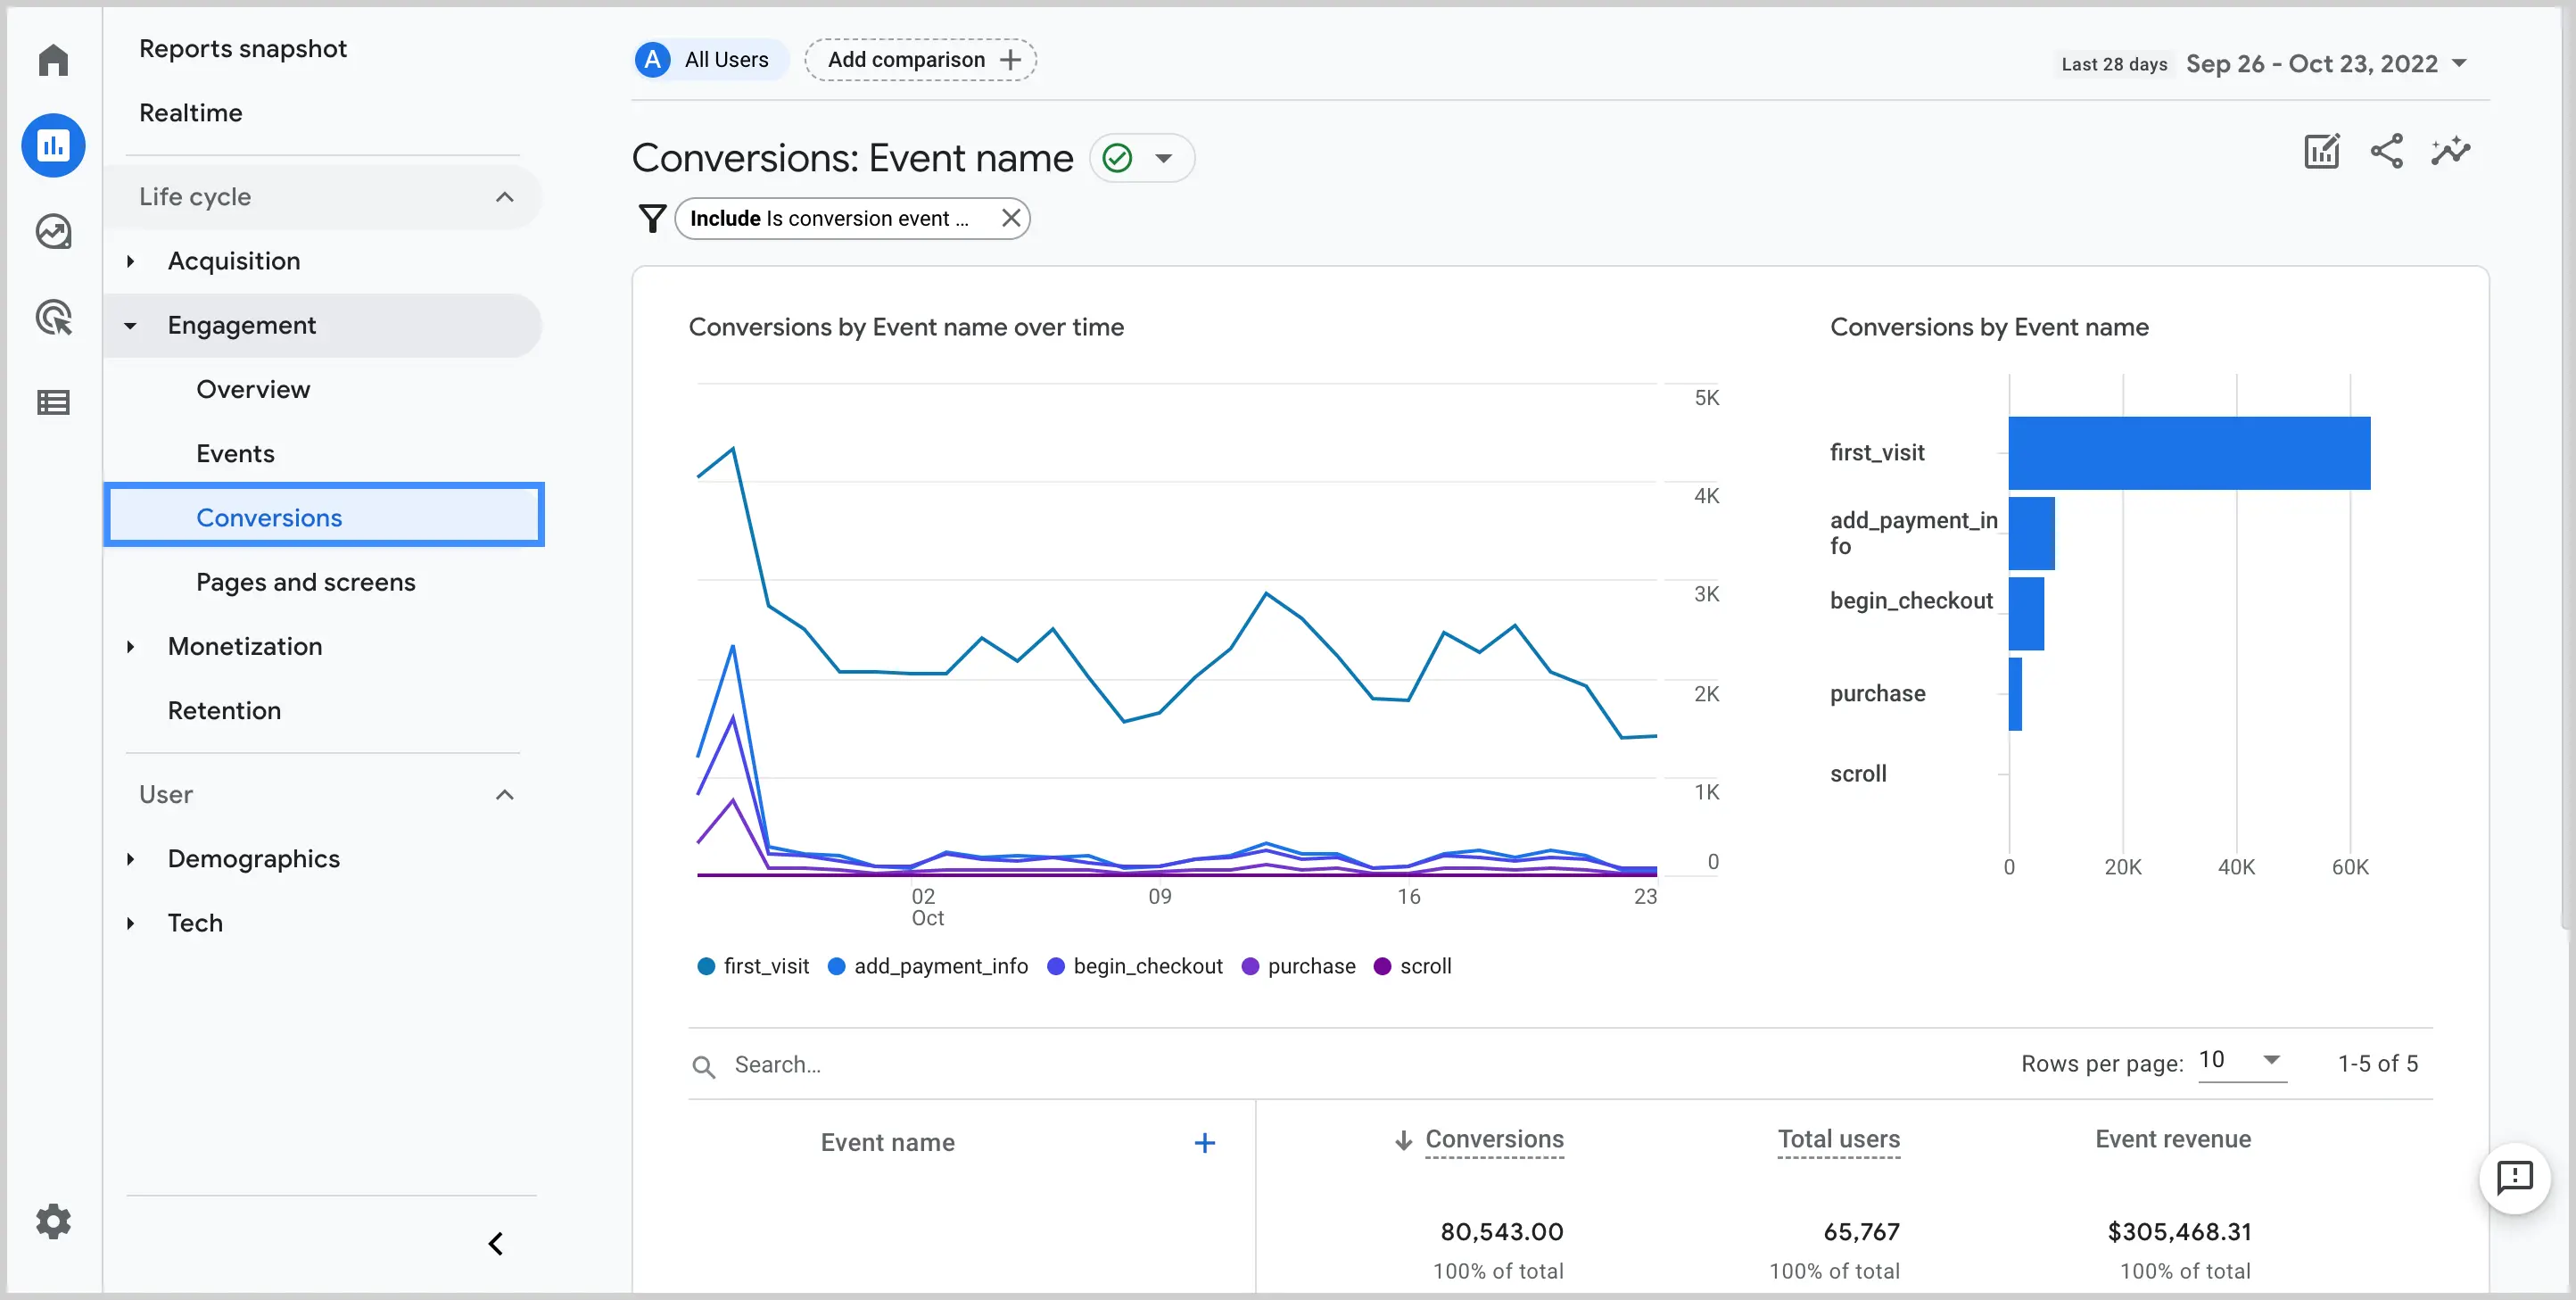
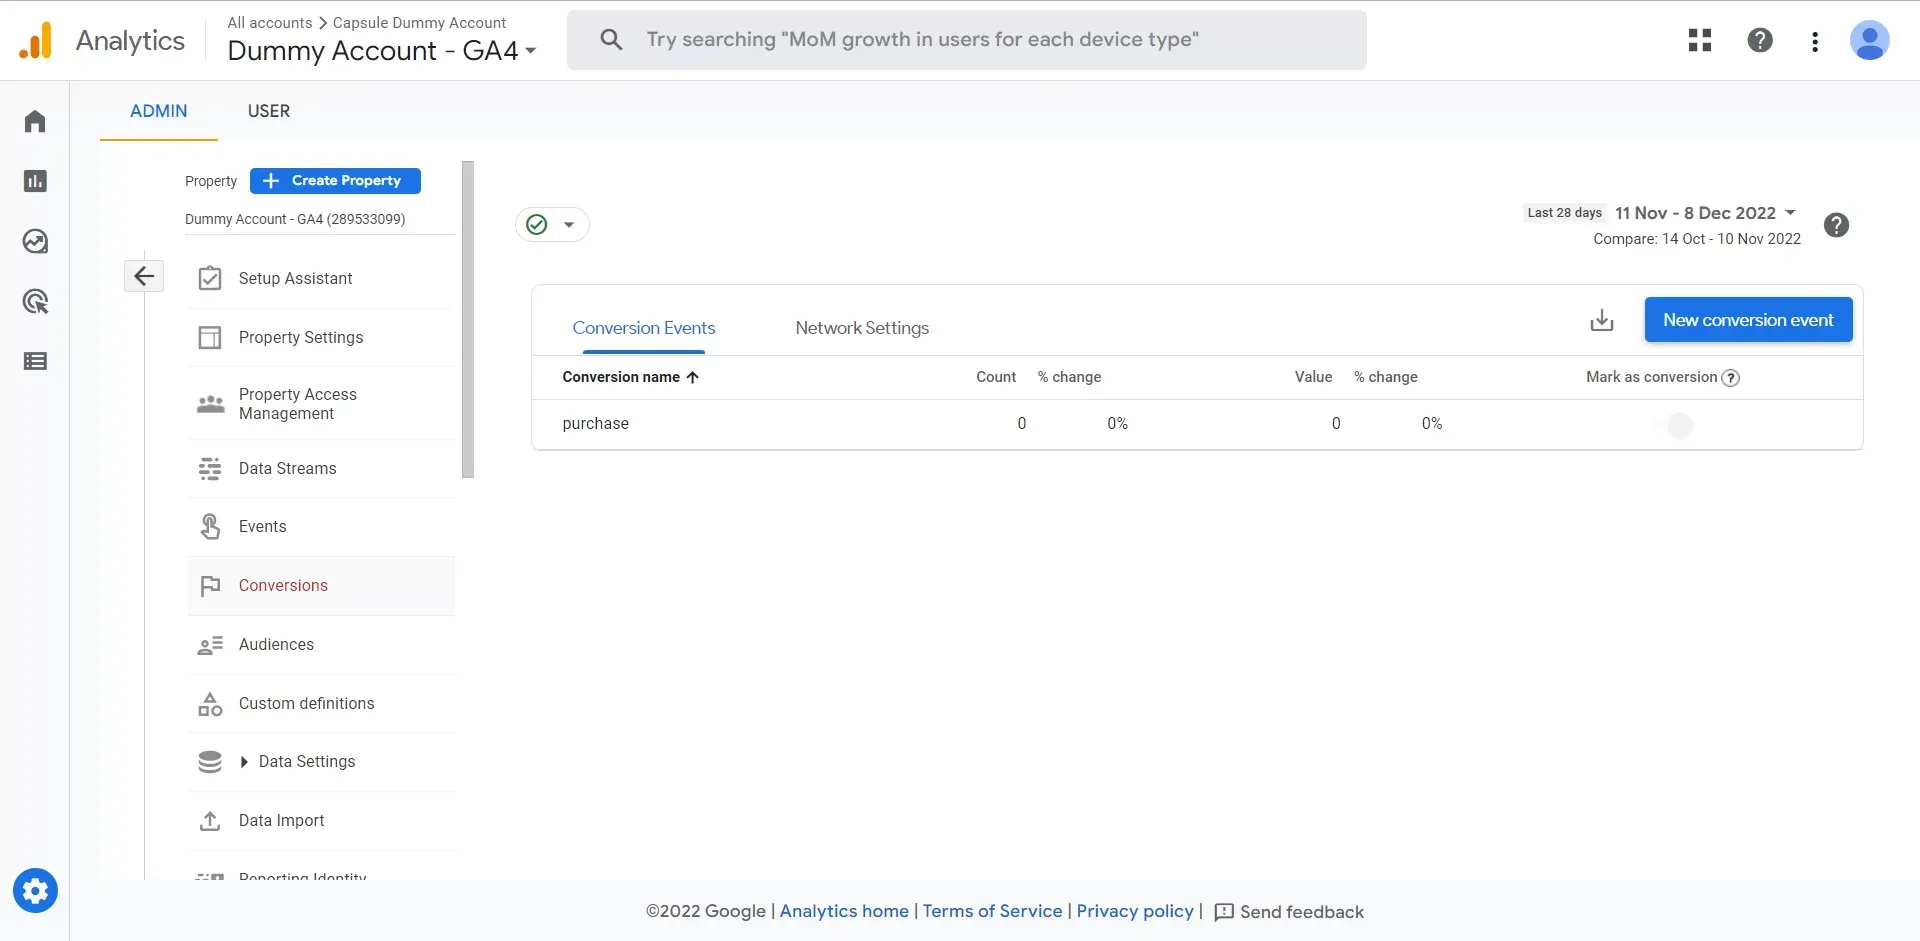
Within your GA4 property, find the “Events” section in the left-hand menu and select “Conversions.” This is where you’ll manage and configure the conversions that align with your business objectives.
navigate-to-conversions-in-ga4
Step 3: Explore Predefined Conversions
GA4 comes with predefined conversions related to common interactions such as sign-ups, purchases, and more. Explore the list of predefined conversions to see if any match your tracking requirements. These can serve as starting points for your conversion configuration.
Step 4: Create a Custom Conversion
For specific interactions unique to your website, you’ll need to create custom conversions. Click on “Create Conversion” and choose a conversion template that closely aligns with your objective. If none of the templates match, select the “Custom” option to create a conversion from scratch.
create-custom-conversion-in-ga4
Step 5: Configure Conversion Details
Fill in the details for your custom conversion. Provide a descriptive name that clearly represents the tracked interaction. Choose the type of conversion, such as “Event” for a specific user action or “Page View” for a particular page visit. Configure the conversion details based on your chosen type.
Step 6: Set Trigger Conditions
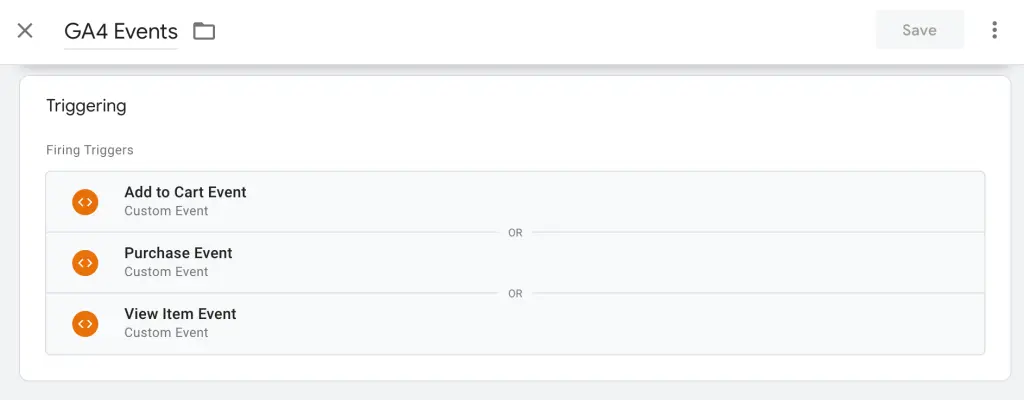
Depending on the conversion type, set trigger conditions that define when the conversion should be recorded. For an event conversion, define the specific event parameters that constitute a conversion. For a page view conversion, specify the page or pages that trigger the conversion.
set-up-event-triggers-in-ga4
Step 7: Assign a Value (if applicable)
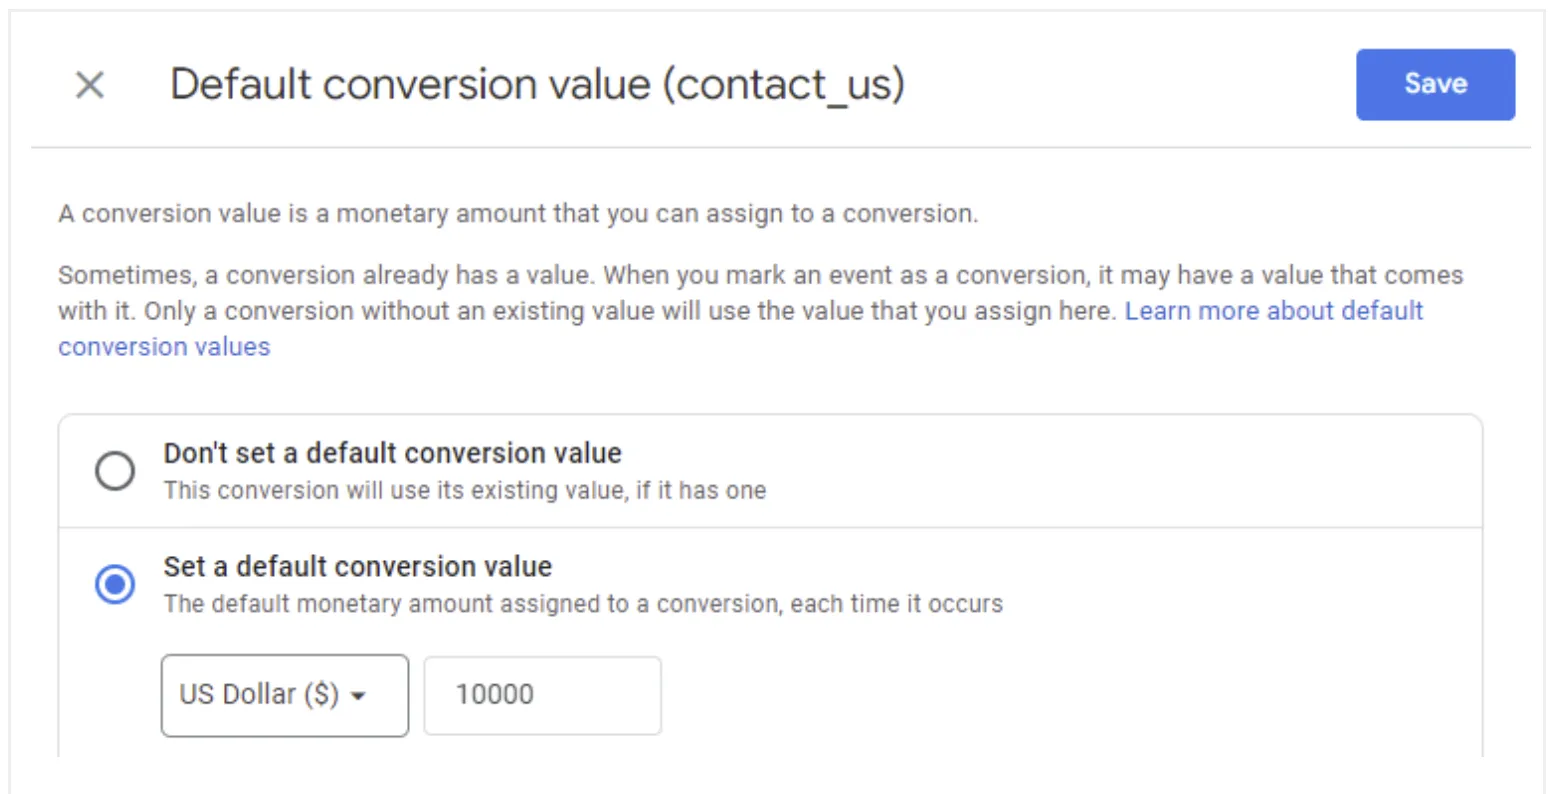
Assign a value to your conversion if you want to measure the monetary impact of user actions. This is particularly relevant for e-commerce websites where conversions may represent purchases. If assigning a value, choose a currency and specify the value amount.
assign-conversion-value-in-ga4
Step 8: Enable Enhanced Measurement (Optional)
GA4 offers Enhanced Measurement, a feature that automatically tracks certain user interactions without additional configuration. Consider enabling Enhanced Measurement to capture additional data related to conversions, such as scroll depth, outbound clicks, and more.
Step 9: Verify Configuration
Before saving the conversion, use the “Verify this Conversion” option to check if the conversion would have been triggered in the past seven days. This verification ensures your conversion is correctly configured. If everything looks good, click “Save” to confirm the conversion setup.
Step 10: Test the Conversion Trigger
To ensure your conversion is set up correctly, perform a test interaction on your website that should trigger the conversion. Go back to the GA4 interface, navigate to “Realtime,” and check if the test interaction is recorded as a conversion in the Realtime reports.
Step 11: Analyze Conversion Reports
Navigate to the “Reports” section in GA4 and explore the “Conversions” reports. Here, you’ll find detailed insights into the performance of your conversions. Analyze the conversion reports to understand conversion rates, completion times, and user paths leading to conversions.
Step 12: Set Up Additional Conversions and Iteration
Repeat the process to create additional conversions that align with different aspects of user interaction on your website. Regularly review and iterate on your conversions based on changes in business objectives, website structure, or user behavior.
Summary
Setting up conversions in GA4 is a pivotal step in unlocking the full potential of the analytics platform. By following these steps, from accessing your GA4 property to configuring custom conversions and analyzing reports, you can gain actionable insights into user behavior, measure success, and refine your website strategy accordingly.
Free essential resources for success
Discover more from Lifesight

