Introduction
Ad groups play a crucial role in the structure and organization of Google Ads campaigns. By creating well-structured ad groups, advertisers can effectively target specific audiences, manage budgets efficiently, and improve overall campaign performance. In this comprehensive guide, we’ll walk through the step-by-step process of creating ad groups in Google Ads, empowering you to build effective advertising campaigns.
Step 1: Access Google Ads Dashboard
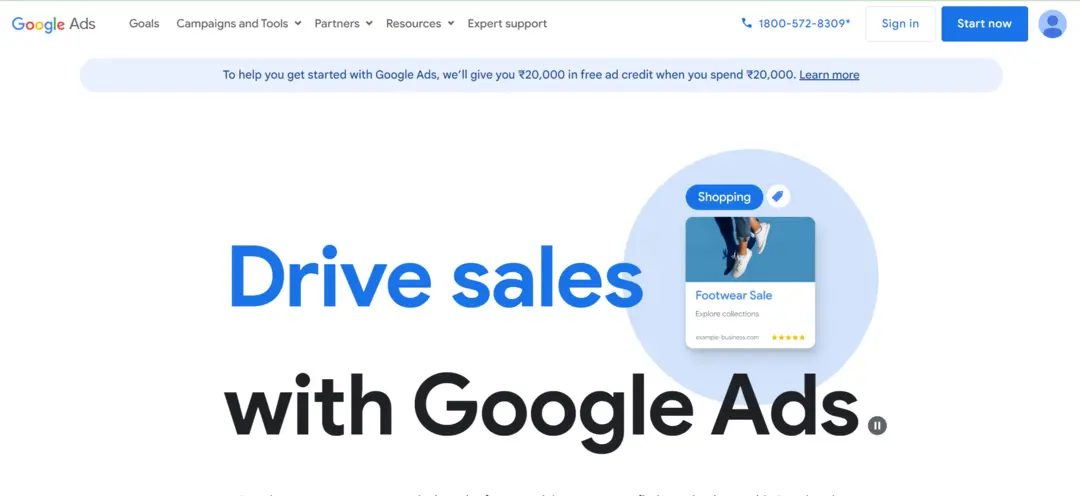
Start by logging in to your Google Ads account and accessing the dashboard. If you don’t have a Google Ads account yet, you can sign up for free on the Google Ads website.
sign-in-google-ads-account
Step 2: Navigate to Campaigns
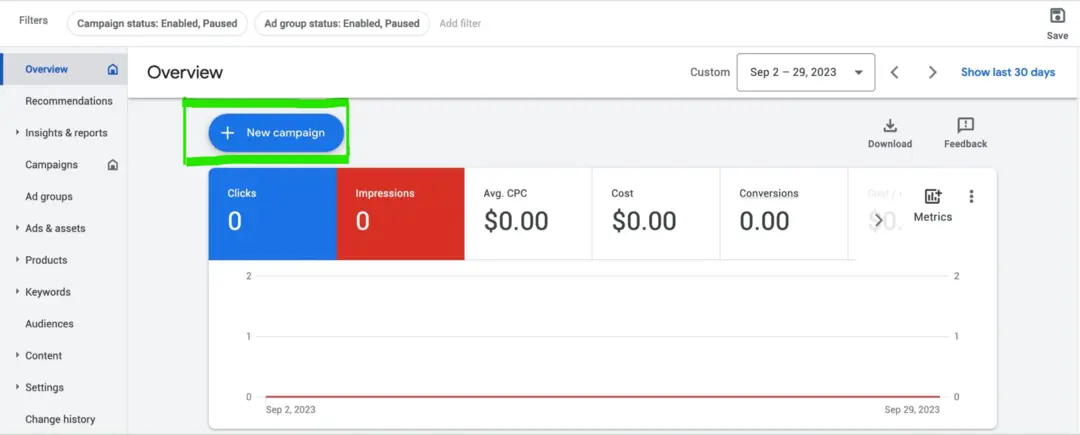
Once logged in, navigate to the “Campaigns” tab in the Google Ads dashboard. This is where you’ll manage your advertising campaigns and ad groups.
navigate-to-campaigns-in-google-ads
Step 3: Select the Campaign
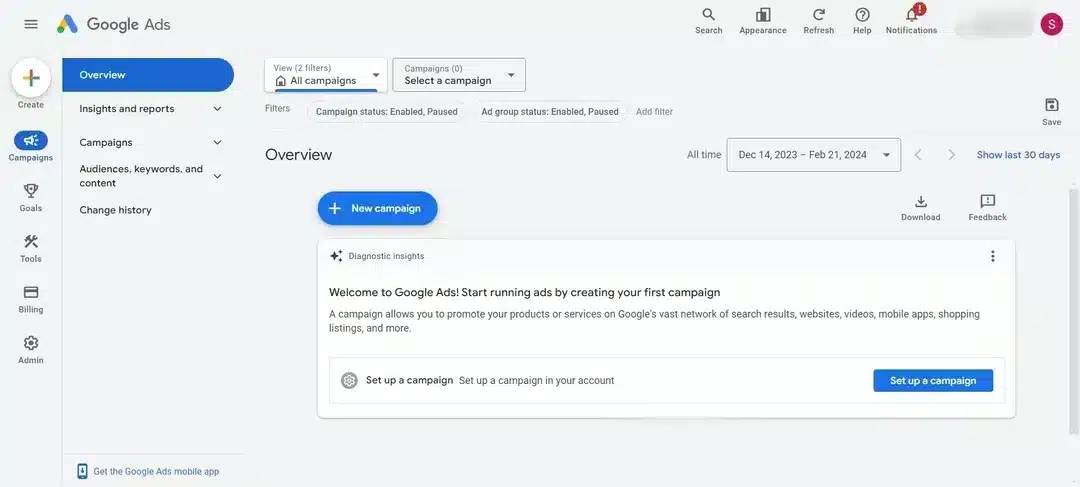
Choose the campaign for which you want to create ad groups. Click on the campaign name to enter the campaign settings and management interface.
click-on- campaign
Step 4: Click on Ad Groups
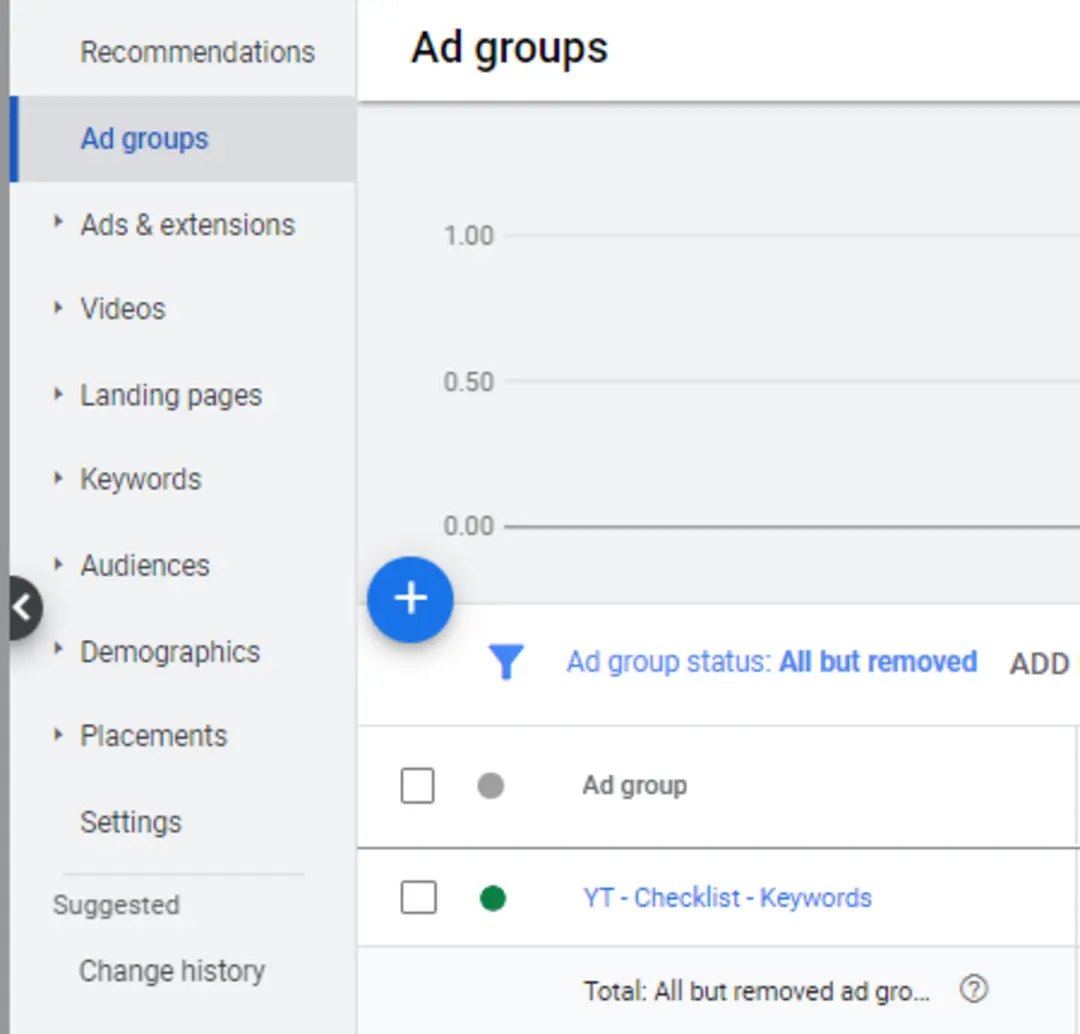
Within the selected campaign, locate the “Ad groups” tab. Click on this tab to access the ad group management interface.
Step 5: Click on the “+” Button to Create a New Ad Group
In the ad group management interface, look for the “+ Ad group” button. Click on this button to initiate the process of creating a new ad group within the selected campaign.
create-new-ad-group-in-google-ads
Step 6: Name Your Ad Group
Give your ad group a descriptive and relevant name that reflects the theme or focus of the ads you plan to include. This will help you stay organized and easily identify each ad group within your campaign.
Step 7: Set Your Bid Strategy and Budget
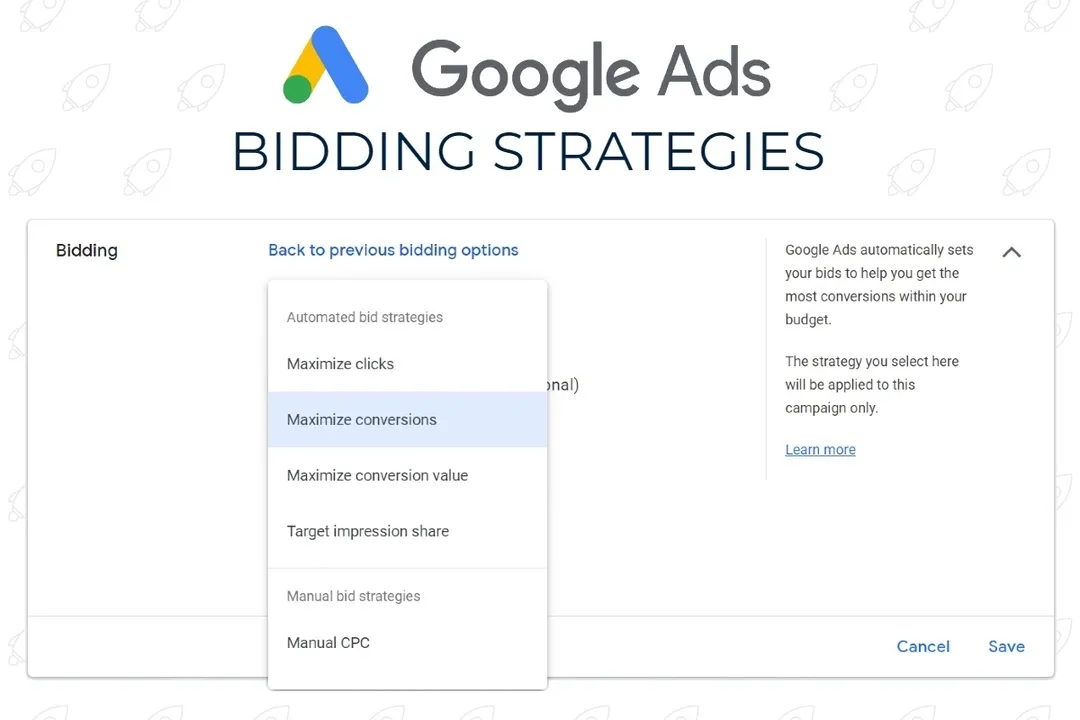
Choose your bid strategy and set a budget for the ad group. You can opt for manual bidding or automated bidding strategies based on your campaign objectives and preferences. Set a daily or campaign-level budget to control spending for the ad group.
set-right-bidding-strategy-for-google-ads-campaigns
budget-and-bidding-in-google-ads
Step 8: Select Targeting Settings
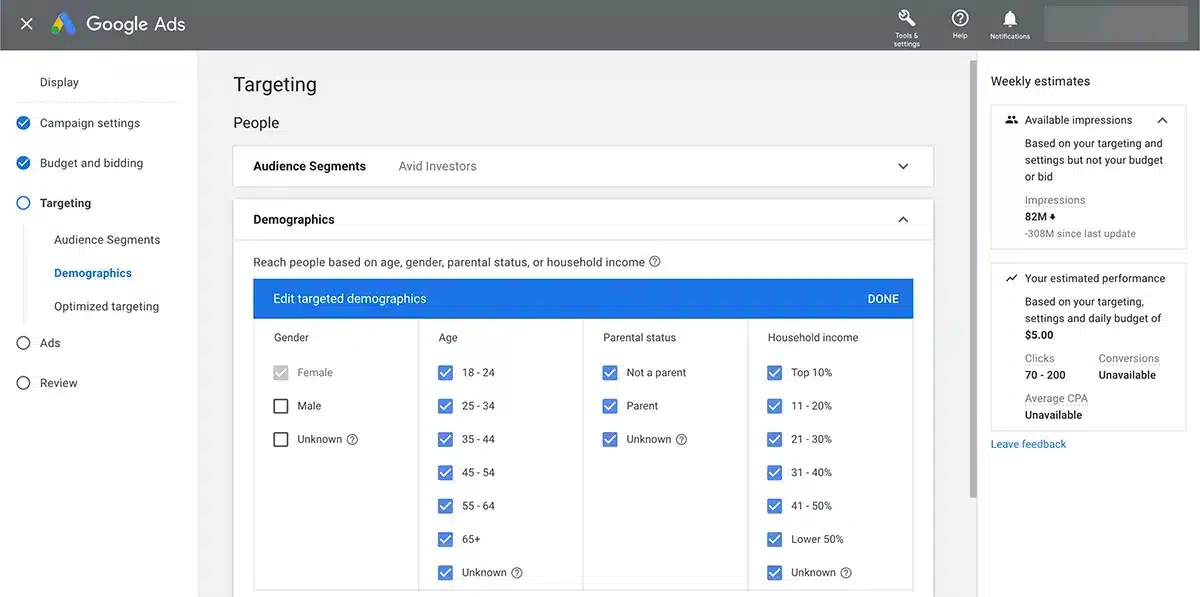
Define the targeting settings for your ad group, including location targeting, language targeting, device targeting, and audience targeting options. Choose settings that align with your target audience and campaign goals.
audience-targeting-in-google-ads
Step 9: Create Ad Group Keywords
Enter keywords relevant to your ad group’s theme or focus. Use keyword research tools to identify relevant keywords with sufficient search volume and appropriate levels of competition. Include a mix of broad, phrase, and exact match keywords to reach a broader audience while maintaining relevance.
Step 10: Write Ad Copy
Craft compelling ad copy that aligns with the keywords and theme of your ad group. Write attention-grabbing headlines, persuasive ad descriptions, and include relevant ad extensions to enhance visibility and engagement.
Step 11: Add Ad Extensions (Optional)
Consider adding ad extensions to your ads to provide additional information and encourage interaction. Ad extensions such as sitelinks, callouts, and structured snippets can improve ad visibility and drive more qualified clicks.
Step 12: Review and Save Your Ad Group
Before finalizing your ad group, review all settings, keywords, and ad copy to ensure accuracy and relevance. Once you’re satisfied with your ad group setup, click on the “Save” or “Create” button to save your changes and create the ad group.
Step 13: Monitor Performance and Optimize
After creating your ad group, closely monitor its performance metrics such as impressions, clicks, click-through rate (CTR), conversion rate, and cost per conversion. Use this data to identify areas for optimization and make adjustments to improve performance over time.
Step 14: Test Different Ad Variations (Optional)
Consider running A/B tests with different ad variations within your ad group to determine which messaging and creative elements resonate best with your target audience. Continuously test and refine your ads to maximize performance.
Step 15: Scale and Expand
As your ad group proves successful and generates positive results, consider scaling and expanding your advertising efforts. Explore opportunities to reach new audiences, expand into new markets, and increase your advertising budget to drive further growth.
Summary
Creating ad groups in Google Ads is a fundamental step in building effective advertising campaigns. By following these step-by-step guidelines and implementing best practices, advertisers can organize their campaigns, target specific audiences, and optimize ad performance for maximum results.
Free essential resources for success
Discover more from Lifesight
