Introduction
Tracking conversions is a crucial aspect of Facebook advertising, allowing businesses to measure the effectiveness of their ad campaigns in driving desired actions. Whether it’s making a purchase, signing up for a newsletter, or downloading an app, accurately tracking conversions provides valuable insights for optimizing ad performance. In this guide, we’ll explore a step-by-step process to help you effectively track conversions in your Facebook Ads campaigns.
Step 1: Install the Facebook Pixel
The foundation of conversion tracking on Facebook is the Facebook Pixel. If you haven’t already, install the Facebook Pixel on your website. The Pixel is a piece of code that tracks user interactions, enabling you to measure the actions users take after clicking on your Facebook ads.
install-facebook-pixel
Step 2: Access Facebook Ads Manager
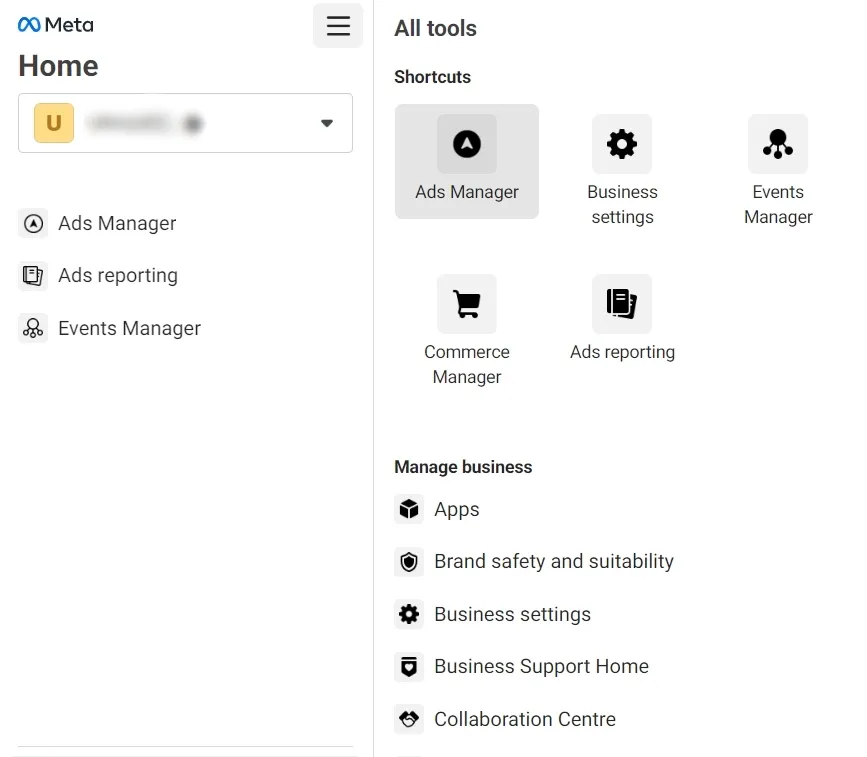
Log in to your Facebook Ads Manager account. If you don’t have one, create an account and set up your ad campaign with the desired objective that aligns with your conversion goals.
login-to-facebook-ads-manager
Step 3: Create or Edit Your Ad Campaign
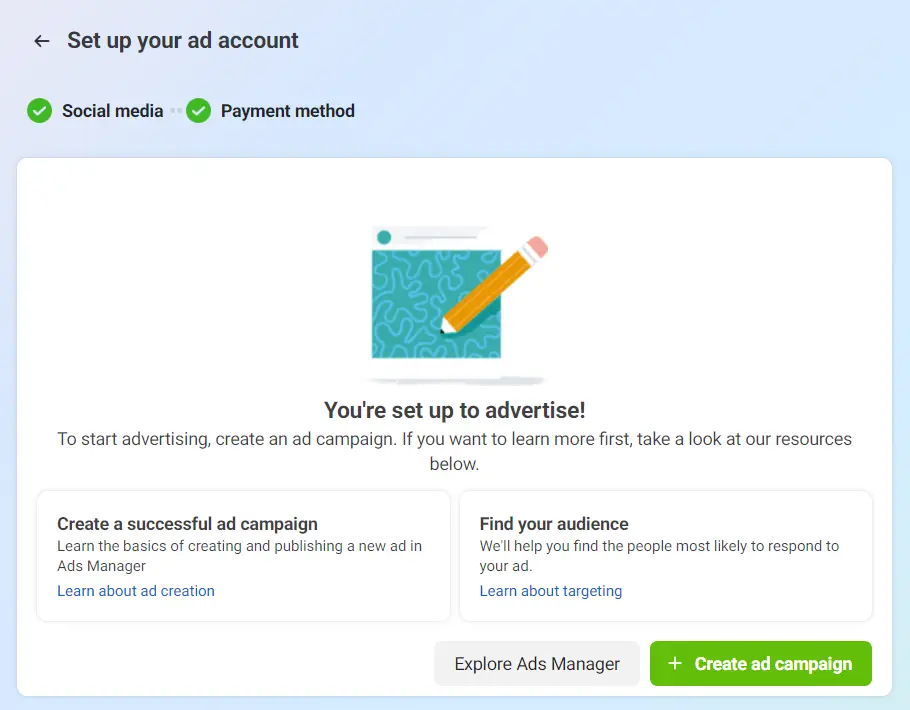
Navigate to the Ads Manager dashboard and either create a new ad campaign or select an existing one that you want to optimize for conversions. Ensure that your chosen campaign objective aligns with the conversion action you’re tracking.
Create-ad-campaign-in-fb-ads-manager
Step 4: Configure Conversion Tracking
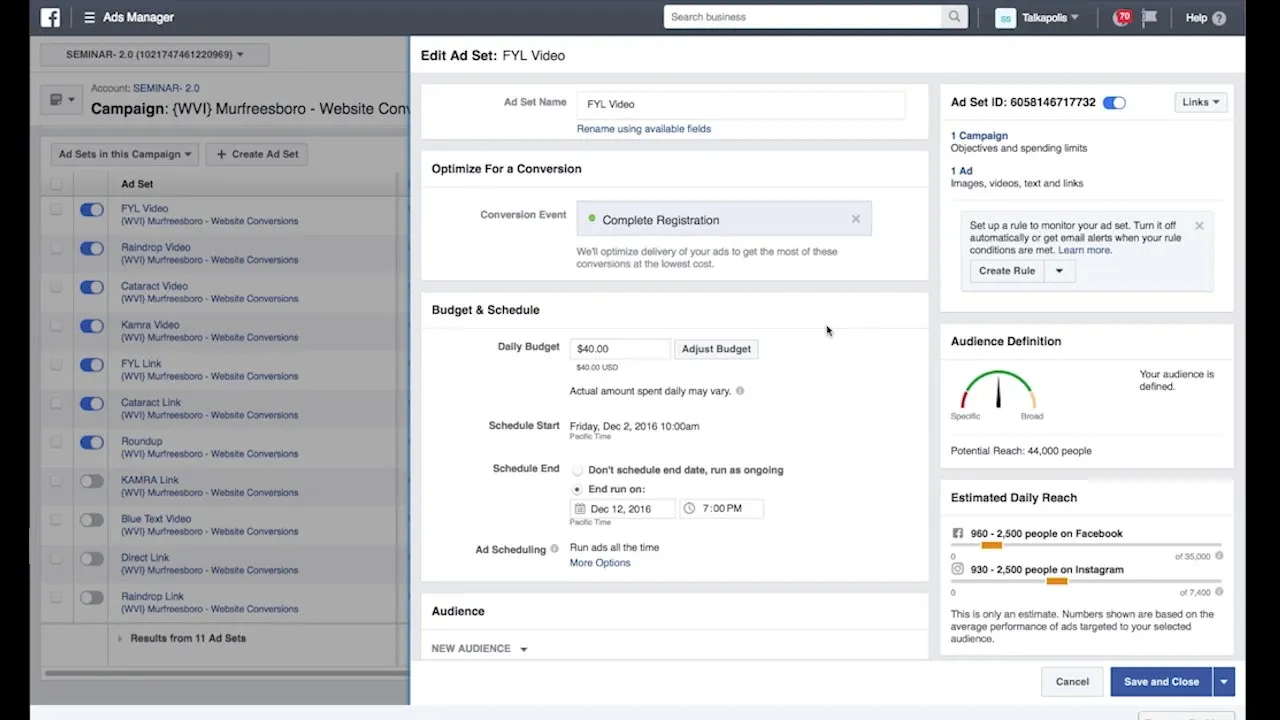
During the ad set creation or editing process, you’ll come across the “Conversion Event” section. Here, select the specific conversion event you want to track, such as “Purchase,” “Lead,” or “Complete Registration.” This step is crucial for informing Facebook about the action you consider a conversion.
optimize-for-conversion-in-facebook-ads
Step 5: Set Up Custom Conversions (Optional)
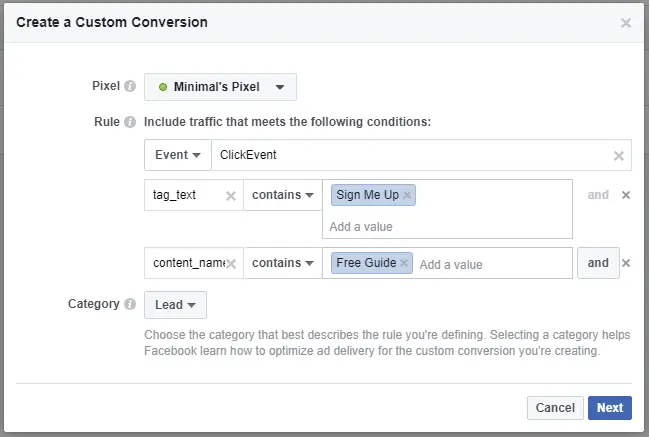
For more flexibility, consider setting up custom conversions. This allows you to define specific URL rules that trigger a conversion. Custom conversions are beneficial for tracking actions not covered by standard Facebook conversion events.
custom-event-creation-in-facebook-ads
Step 6: Define Conversion Windows
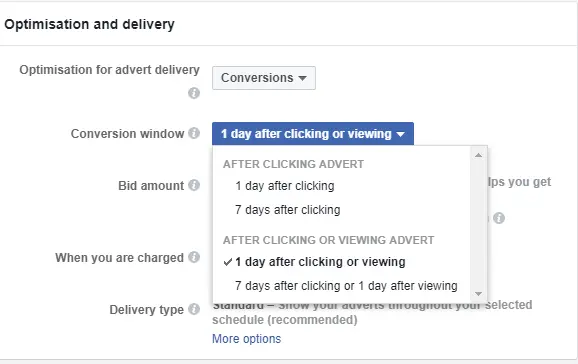
Conversion windows determine the time frame during which a conversion is attributed to a click on your ad. Choose the conversion window that aligns with your business model and the typical time it takes for users to complete the desired action after clicking on your ad.
define-conversion-window-in-facebook-ads
Step 7: Configure Attribution Settings
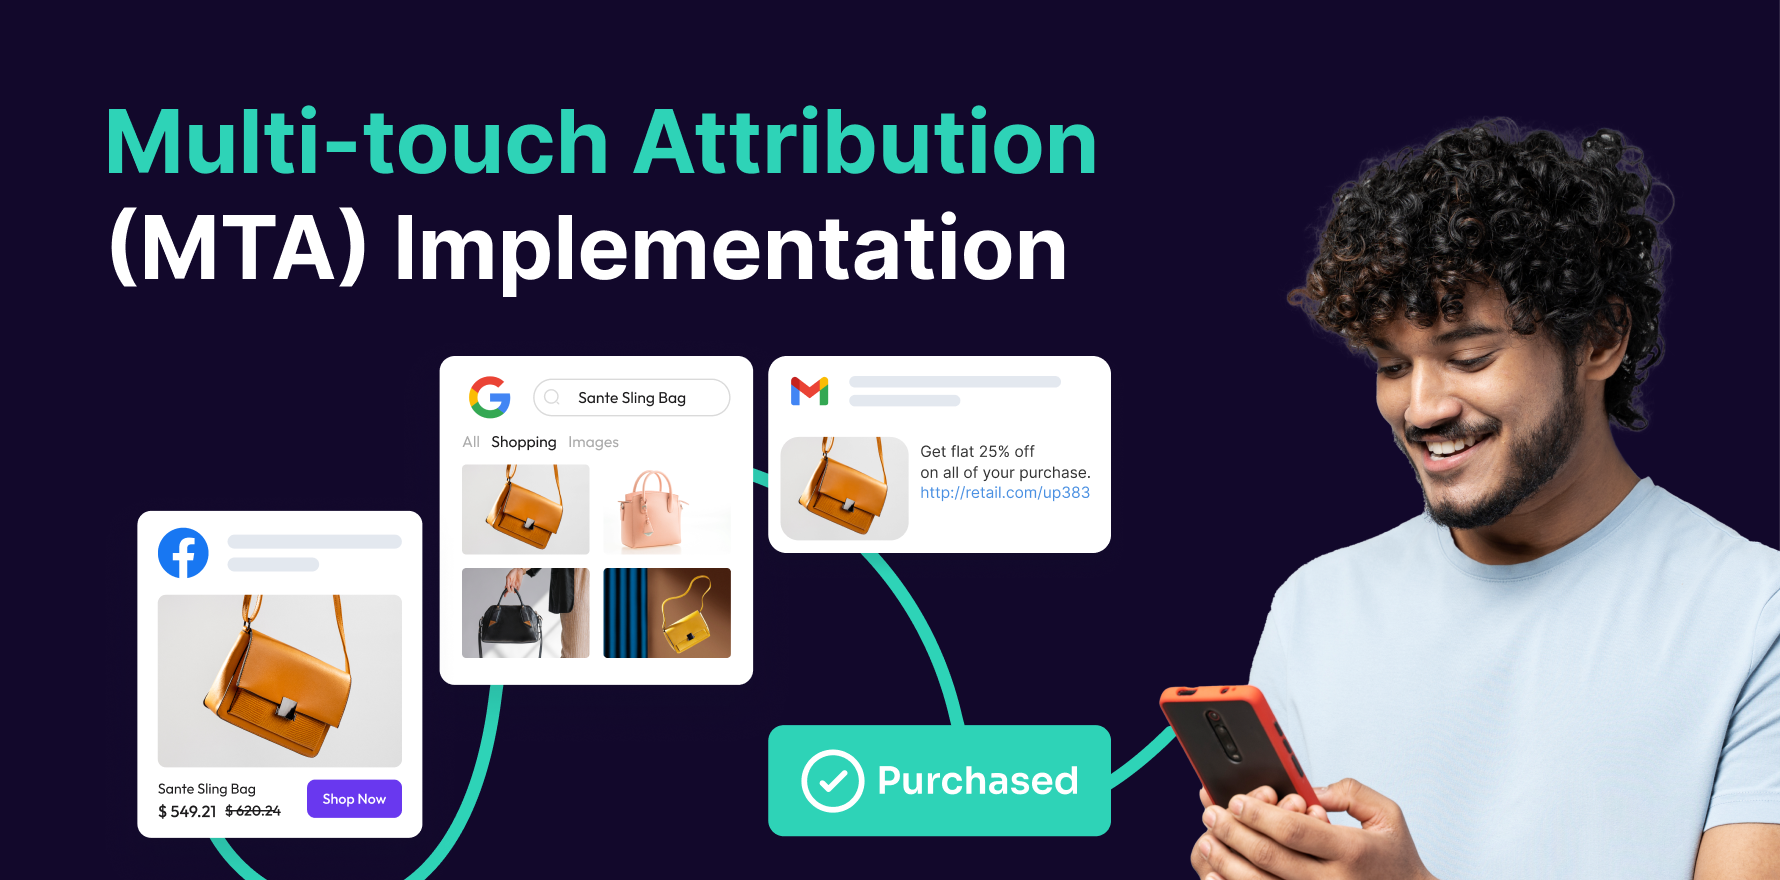
Attribution settings determine how Facebook attributes conversions to your ads. Choose the attribution model that best suits your campaign goals, considering factors like the customer journey and touchpoints.
Step 8: Implement Value Optimization (Optional)
If your conversion has a monetary value, consider implementing value optimization. This feature allows Facebook to automatically adjust your ad delivery to maximize the conversion value within your specified budget.
Step 9: Review and Confirm Settings
Before launching your ad, thoroughly review your conversion tracking settings. Confirm that the conversion event, custom conversions, conversion windows, and attribution settings align with your campaign objectives.
Step 10: Launch Your Ad Campaign
Once you’ve reviewed and confirmed your settings, launch your ad campaign. Facebook will now track conversions based on the parameters you’ve configured.
Step 11: Monitor Conversion Performance
Regularly check the performance of your ad campaign in the Ads Manager dashboard. Monitor key metrics like conversion rate, cost per conversion, and total conversions to assess the effectiveness of your ads in driving the desired actions.
Step 12: Analyze and Optimize
Analyze the data collected by Facebook Pixel to identify trends, patterns, and areas for improvement. Use these insights to optimize your ad creative, audience targeting, and bidding strategy for better conversion results.
Step 13: Utilize A/B Testing
Implement A/B testing to experiment with different ad variations and audience segments. Testing allows you to refine your approach, uncover what resonates with your audience, and improve overall conversion performance.
Step 14: Set Up Event Tracking (Advanced)
For advanced tracking, implement event tracking within the Facebook Pixel. This allows you to track specific interactions on your website, providing a more granular understanding of user behavior and conversion paths.
Step 15: Stay Informed About Updates
Facebook regularly updates its ad platform, including conversion tracking features. Stay informed about new developments, features, and best practices to ensure your conversion tracking stays effective and up-to-date.
Summary
Tracking conversions in Facebook Ads is a dynamic process that involves proper setup, monitoring, analysis, and optimization. By following these steps, businesses can accurately measure the impact of their ads on desired actions, leading to more informed decision-making and improved campaign performance.
Free essential resources for success
Discover more from Lifesight
