Introduction
Starting a Shopify store is a great way to enter the world of e-commerce, whether you’re launching a new business or transitioning an existing one online. Shopify is one of the most popular e-commerce platforms, known for its ease of use, flexibility, and robust set of features. This guide will take you through the process of setting up your Shopify store, from initial planning to your first sale.
Step 1: Planning Your Store
Before you dive into the technical aspects of setting up your Shopify store, it’s crucial to have a clear plan in place. This will guide your decisions and ensure that your store aligns with your business goals.
Identify Your Niche and Target Audience:
- Determine the specific market you want to target. A well-defined niche helps you stand out in a crowded market.
- Understand your target audience’s demographics, needs, and purchasing behavior.
Conduct Competitor Research:
- Analyze your competitors to see what they are doing right and where there might be gaps in the market.
- Look at their pricing, product offerings, marketing strategies, and customer reviews.
Define Your Unique Selling Proposition (USP):
- What makes your store different from others? Your USP could be anything from unique products to exceptional customer service.
- Ensure your USP is communicated clearly on your website and in your marketing materials.
Set Clear Goals and Budget:
- Define what success looks like for your Shopify store. Is it a specific number of sales, a certain revenue milestone, or building a strong brand presence?
- Set a budget for setting up your store, marketing, and any ongoing operational costs.
Step 2: Setting Up Your Shopify Account
Now that you have a solid plan, it’s time to get started with Shopify. Setting up your account is straightforward, and Shopify offers a 14-day free trial to help you get started.
Sign Up for Shopify:
- Visit the Shopify website and click on the
“Start Free Trial”
button. - Enter your email address, password, and store name (you can change this later if needed).
Setting Up Your Shopify Account.webp 
Choose a Plan:
- Shopify offers several pricing plans based on your needs. Start with the basic plan and upgrade as your business grows.
- The basic plan is usually sufficient for new stores, offering all the essential features you’ll need.
choose_a_shopify_plan_1x.webp 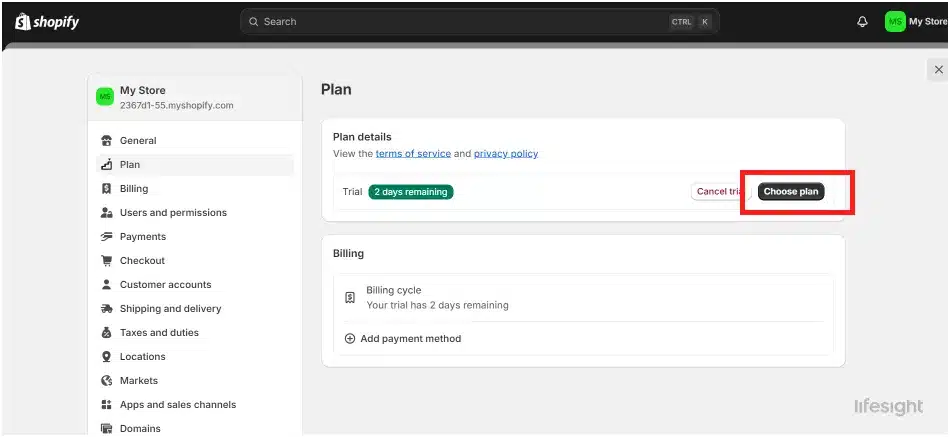
Set Up Your Store Details:
- Enter your business name, address, and other relevant information. This information will be used for billing, taxes, and legal purposes.
- Customize your store’s name and URL. If you have a domain name, you can connect it later.
shopify_store_details_1x.webp 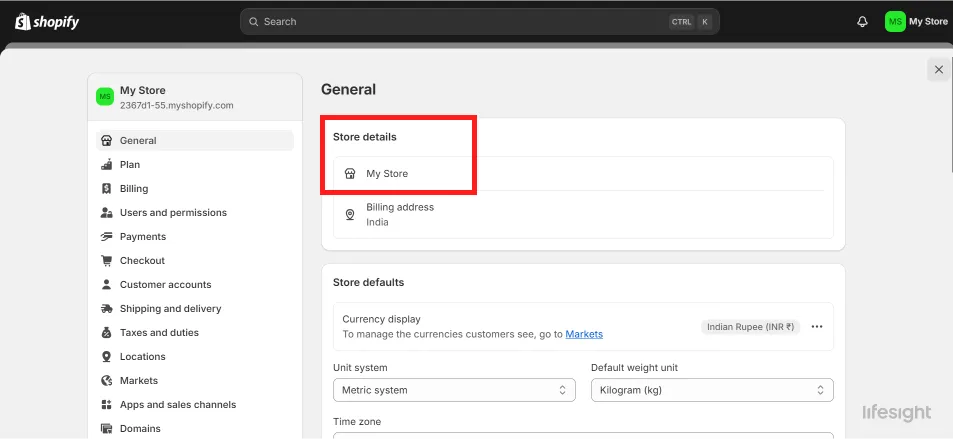
Add Payment Gateways:
- Choose how you want to get paid. Shopify supports a variety of payment gateways, including Shopify Payments, PayPal, and credit cards.
- Set up your payment gateway by following Shopify’s instructions. Ensure that your payment method is secure and convenient for customers.
shopify_payment_method_1x.webp 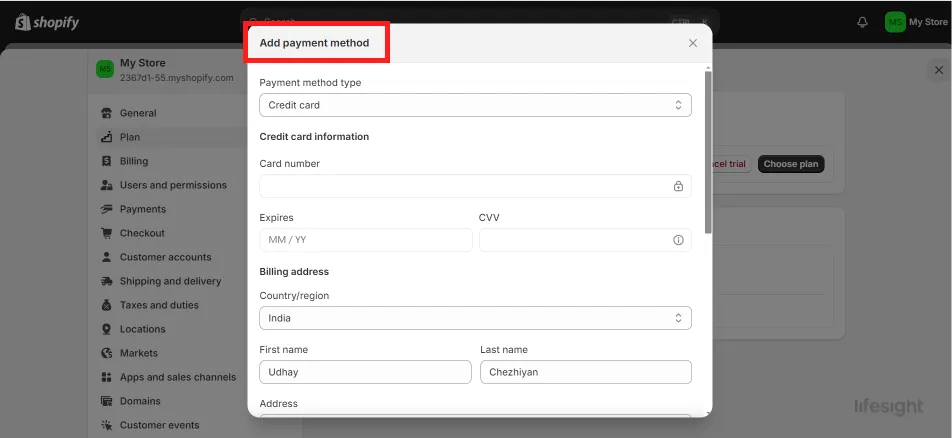
Step 3: Selecting and Customizing Your Shopify Theme
Your store’s design is crucial for making a great first impression. Shopify offers a range of themes that you can customize to match your brand.
shopify_themes_1x.webp 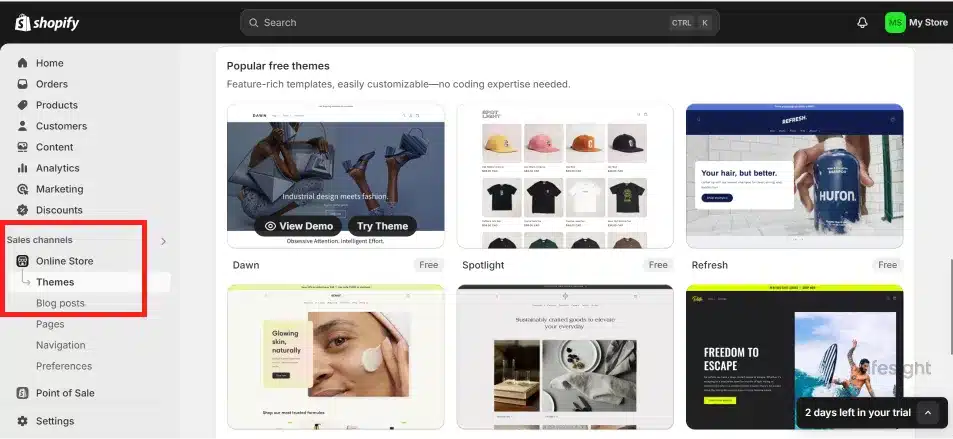
Choose a Shopify Theme:
- Browse Shopify’s Theme Store to find a theme that suits your niche and brand aesthetic.
- Consider both free and paid themes. Paid themes often offer more customization options and unique designs.
Customize Your Theme:
- Use the theme editor to customize your theme’s layout, colors, fonts, and other design elements.
- Ensure your theme is mobile-responsive, as many customers will shop from their phones.
Add Your Logo and Branding:
- Upload your logo and any other branding elements (like custom fonts or colors).
- Consistency in branding across your store helps build trust and recognition.
Set Up Navigation and Menus:
- Organize your store’s navigation to make it easy for customers to find products.
- Create menus for your main categories, collections, and any other important pages (like About Us, Contact, etc.).
Step 4: Adding Products to Your Store
Your products are the heart of your Shopify store. This step involves uploading your products, organizing them into collections, and ensuring that each product has detailed information.
shopify_adding_products_1x.webp 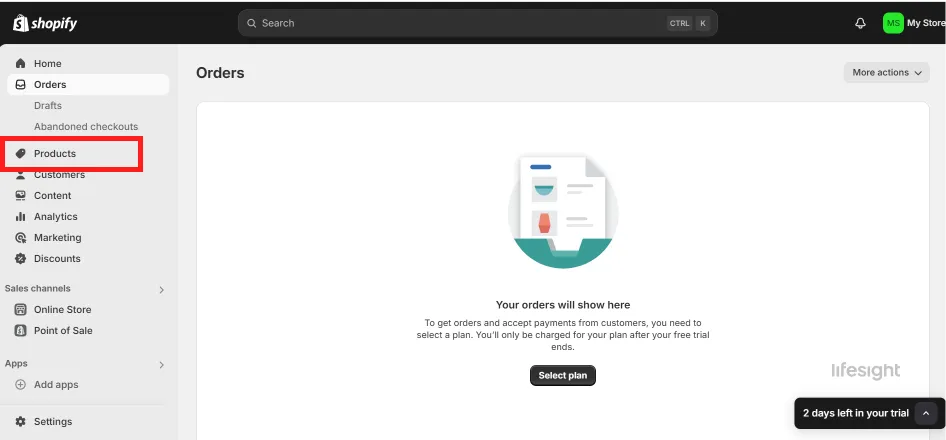
Add Product Listings:
- Go to the “Products” section in your Shopify admin and click “Add Product.”
- Enter the product title, description, and pricing. Make sure your product descriptions are clear, informative, and highlight the benefits.
Upload High-Quality Product Images:
- Use high-resolution images that show your products from multiple angles. Customers rely on images to make purchase decisions.
- Consider adding videos or 360-degree views if possible.
Set Up Product Variants:
- If your product comes in different sizes, colors, or styles, you can add these variants under the same product listing.
- Ensure that each variant is clearly labeled and includes an image if applicable.
Organize Products into Collections:
- Create collections to group similar products. For example, you might have collections for different product categories or for sale items.
- This makes it easier for customers to browse and find what they’re looking for.
Set Inventory and Shipping Information:
- Enter your inventory levels and set up alerts for low stock.
- Configure shipping options, including weight-based shipping, flat rate, or free shipping.
Step 5: Setting Up Essential Shopify Pages
In addition to product pages, your Shopify store needs a few essential pages that provide important information to customers.
shopify_pages_1x.webp 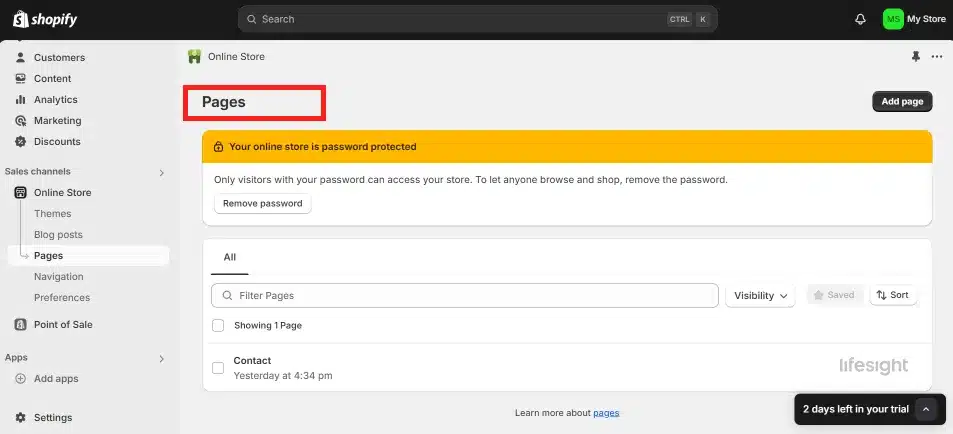
Create an About Us Page:
- Tell your brand’s story and explain what makes your business unique.
- Share your mission, vision, and the values that drive your business.
Set Up a Contact Page:
- Make it easy for customers to get in touch with you. Include a contact form, email address, phone number, and possibly a physical address if you have a brick-and-mortar location.
Create a Privacy Policy and Terms of Service:
- These pages are important for legal and trust reasons. Shopify offers templates that you can customize for your store.
- Clearly outline how you handle customer data, payment information, and other important policies.
Add a FAQ Page:
- Answer common questions that customers might have about your products, shipping, returns, etc.
- This helps reduce customer inquiries and improves their shopping experience.
Step 6: Setting Up Shopify Apps and Integrations
Shopify offers a wide range of apps and integrations that can help you manage your store, enhance customer experience, and grow your business.
Browse the Shopify App Store:
- The Shopify App Store has thousands of apps that can add functionality to your store. Categories include marketing, sales, inventory management, and customer service.
- Start with essential apps, like those for email marketing, social media integration, and product reviews.
Install and Configure Essential Apps:
- Popular apps include Oberlo (for dropshipping), Mailchimp (for email marketing), and Yotpo (for customer reviews).
- Configure each app according to your business needs. For example, set up automated email campaigns or import products for dropshipping.
Integrate with Third-Party Tools:
- Connect your Shopify store with third-party tools you already use, such as Google Analytics, Facebook Ads, or accounting software.
- Ensure that all integrations work smoothly and are set up to track important metrics.
shopify_apps_and_integrations_1x.webp 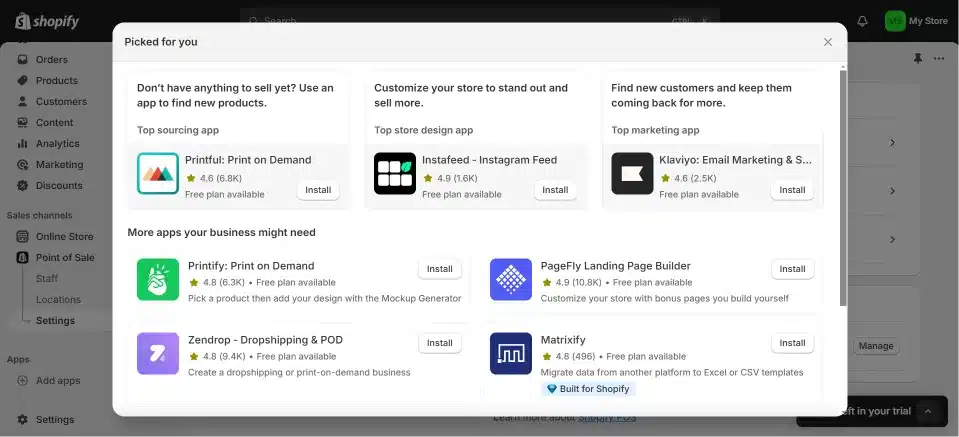
Test Your Apps:
- After installing apps, test them to ensure they work as expected and don’t slow down your store’s loading speed.
- Disable or uninstall any apps that aren’t providing value or are affecting performance.
Step 7: Configuring Your Store’s Settings
This step involves configuring the backend settings of your Shopify store, including taxes, shipping, and checkout options.
shopify_store_settings_1x.webp 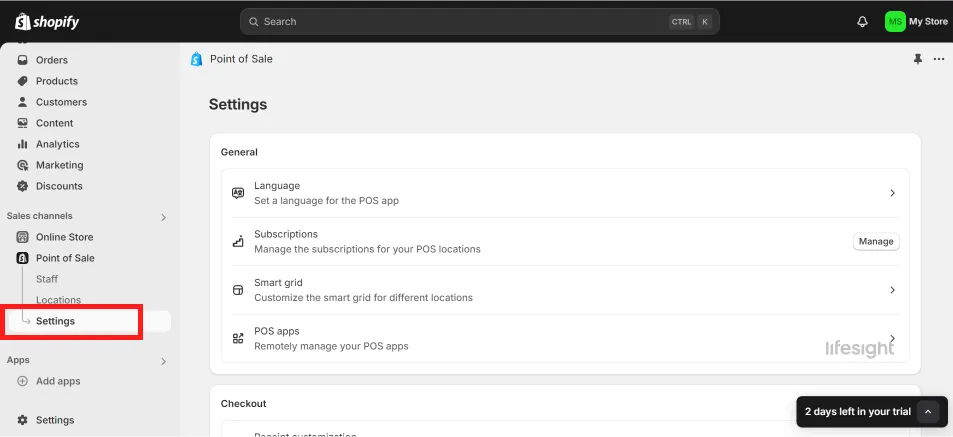
Set Up Taxes:
- Go to the “Taxes” section in your Shopify admin and configure your tax settings based on your location and where you sell.
- Shopify can automatically calculate taxes based on customer location, but you may need to make adjustments for specific regions.
Configure Shipping Settings:
- Set up your shipping zones and rates. Shopify allows you to offer different shipping options, such as free shipping, flat rate, or real-time carrier rates.
- If you use a fulfillment service, integrate it with your Shopify store.
Set Up Checkout Options:
- Customize your checkout process. You can enable guest checkout, set up order processing rules, and configure payment methods.
- Consider adding options like Apple Pay, Google Pay, or other alternative payment methods to increase conversion rates.
Enable Customer Accounts (Optional):
- Allow customers to create accounts for faster checkout and to track orders.
- Decide if you want to make accounts mandatory or optional.
Step 8: Testing Your Shopify Store
Before launching your store, it’s important to thoroughly test it to ensure everything works smoothly.
Place a Test Order:
- Shopify allows you to place a test order to see how the checkout process works. This helps you identify any issues with payment, shipping, or order notifications.
- Make sure to test all payment gateways and shipping options you’ve set up.
Check All Links and Pages:
- Go through your store and check that all links, buttons, and pages are working properly.
- Ensure that your navigation is intuitive and that customers can easily find what they’re looking for.
Test on Multiple Devices:
- Test your store on different devices (desktop, tablet, and mobile) to ensure it’s fully responsive.
- Check for any issues with loading speed, image quality, or usability on smaller screens.
Review Your Analytics Setup:
- Ensure that Google Analytics, Facebook Pixel, and any other tracking tools are properly set up and recording data.
- This will help you track visitor behavior and make data-driven decisions after launch.
shopify_analytics_setup_1x.webp 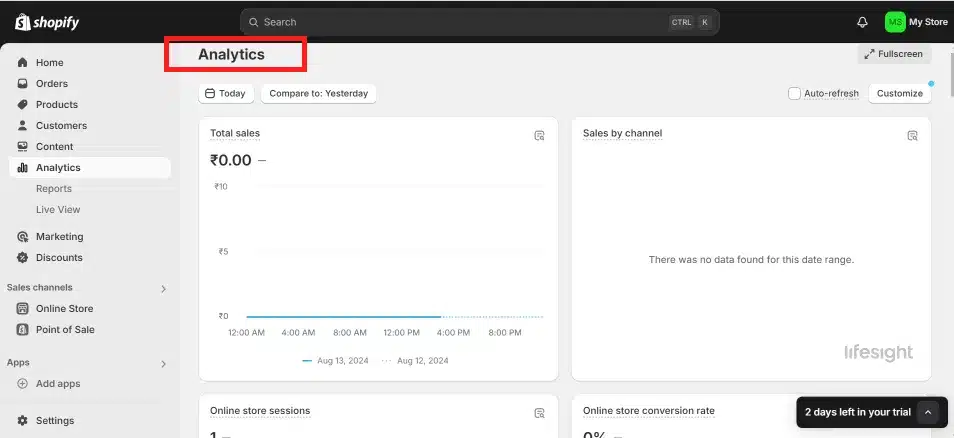
Step 9: Launching Your Shopify Store
After thorough testing, you’re ready to launch your store. This is an exciting moment, but there are a few final steps to ensure a smooth launch.
launch_shopify_store_online_1x.webp 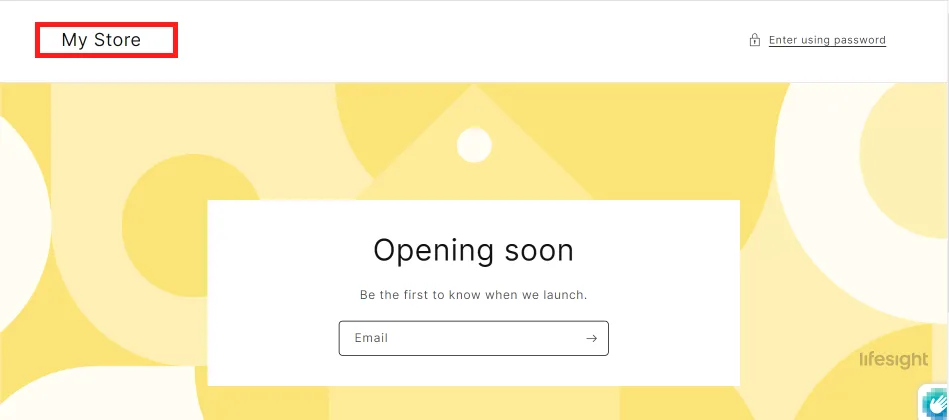
Remove Password Protection:
- When you’re ready to go live, remove the password protection from your store. This allows customers to access your website.
- Double-check that all your settings and configurations are correct before launching.
Announce Your Launch:
- Use email marketing, social media, and other channels to announce your store’s launch to your audience.
- Consider offering a launch promotion, such as a discount code or free shipping, to attract your first customers.
Monitor Your Store’s Performance:
- After launch, closely monitor your store’s performance. Pay attention to traffic, sales, and any issues that customers report.
- Be ready to make quick adjustments if necessary.
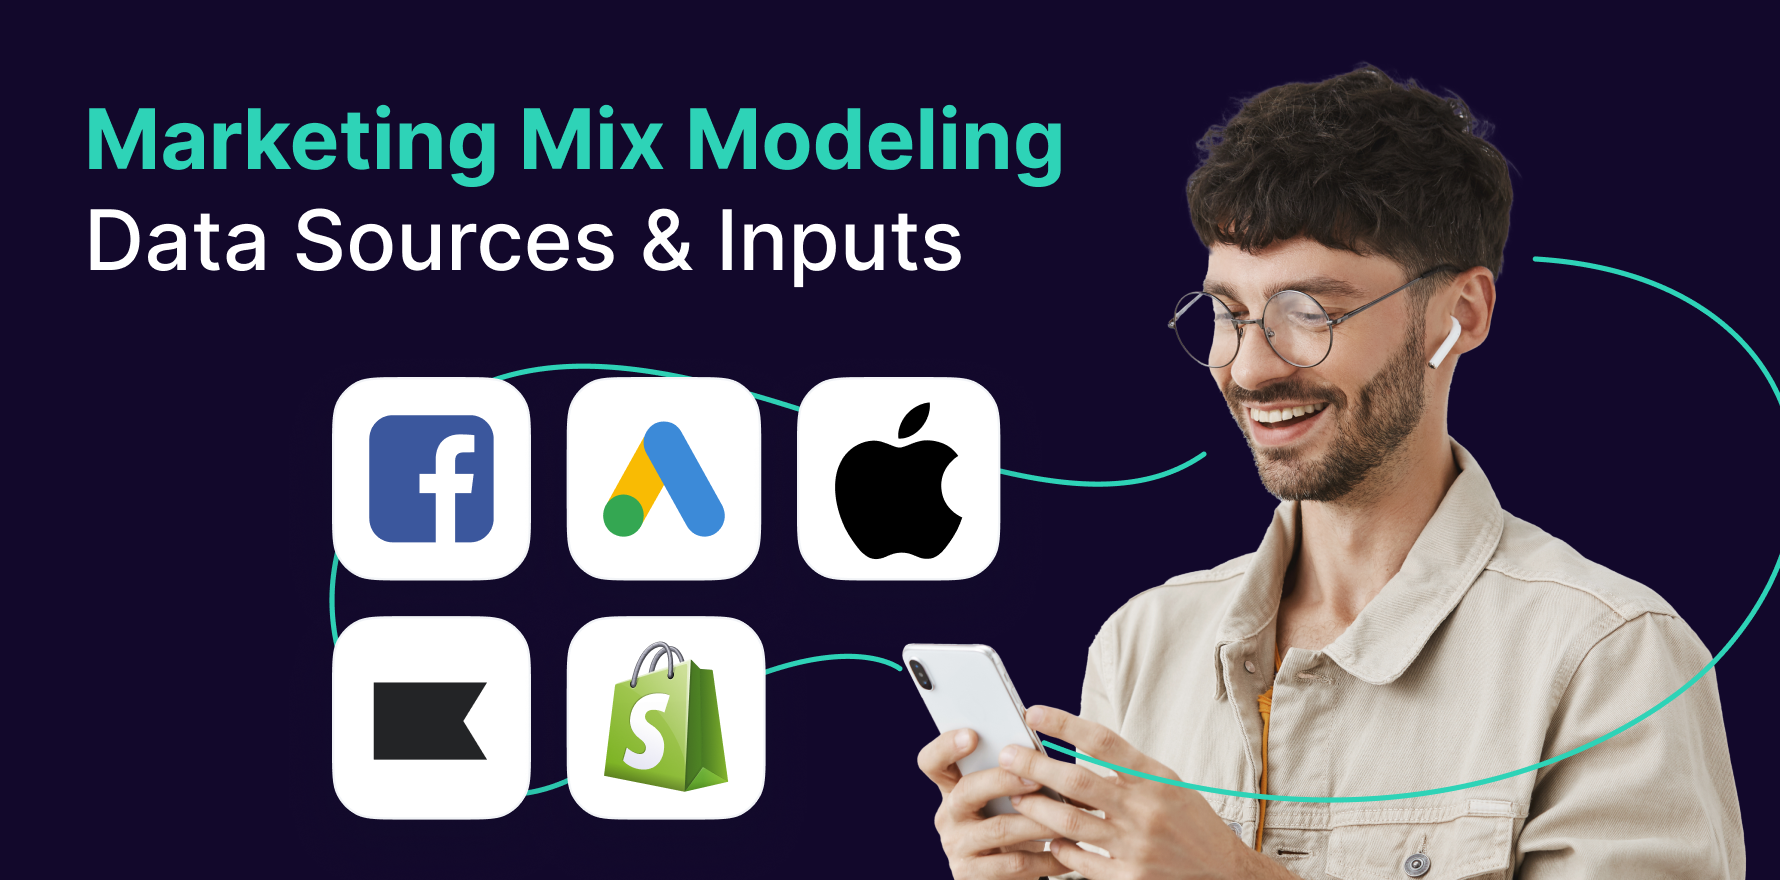
- Enhance customer experience and boost sales with insights from
Lifesight’s unified Marketing Measurement platform.
Step 10: Marketing Your Shopify Store
Once your store is live, the next step is driving traffic and generating sales. Effective marketing is key to your store’s success.
Optimize for SEO:
- Ensure your product pages, blog posts, and other content are optimized for search engines. Use relevant keywords in titles, descriptions, and URLs.
- Consider starting a blog to drive organic traffic and improve your store’s SEO.
shopify_seo_1x.webp 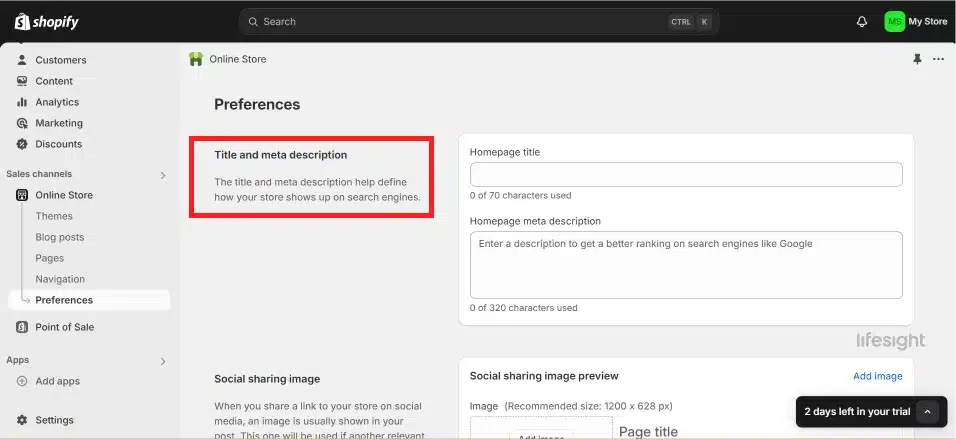
Use Social Media Marketing:
- Promote your products on social media platforms like Instagram, Facebook, and Pinterest.
- Engage with your audience through regular posts, stories, and ads. Consider using influencers to reach a wider audience.
Implement Email Marketing:
- Build an email list and send regular newsletters to your subscribers. Include promotions, new product announcements, and useful content.
- Use abandoned cart emails to recover lost sales.
Run Paid Advertising Campaigns:
- Invest in paid advertising through platforms like Google Ads, Facebook Ads, and Instagram Ads.
- Target your ads to specific demographics and interests to maximize ROI.
Analyze and Optimize:
- Regularly review your store’s analytics to understand what’s working and what’s not.
- Make data-driven decisions to optimize your marketing efforts and increase sales and
automate your ecommerce business
.
Summary
Starting a Shopify store involves a series of steps, from initial planning to launching and marketing your store. By following this guide, you can set up a professional and functional e-commerce store that attracts customers and drives sales. Remember, success doesn’t happen overnight continuously monitor, test, and improve your store to meet the needs of your customers and grow your business.
Free essential resources for success
Discover more from Lifesight