In the ever-evolving digital marketing landscape, leveraging precise analytics is crucial for e-commerce success. Google Analytics 4 (GA4) represents the next generation of Google Analytics, offering integrated insights to understand customer behavior deeply. However, integrating GA4 can seem daunting, especially when using Google Tag Manager (GTM) to streamline the process. This guide provides a detailed walkthrough for setting up GA4 in GTM, ensuring you’re well-equipped to harness the full potential of enhanced e-commerce analytics.
Step 1: Understand the Basics
Before diving into the setup, it’s essential to understand the key components:
Google Analytics 4 (GA4): The latest iteration of Google Analytics, designed to provide a more comprehensive view of the customer lifecycle across various devices and platforms.
Google Tag Manager (GTM): A tag management system that allows you to quickly update tags and code snippets on your website or mobile app, easily deploy GA4, and more.
Step 2: Create a GA4 Property
Log into your Google Analytics account.
Click on “Admin,” and within the “Account” column, select “Create Property.”
Choose “GA4” and then proceed to fill in your website details. Confirm by clicking “Create.”
Step 3: Locate Your GA4 Measurement ID
Within your new GA4 property, go to “Admin.”
In the “Property” column, find “Data Streams” and select your stream.
Locate your “Measurement ID” (e.g., G-XXXXXXXXXX). You’ll need this for GTM.
measurement-id-in-ga4
Step 4: Set Up GTM
Log into your GTM account.
Select a container or create a new one for your website.
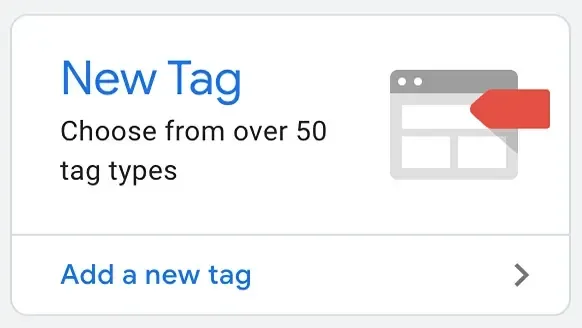
Once inside the container, click on “Tags” then “New” to create a new tag.
Configure the tag:
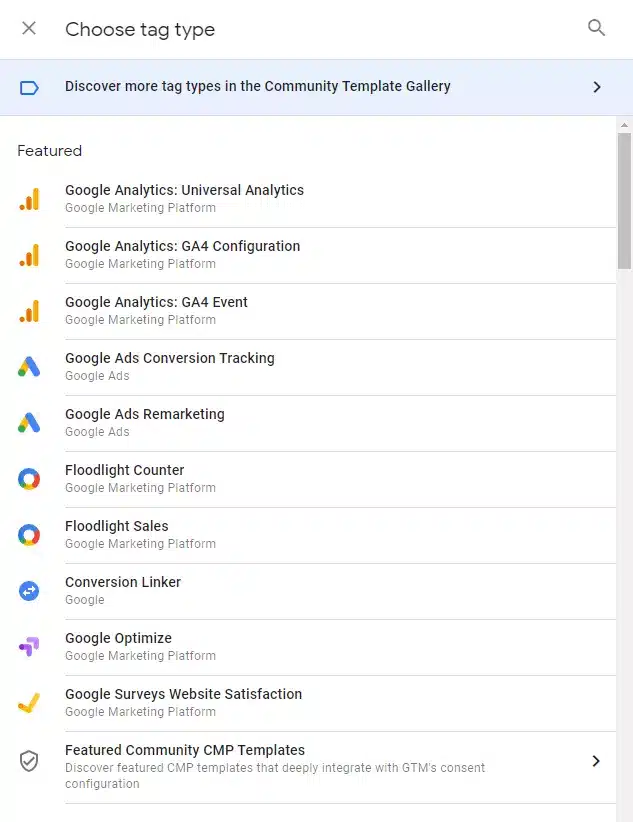
Tag Type: Choose “GA4 Configuration.”
Configuration Tag: Paste your GA4 Measurement ID.
Triggering: Select “All Pages” for site-wide tracking.
Save your tag.
click-on-new-tag-to-create-a-new-tag
Step 5: Test Your Configuration
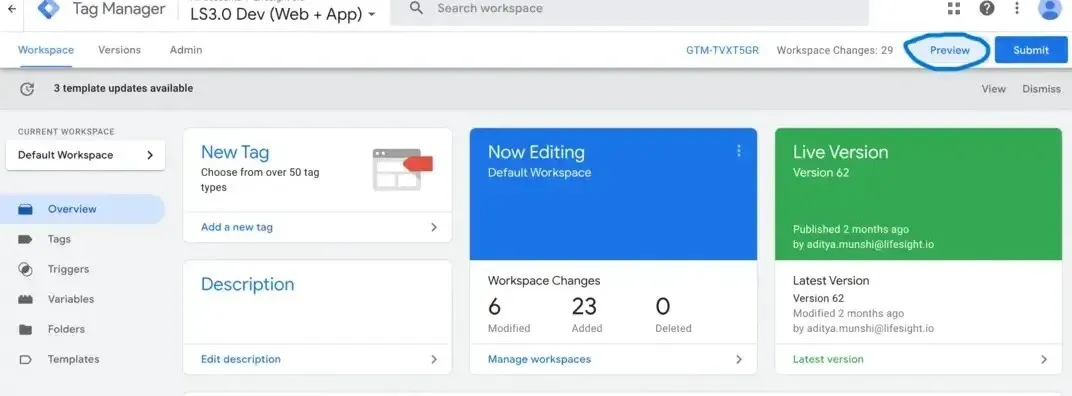
Click “Preview” in GTM to enter preview mode.
Visit your website in a new tab.
Go back to GTM and check the tag fires in the preview pane.
If everything works, click “Submit” to publish your changes.
preview-mode-in-google-tag-manager.webp
Step 6: Customize and Refine Tracking (Optional)
GA4 allows for event-based tracking. To track specific events (e.g., button clicks, page views, transactions):
In GTM, create a new tag (as in Step 4).
Choose “GA4 Event” as the tag type.
Configure your event parameters (e.g., ‘add_to_cart’, ‘purchase’).
Set up triggers based on user interactions you want to track.
Save and test as before.
choose-ga4-event-as-the-tag-type-in-gtm
Step 7: Review Data in GA4
After setup, allow some time for data to populate in your GA4 property. Regularly check your data to ensure accuracy and make any necessary adjustments in GTM for tracking.
Summary
Setting up GA4 in GTM is a strategic move for any e-commerce business seeking robust, insightful analytics. By following this step-by-step guide, you can effectively integrate GA4 into your GTM, enabling a deeper understanding of user interactions and enhancing data-driven decision-making. Remember, the key to leveraging any analytics tool is not just in the setup but also in the continuous review and customization to suit your evolving business needs.
Free essential resources for success
Discover more from Lifesight


