
Google Analytics is a powerful tool that provides insightful data about your website traffic, user behavior, and a wealth of other valuable information. This platform, among its numerous features, offers the ability to track certain interactions on your site, which are referred to as “events.” Setting up events can help monitor specific user actions like clicks, downloads, or plays on a video, yielding a more detailed understanding of user engagement. Let’s dive into the step-by-step guide on how to set up events in Google Analytics.
Step 1: Access Your Google Analytics Account
Firstly, log into your Google Analytics account. Navigate to the website property for which you want to track events.
login-into-google-analytics 
Step 2: Go to Admin Settings
On your Analytics home page, locate the ‘Admin’ tab on the lower-left corner of the page. Click on it to get access to the admin settings of your selected property.
Step 3: Navigate to Goals
Under the right column labelled ‘View,’ select ‘Goals.’ This opens up your goals dashboard.
Step 4: Create New Goal
Click on the ‘New Goal’ button. A setup wizard will appear to guide you through the process.
define-new-goals-in-google-analytics 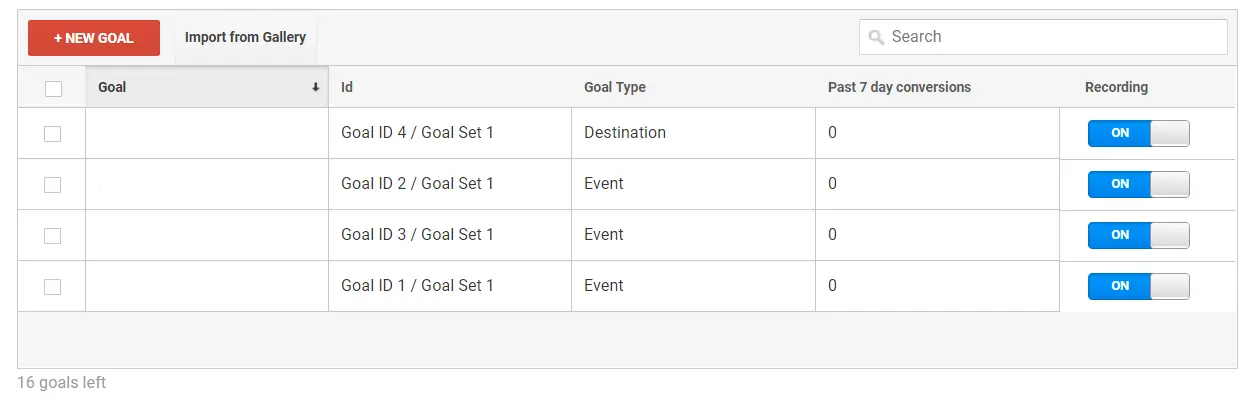
Step 5: Select Custom Goal Setup
Scroll down and select the ‘Custom’ option, then click on ‘Continue.’
select-custom-goal-setup 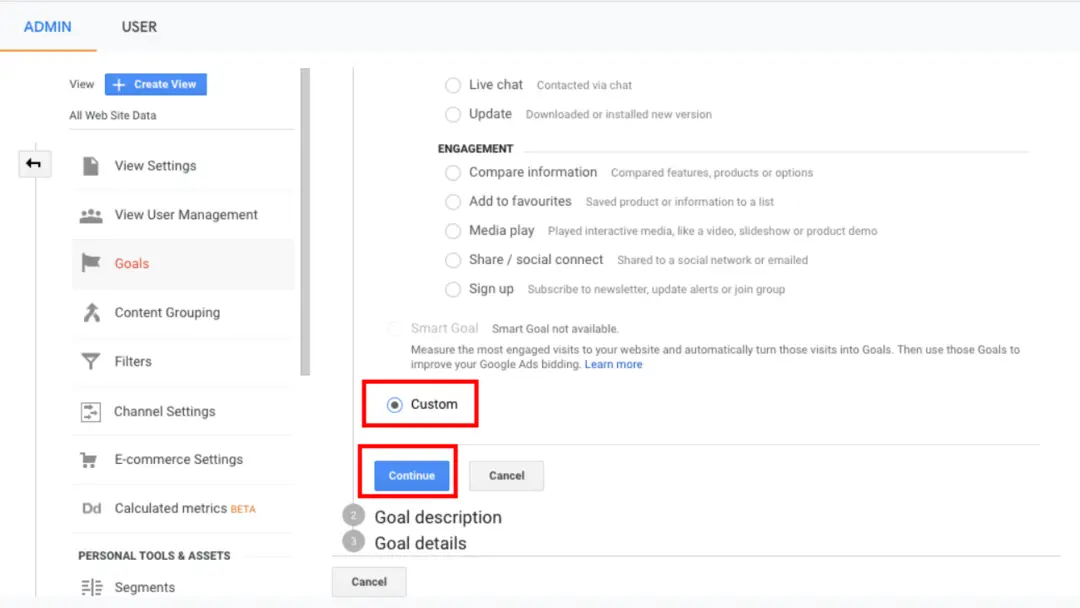
Step 6: Define Your Goal
Next, you’ll be asked to name your goal and select the type. For tracking events, choose ‘Event’ and continue.
Step 7: Configure Event Conditions
Here’s where you input the details of the event. Use the categories ‘Category,’ ‘Action,’ ‘Label,’ and ‘Value’ to define the parameters of your event. For example, track a video play as Action and name the video in Label.
configure-event-conditions-in-google-analytics 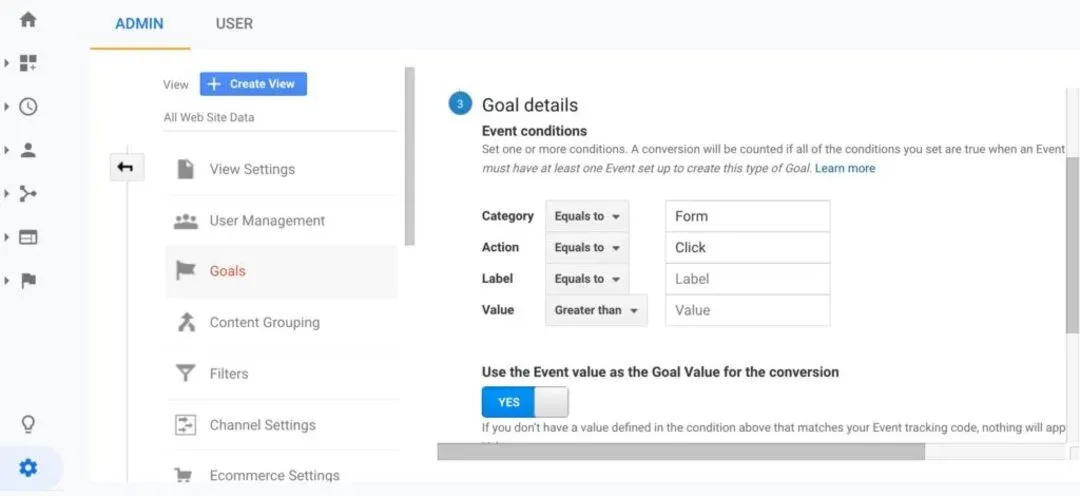
Step 8: Save Goal
After entering all the necessary details, click on the ‘Save’ button. Your event is now set up and ready to track.
Step 9: Use Google Tag Manager for Advanced Tracking
For more advanced event tracking, pair Google Analytics with Google Tag Manager. This allows more specifics such as time tracking, scroll depth and element visibility.
Summary
Setting up Events in Google Analytics can give ecommerce and digital marketing practitioners significant insight into specific user interactions on their site. By following this step-by-step guide, businesses can effectively monitor and evaluate critical touchpoints of their digital marketing strategies.
Free essential resources for success

Discover more from Lifesight


