Introduction
Retargeting, also known as remarketing, involves serving ads to users who have previously visited your website or engaged with your content. By targeting these warm leads, you can increase the likelihood of conversions and boost your return on investment (ROI). Facebook’s robust advertising platform offers precise targeting options and powerful tools to help you create effective retargeting campaigns. This step-by-step guide will walk you through the process of setting up retargeting ads on Facebook, from installing the Facebook Pixel to launching your campaign.
Step 1: Set Up Facebook Business Manager
The first step in creating retargeting ads is to set up Facebook Business Manager if you haven’t already. Go to the Facebook Business Manager website and create an account. Business Manager allows you to manage all your Facebook assets, including pages, ad accounts, and pixels, in one place. Ensure you have admin access to your business’s Facebook page and ad account.
setup facebook business manager
Step 2: Install the Facebook Pixel
The Facebook Pixel is a piece of code that you add to your website to track user interactions and gather data for retargeting. To install the Pixel, go to your Facebook Business Manager, click on “Events Manager,” and select “Pixels.” Click “Add” to create a new Pixel, give it a name, and follow the instructions to install the code on your website. You can either manually add the code to your site’s header or use a tag management solution like Google Tag Manager. Once installed, verify that the Pixel is working correctly using the Facebook Pixel Helper extension for Chrome.
install-facebook-pixel
Step 3: Define Your Custom Audience
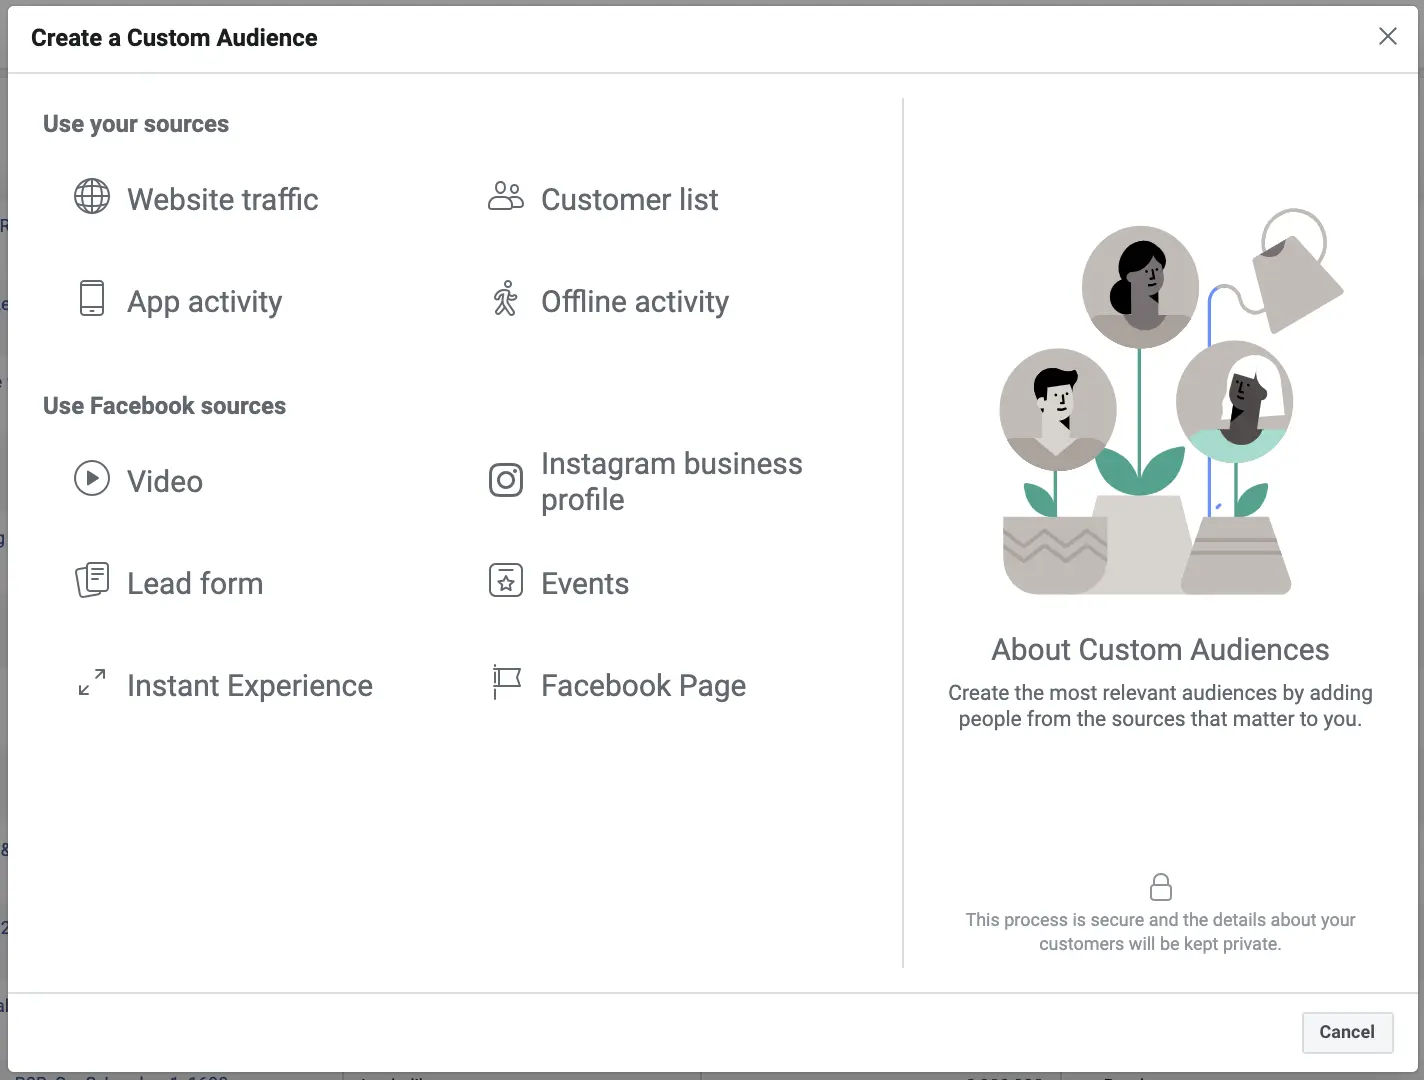
With the Facebook Pixel installed, you can now define your custom audience for retargeting. In Business Manager, go to “Audiences” under the “Assets” menu. Click “Create Audience” and select “Custom Audience.” Choose “Website Traffic” as the source and specify the criteria for your audience. You can target users who visited specific pages, spent a certain amount of time on your site, or took particular actions, such as adding items to their cart but not completing the purchase. Define the retention period, which determines how long users remain in the audience after visiting your site.
define custom audience
Step 4: Create Your Retargeting Campaign
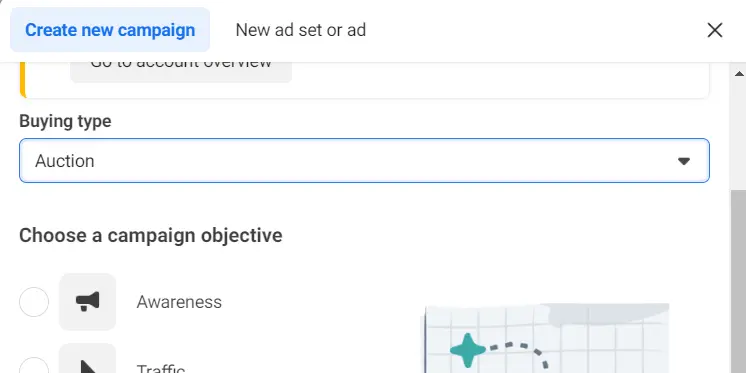
Next, create your retargeting campaign in Facebook Ads Manager. Click “Create” to start a new campaign and choose an objective that aligns with your marketing goals, such as “Conversions,” “Traffic,” or “Catalog Sales.” Name your campaign, ad set, and ad, then proceed to the ad set level to configure your audience, budget, and schedule.
create-a-new-campaign-in-facebook-ads
Step 5: Set Your Targeting and Budget
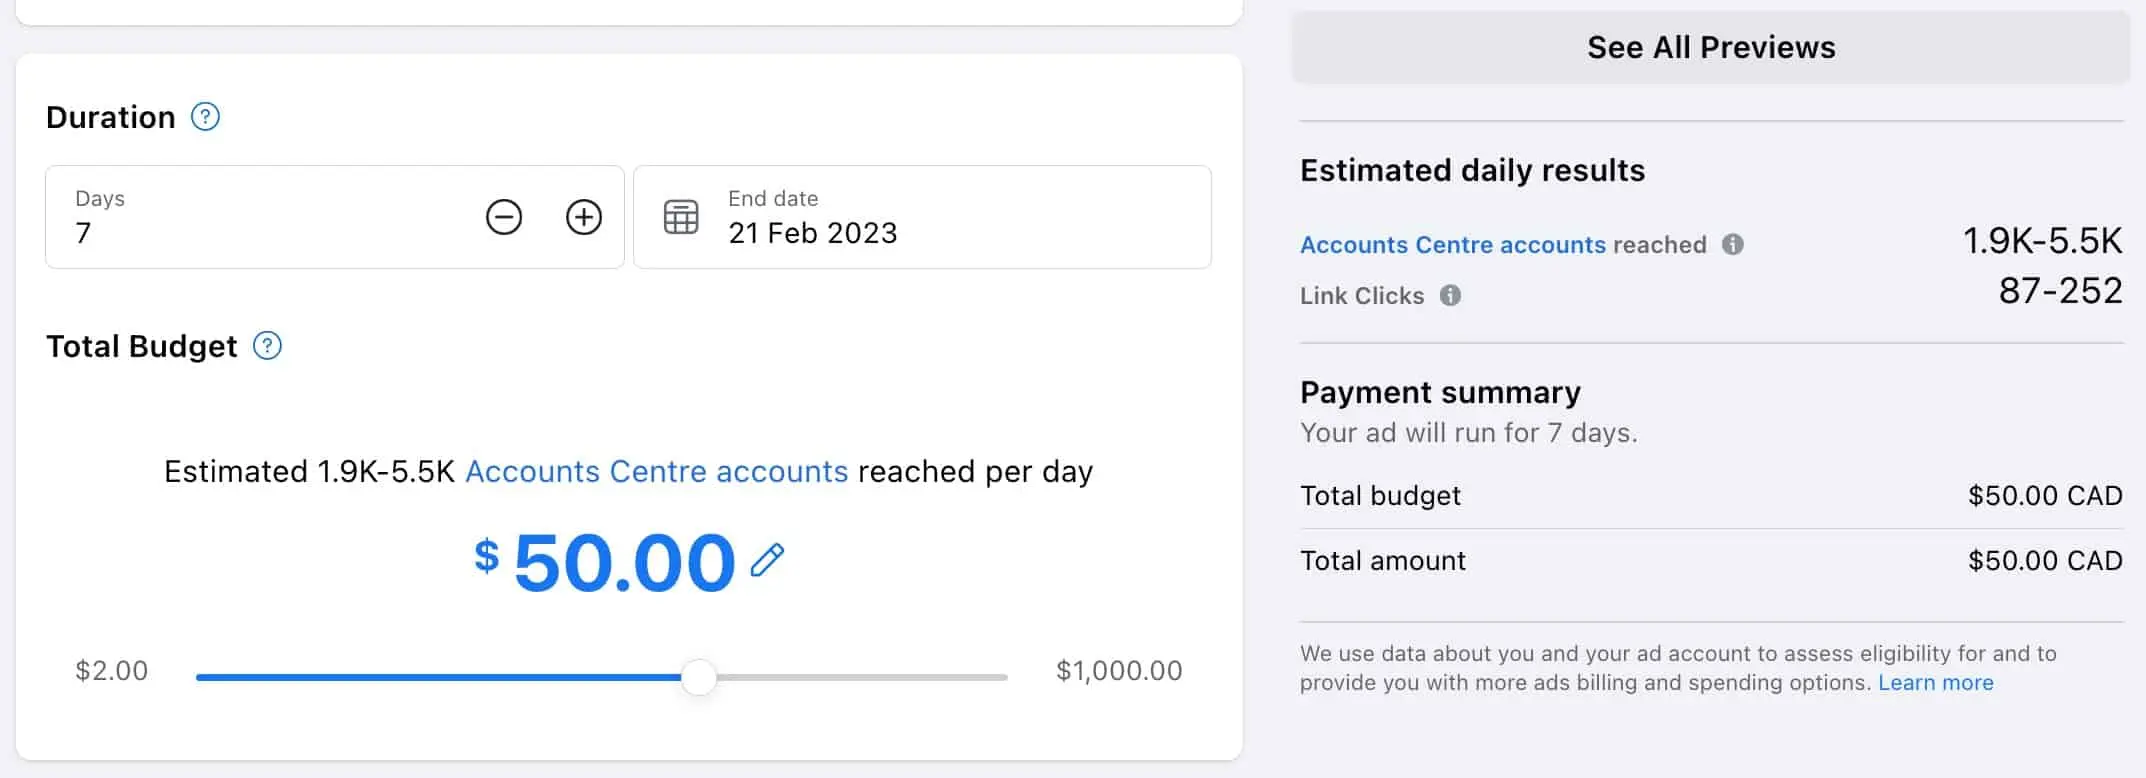
In the ad set settings, select the custom audience you created for retargeting. Define additional targeting criteria, such as location, age, and interests, if necessary. Set your budget and schedule, deciding whether to run your ads continuously or for a specific period. Choose between a daily or lifetime budget based on your campaign’s duration and goals.
set-your-budget-and-choose-duration
Step 6: Design Your Ad Creative
Design compelling ad creatives that will capture the attention of your retargeting audience. In Ads Manager, choose the format for your ad, such as a single image, carousel, or video. Upload high-quality visuals and craft persuasive copy that highlights your unique value proposition and encourages users to take action. Include a clear call-to-action (CTA) button, such as “Shop Now,” “Learn More,” or “Sign Up.”
Step 7: Set Up Conversion Tracking
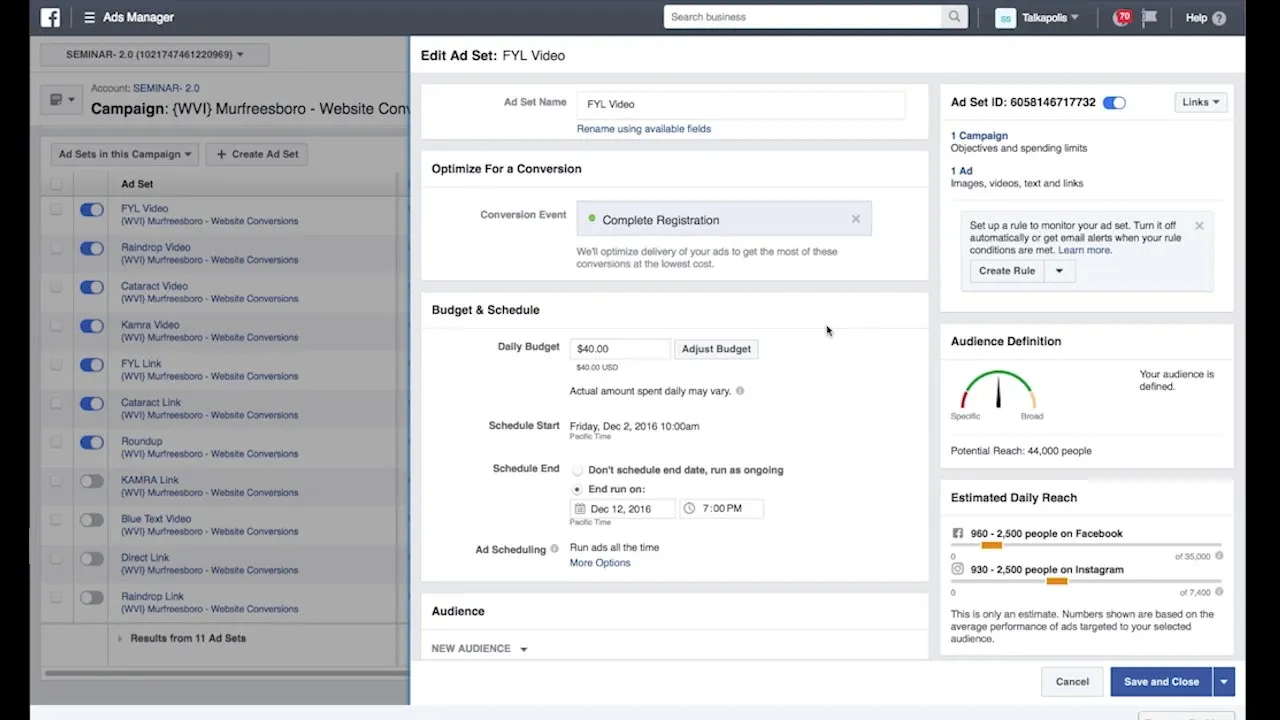
To measure the effectiveness of your retargeting campaign, set up conversion tracking in Ads Manager. Under the “Conversions” section, select the conversion event you want to track, such as purchases, sign-ups, or leads. Ensure these events are configured correctly in your Facebook Pixel settings. Conversion tracking allows you to monitor the performance of your ads and make data-driven optimizations.
optimize-for-conversion-in-facebook-ads
Step 8: Launch Your Campaign
Review all the settings in your ad set and ad to ensure everything is configured correctly. Click “Publish” to launch your retargeting campaign. Facebook will review your ads to ensure they comply with their advertising policies, which may take up to 24 hours.
Step 9: Monitor and Optimize
Once your campaign is live, monitor its performance regularly. Use Facebook Ads Manager to track key metrics such as reach, impressions, click-through rate (CTR), and conversions. Analyze the data to identify trends and areas for improvement. Make adjustments to your targeting, budget, and ad creatives as needed to optimize your campaign for better results. A/B testing different ad variations can help you determine what resonates best with your audience.
Step 10: Scale Your Campaign
As you gather insights and your retargeting campaign proves successful, consider scaling it to reach a larger audience. Increase your budget gradually and explore additional custom audiences, such as those who engaged with your Facebook or Instagram posts. Expanding your retargeting efforts can help you maximize conversions and grow your business.
Summary
Creating retargeting ads on Facebook is a powerful way to re-engage potential customers and drive conversions. By following this step-by-step guide, you can set up and launch effective retargeting campaigns. Start by setting up Facebook Business Manager and installing the Facebook Pixel. Define your custom audience, create your retargeting campaign, and design compelling ad creatives. Set up conversion tracking, launch your campaign, and monitor its performance to make data-driven optimizations. With continuous monitoring and scaling, you can achieve significant results and enhance your marketing strategy.
Free essential resources for success
Discover more from Lifesight

