Introduction
Integrating Google Analytics 4 (GA4) into your Shopify store is essential for tracking user behavior, understanding traffic sources, and optimizing your sales strategies. This guide provides a detailed walkthrough on setting up GA4, enabling you to leverage its powerful analytics capabilities to improve your store’s performance.
Creating and Setting Up GA4
Step 1: Create a Google Analytics Account
-
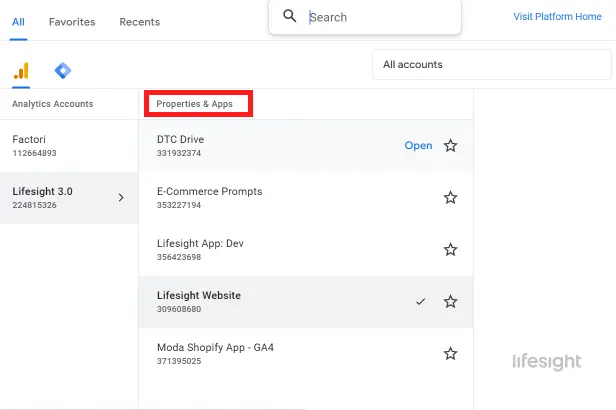
If you don’t already have a Google Analytics account, visit the
Google Analytics website
and sign up. Follow the setup process, which will guide you through creating a new property specifically for your Shopify store.
Step 2: Configuring Your GA4 Property
- During the setup, select “Web” when asked where you will be collecting data and enter your Shopify store’s URL. Complete the setup by following the prompts to create your GA4 property.
GA4 property.webp 
Step 3: Obtain Your Measurement ID
- Once your GA4 property is established, Google will provide you with a ‘Measurement ID’ that begins with ‘G-’. This ID is crucial as it is used to link your Shopify store to your GA4.
measurement-id-in-ga4 
Integrating GA4 with Shopify
Step 4: Adding GA4 to Your Shopify Store
- Log into your Shopify Admin dashboard.
- Navigate to ‘Online Store’ > ‘Preferences’.
- Scroll to the ‘Google Analytics’ section and input your ‘G-’ Measurement ID in the appropriate field. Ensure that you remove any previous analytics codes if present to avoid data conflict.
Step 5: Enable Enhanced Ecommerce Tracking
- Enhanced Ecommerce tracking provides detailed insights into user interactions with products on your Shopify store. To enable this, go to your GA4 interface, click on ‘Admin’, and under the ‘Property’ column, navigate to ‘Data Streams’.
- Select your data stream and click on ‘Enhanced measurement’. Toggle on the settings that you require, such as ‘View item’, ‘Add to cart’, and ‘Purchase’ events.
Verifying and Utilizing GA4
Step 6: Verify the Setup
- To ensure that GA4 is correctly tracking your Shopify activities, visit your site and perform a few test interactions like browsing products or adding an item to the cart. Then, check the ‘Real-time’ report in your GA4 dashboard to see if these activities are recorded.
Step 7: Setting Up Conversions and Custom Events
- In GA4, conversions are critical for tracking key actions. Go to ‘Events’ in the GA4 dashboard, and mark relevant events as conversions by toggling the ‘Mark as conversion’ button next to each event.
- For more tailored tracking, you can set up custom events directly from your Shopify store or by using Google Tag Manager.
Step 8: Utilize GA4 Reports to Gain Insights
- Explore various reports in GA4 to understand your traffic and user behavior. The ‘Acquisition’ reports show where your visitors come from, while ‘Engagement’ reports provide insights into how visitors interact with your site.
- ‘Monetization’ reports analyze your revenue streams, and ‘Retention’ reports help you understand customer loyalty.
Conclusion
Setting up Google Analytics 4 on your Shopify store allows you to access advanced tracking and analytical tools that can guide your marketing and sales strategies.To gain deeper insights into your customers’ actions and preferences, it’s crucial to focus on
understanding your customer behavior better
. By following these detailed steps, you can ensure that your integration is successful and that you are prepared to utilize GA4’s extensive capabilities to drive your store’s growth.
Free essential resources for success
Discover more from Lifesight


