Introduction
Effectively targeting your audience in Google Ads is essential for optimizing your ad spend and ensuring your marketing efforts reach the most relevant customers. One crucial aspect of this is excluding locations that do not align with your business goals. By excluding certain geographical areas, you can prevent your ads from being shown to users in locations that are unlikely to convert, thereby enhancing your campaign’s efficiency. This guide will walk you through the steps to exclude locations in Google Ads.
Step 1: Access Your Google Ads Account
The first step to exclude locations in Google Ads is to access your account. Go to the Google Ads website. Sign in with your Google account credentials.
google-ads-digital-media-buying-platform
Step 2: Navigate to Your Campaign
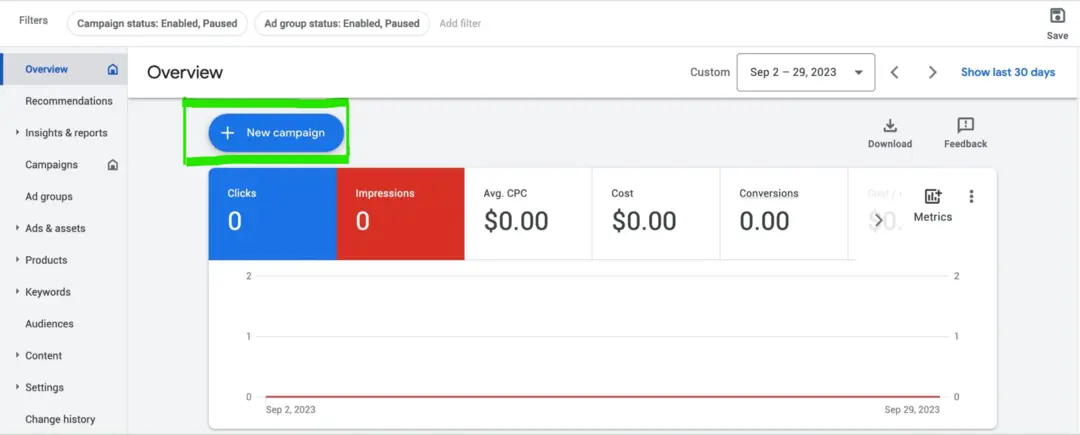
Once logged in, navigate to the specific campaign where you want to exclude locations. In the left-hand menu, click on “Campaigns.” Select the campaign you wish to modify.
navigate-to-campaigns-in-google-ads
Step 3: Open Location Settings
To exclude locations, you need to access the location settings of your campaign. Click on the “Settings” tab within your selected campaign. Scroll down to the “Locations” section.
Step 4: Edit Locations
To start excluding locations, you need to edit your current location settings. In the “Locations” section, click on the pencil icon to edit locations. You will see a field where you can add or exclude locations.
Step 5: Add Location Exclusions
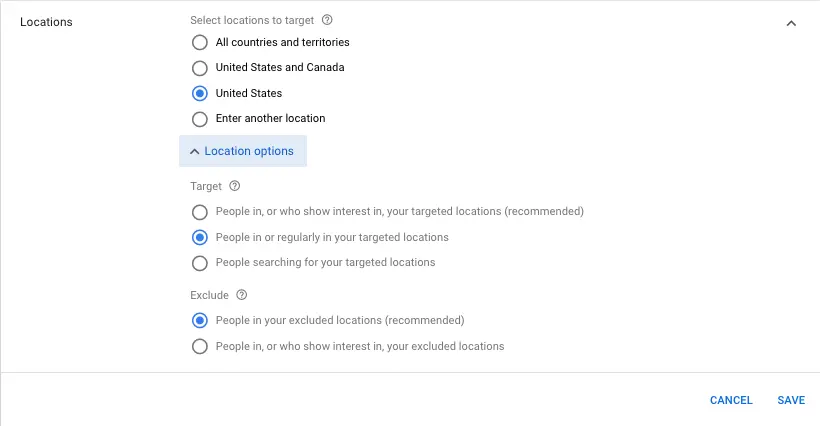
Adding exclusions involves specifying the locations you do not want your ads to appear in. In the locations field, type the name of the location you want to exclude. Select the location from the dropdown menu that appears. Click on the “Exclude” button to add the location to your exclusion list. Repeat this process for each location you want to exclude.
add-location-exclusions
Step 6: Use Bulk Location Exclusions
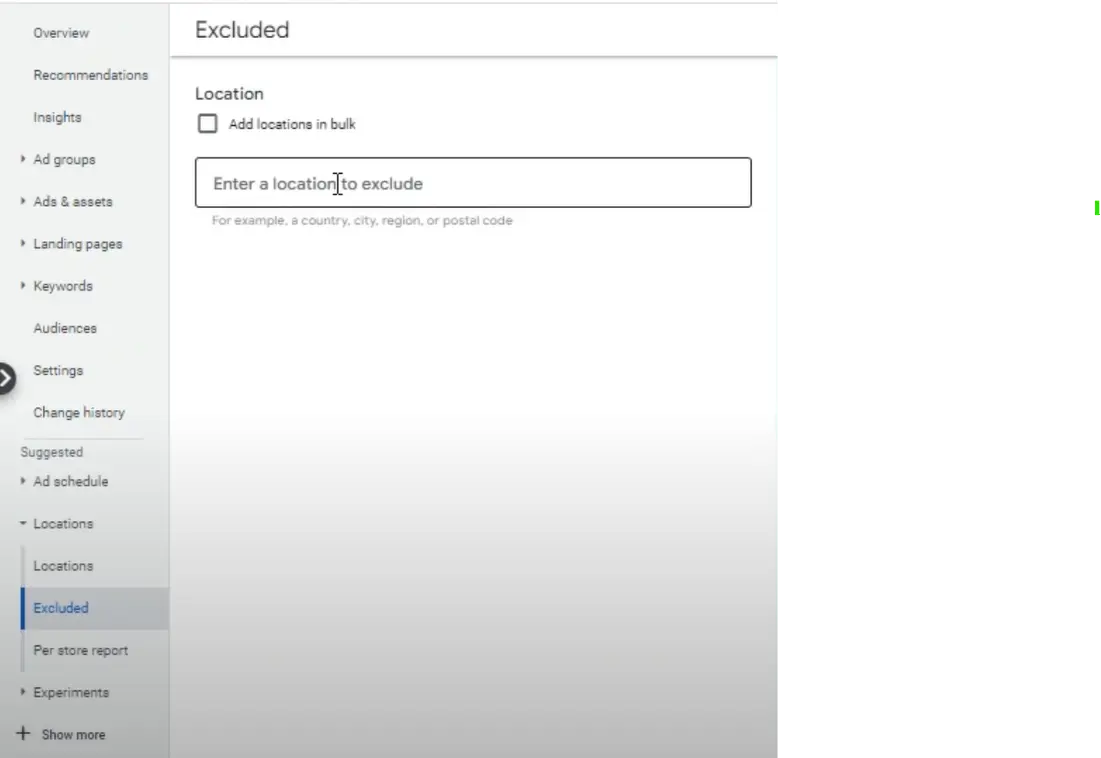
If you have a large number of locations to exclude, using the bulk exclusion feature can save time. Click on the “Advanced search” link in the locations section. Switch to the “Bulk locations” tab. Enter the names of the locations you want to exclude, one per line. Click “Search” to find these locations. Select all the locations and click “Exclude all” to add them to your exclusion list.
add-locations-in-bulk
Step 7: Save Your Changes
After adding all desired location exclusions, save your changes to ensure they are applied to your campaign. Review the list of excluded locations to ensure accuracy. Click the “Save” button at the bottom of the locations section.
Step 8: Verify Exclusions
It’s important to verify that your exclusions have been successfully applied. Go back to the “Settings” tab of your campaign. Scroll down to the “Locations” section and review the excluded locations list.
Step 9: Monitor Campaign Performance
After excluding locations, monitor your campaign performance to see how the changes impact your results. Regularly check key performance metrics such as click-through rate (CTR), conversion rate, and cost per conversion. Compare these metrics to the performance before the exclusions to assess the impact.
Step 10: Adjust and Optimize
Continual optimization is key to maintaining and improving your campaign’s performance. If certain excluded locations still appear to be getting clicks, revisit the exclusion settings to ensure they are correctly applied. Adjust your bidding strategy and budget allocation based on the performance data. Consider excluding additional locations if you identify new areas that are not performing well.
Summary
Excluding locations in Google Ads is a strategic move to enhance the relevance and effectiveness of your ad campaigns. By following these steps — accessing your account, navigating to campaign settings, editing locations, and monitoring performance — you can ensure your ads are shown only in the most relevant areas, optimizing your ad spend and improving your campaign outcomes. Regularly reviewing and adjusting your location settings will help maintain the efficiency and success of your advertising efforts.
Free essential resources for success
Discover more from Lifesight
