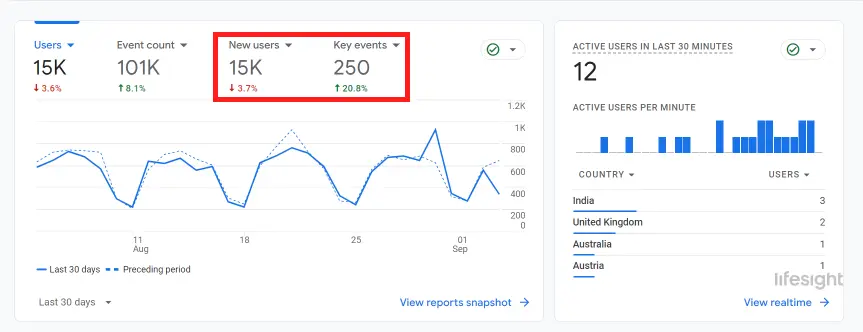
The ability to analyze website traffic is crucial for the success of any e-commerce or online marketing strategy. This is where Google Analytics 4 comes into play. GA4 is a powerful tool that provides crucial insights about website traffic patterns, user behaviors, and more to help businesses optimize their strategies for maximum impact. However, there may be instances where it becomes necessary to exclude a specific IP address from being tracked. These could be for a variety of reasons, ranging from ensuring the integrity of your data to complying with privacy regulations. This comprehensive guide will walk you through the steps necessary to exclude an IP address from your Google Analytics 4 tracking.
Step 1: Understanding the Need for IP Exclusion
1) Identify Internal Traffic
Recognize which IP addresses belong to your company or are used by internal teams. This can include home offices, company headquarters, or any other location where employees access the company website.
2) Assess Impact on Data
Understand how internal traffic might be inflating website metrics such as session duration, bounce rate, and overall traffic, which can lead to misinformed decisions.
Step 2: Accessing Your Google Analytics 4 Account
1) Log In to Your Account
Ensure you have administrative access to your Google Analytics account.
2) Navigate to the Correct Property
Select the GA4 property you want to configure from your Google Analytics dashboard.
Step 3: Locate IP Address Information
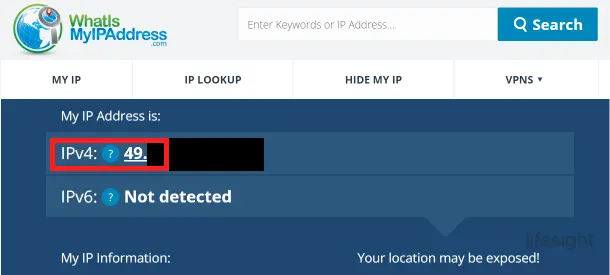
1) Determine Your IP Address
Before excluding an IP address, confirm the specific IP address or range of IP addresses that need to be excluded. You can find your current IP address by searching “What is my IP address” in a search engine.
Step 4: Create Data Filters
1) Navigate to Data Settings
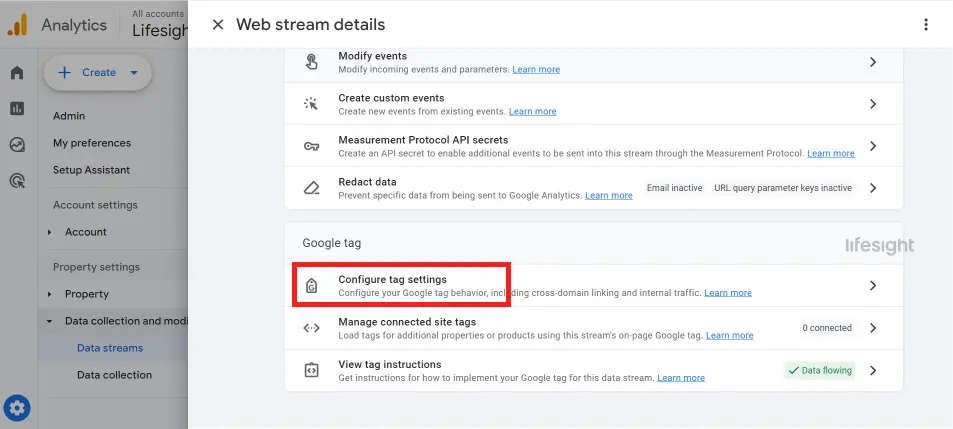
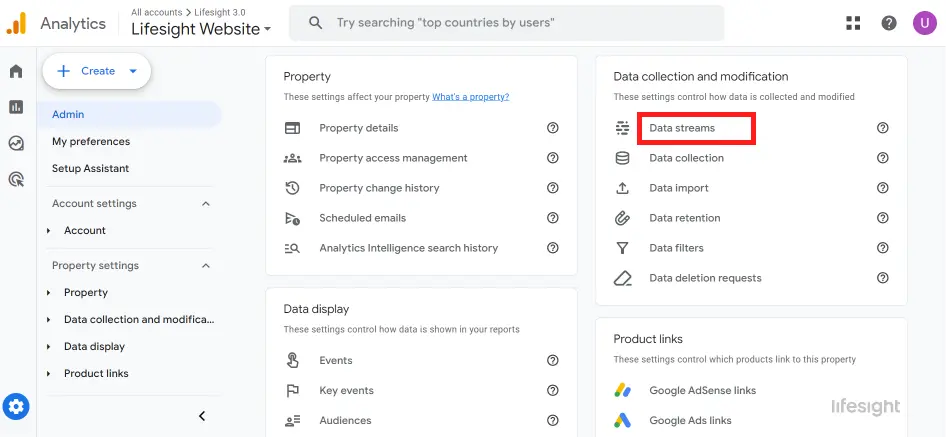
In the Admin panel of your GA4 property, locate the ‘Data Streams’ section and select your web data stream.
2) Implement IP Exclusion Filters
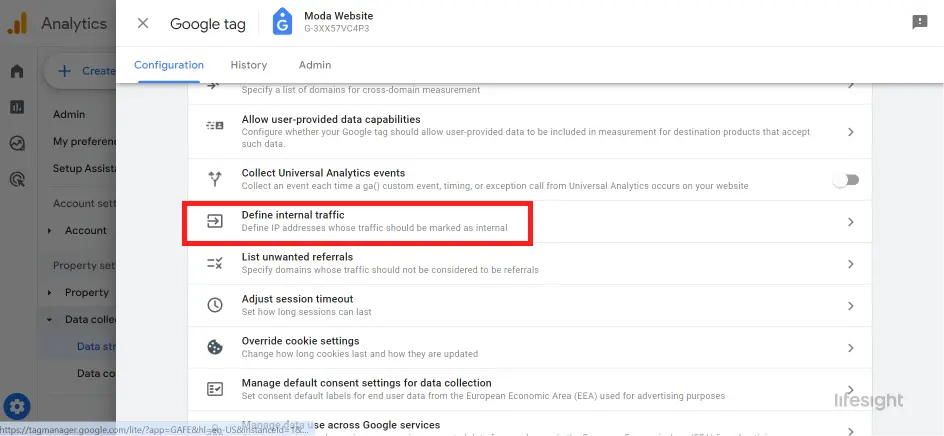
Click on ‘More tagging settings’ followed by ‘Define internal traffic’. Here you can add rules to define internal traffic by IP address.
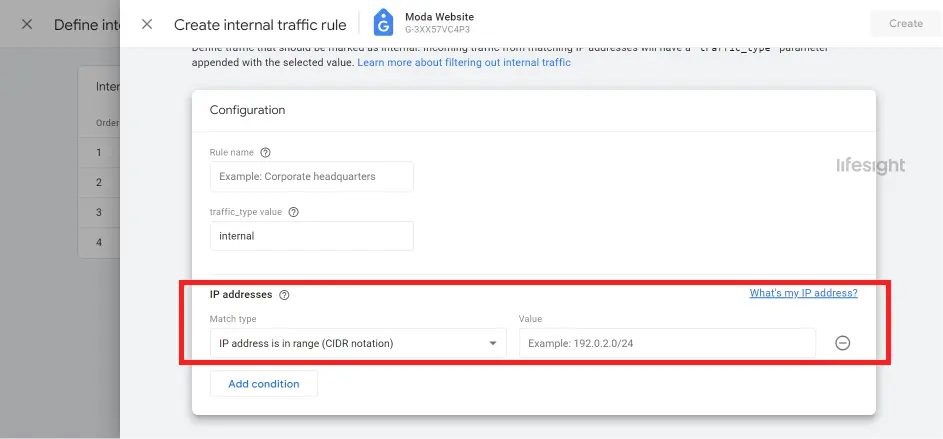
3) Set Up IP Exclusion Rules
Click “Create” to add a new rule. Enter the IP address or a range that you wish to exclude and label it (e.g., “Headquarters Traffic”). Save the rule.
Step 5: Verify the Exclusion Setup
Test the Filter
After setting up the exclusion filter, monitor your analytics data to ensure that the traffic from the excluded IP addresses is not being recorded. You may need to visit your site from the excluded IP to test the setup.
Step 6: Regularly Update IP Exclusions
Maintain and Review
IP addresses can change, especially if they are not static or if network configurations are updated. Regularly check and update your exclusion filters to maintain accurate data.
Step 7: Utilize Advanced Segmentation (Optional)
Apply Segments
For further analysis, you can apply segments in your reports to view data with and without the excluded IP traffic, providing deeper insights into user behavior and traffic sources.
Conclusion
Excluding specific IP addresses in Google Analytics 4 is essential for ensuring that your data reflects true customer behavior without internal influence. By following these detailed steps, you can set up IP exclusions that help improve the accuracy of your web analytics, leading to better-informed business decisions.
Free essential resources for success
Discover more from Lifesight
