Introduction:
Google Analytics 4 (GA4) brings a new era of analytics, offering advanced tracking capabilities to help businesses gain deeper insights into user behavior. Events play a pivotal role in understanding specific interactions on your website or app. In this comprehensive guide, we’ll walk you through the step-by-step process of creating events in GA4. By mastering this feature, you can precisely track user interactions and gather valuable data for informed decision-making.
Step 1: Access Google Analytics 4 Property:
Begin by logging into your Google Analytics account and navigating to the GA4 property for the website or app you want to track. If you haven’t set up GA4 for your property, follow the instructions provided by Google to create a new GA4 property.
Step 2: Navigate to the Events Section:
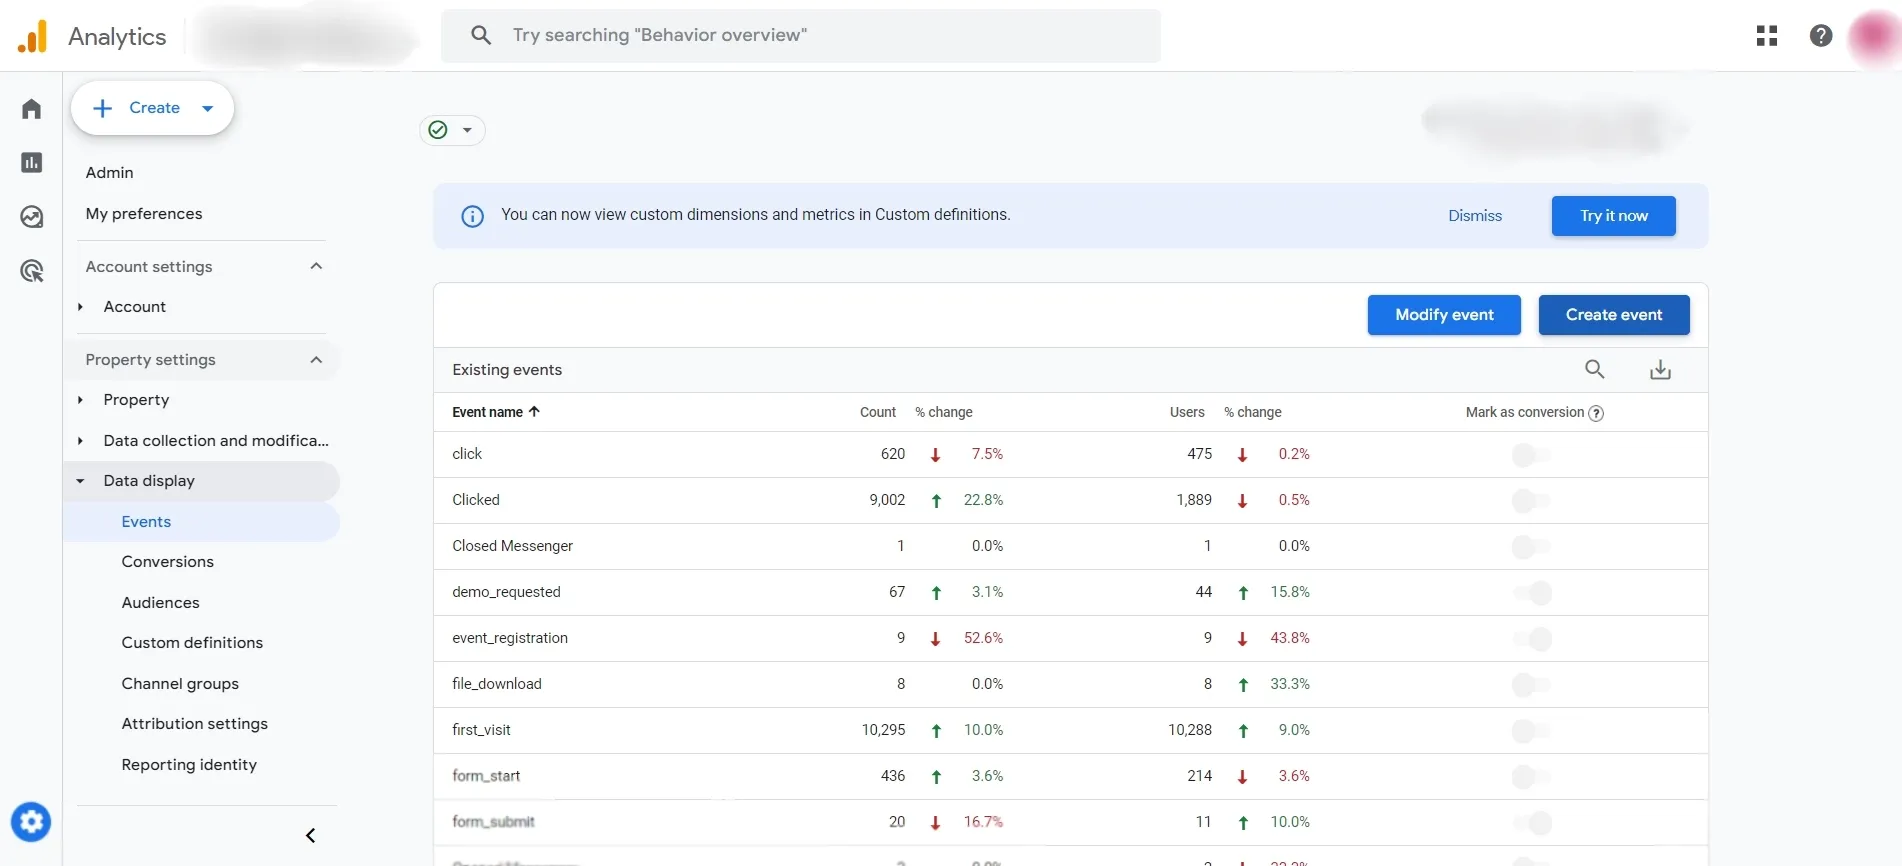
In the left-hand menu of your GA4 property, click on “Events.” This section is where you’ll manage and configure the events you want to track. Here, you’ll find a list of predefined events and the option to create custom events.
navigate-to-events
Step 3: Explore Predefined Events:
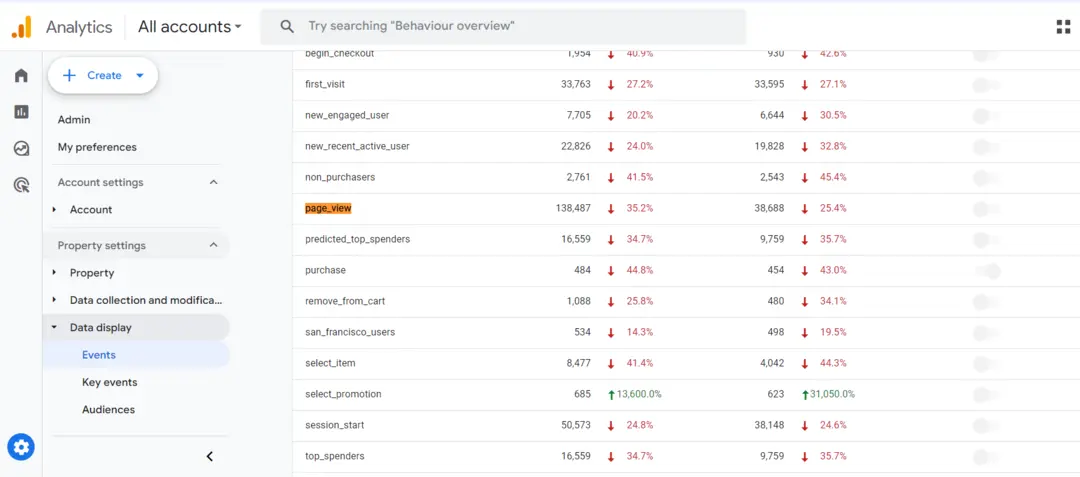
GA4 comes with a set of predefined events, such as page_view, scroll, click, and more. These events offer a starting point for tracking common user interactions. Review the list to see if any predefined events align with your tracking objectives.
pre-defined-events-in-ga4
Step 4: Create Custom Events:
For specific interactions unique to your website or app, you’ll likely need custom events. Click on “Create Event” to set up a custom event. Provide a name for your event that accurately reflects the user interaction you want to track, such as “Add to Cart” or “Video Play.”
create-custom-event-in-ga4
Step 5: Configure Event Parameters:
Events in GA4 can have parameters that provide additional information about the interaction. For example, an “Add to Cart” event may have parameters like product_id, quantity, and price. Configure these parameters to capture the details relevant to your tracking needs.
Step 6: Set Up Event Triggers:
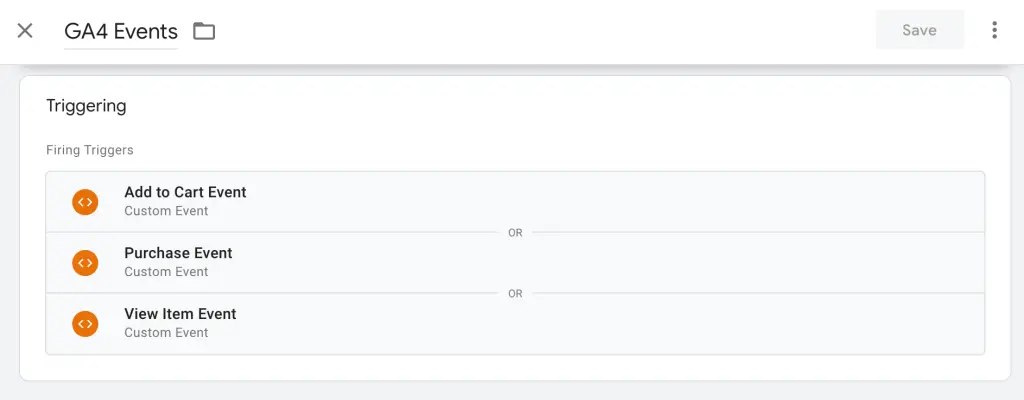
Events need triggers to determine when they should be recorded. Triggers can be clicks, page views, or other interactions. Choose the appropriate trigger for your event and define the conditions that must be met for the event to fire. This step ensures accurate tracking of user interactions.
set-up-event-triggers-in-ga4
Step 7: Verify Event Setup:
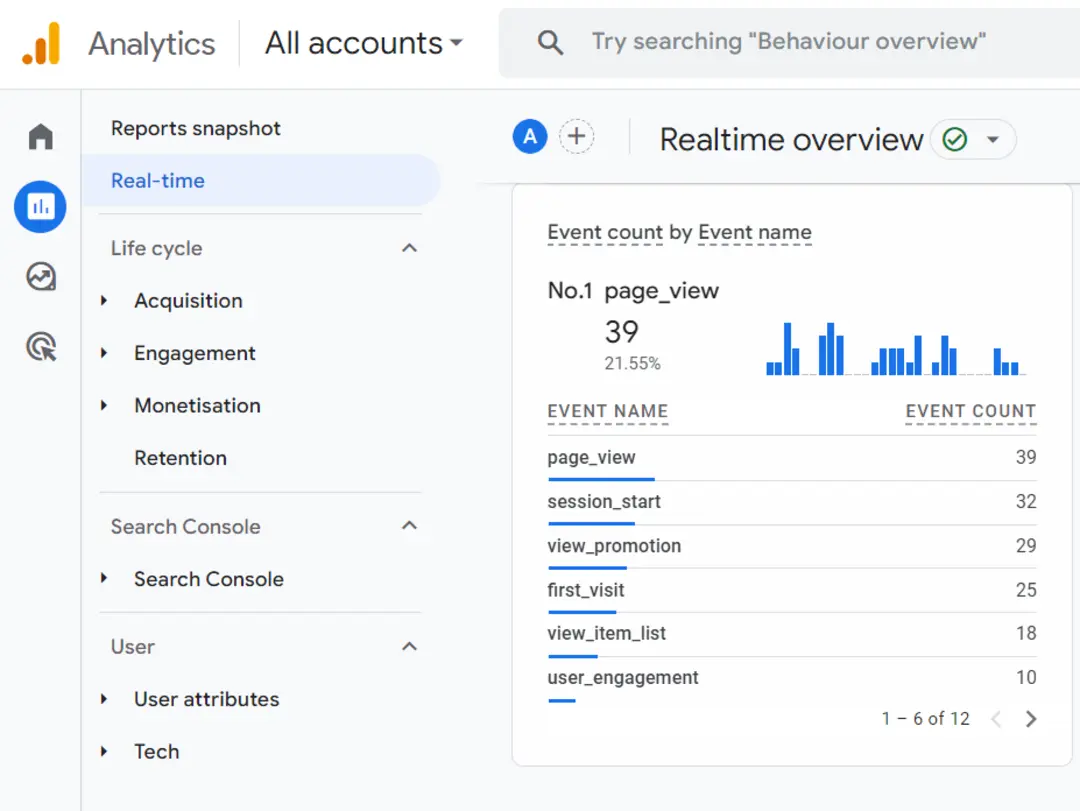
After creating and configuring your events, use the “Realtime” section in GA4 to verify that your events are being tracked correctly. This real-time validation ensures that the data you’re capturing aligns with your expectations.
verify-event-setup-by-realtime-section-in-ga4
Step 8: Analyze Event Reports:
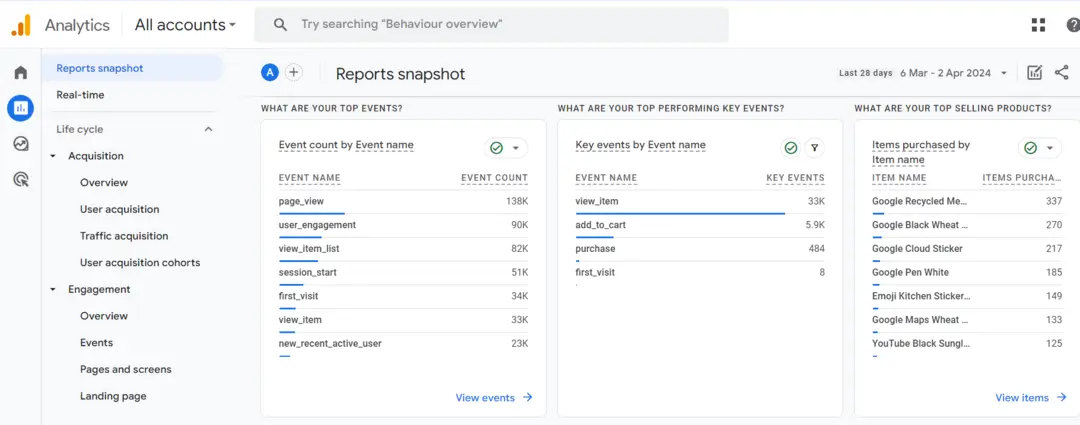
Head to the “Reports” section in GA4 and explore the “Events” reports. Here, you’ll find insights into the performance of your events, including event counts, unique events, and parameters. Use these reports to analyze user interactions and make data-driven decisions.
analyze-event-reports-in-ga4
Step 9: Implement Enhanced Measurement:
GA4 offers Enhanced Measurement, which automatically tracks certain events without manual setup. Enable Enhanced Measurement in your GA4 property settings to take advantage of features like page views, scroll tracking, outbound clicks, and more, without the need for additional configuration.
Step 10: Monitor and Iterate:
Continuously monitor the performance of your events and use the insights gained to iterate and optimize. Regularly review event reports, analyze user behavior, and adjust your event configuration as needed to ensure you’re capturing the most relevant data.
Summary:
Creating events in GA4 is a fundamental step in harnessing the full power of the analytics platform. By following these steps, from accessing your GA4 property to configuring custom events and analyzing reports, you can gain precise insights into user interactions, ultimately guiding your strategy towards improved user engagement and conversions.
Free essential resources for success
Discover more from Lifesight
