
Introduction
UTM (Urchin Tracking Module) parameters are tags added to URLs that help track the performance of campaigns in Google Analytics. By using UTM parameters, you can gain insights into which campaigns drive traffic, conversions, and engagement on your website. Google Tag Manager (GTM) simplifies the process of adding and managing UTM parameters, allowing marketers to dynamically set and track these tags without modifying the website’s code. This guide will provide detailed instructions on creating custom UTM parameters via GTM, ensuring accurate and comprehensive tracking of your marketing campaigns.
Step 1: Set Up Google Tag Manager
If you haven’t already, set up a Google Tag Manager account. Go to the GTM website and sign up using your Google account. Once you’ve created an account, create a new container for your website. This container will hold all your tags, triggers, and variables. After creating the container, you’ll receive a snippet of code that you need to add to your website. This code allows GTM to manage tags on your site.
Step 2: Define Your UTM Parameters
Before creating UTM parameters in GTM, define the parameters you want to track. Common UTM parameters include:
- utm_source: Identifies the source of the traffic, such as Google, Facebook, or newsletter.
- utm_medium: Specifies the medium used, such as email, CPC (cost per click), or social.
- utm_campaign: Names the specific campaign, such as spring_sale or holiday_promo.
- utm_term: (Optional) Used for paid search to identify keywords.
- utm_content: (Optional) Differentiates similar content or links within the same ad.
Determine the values you’ll use for these parameters based on your campaign strategy.
Step 3: Create a New Tag in GTM
Log in to your GTM account and select the container for your website. Click on “Tags” in the left-hand menu and then click “New” to create a new tag. Name your tag appropriately, such as “Custom UTM Parameters Tag.”
click-on-new-tag-to-create-a-new-tag 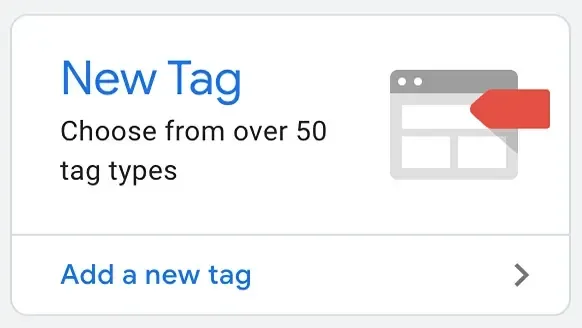
Step 4: Configure the Tag Type
Click on “Tag Configuration” and select “Google Analytics: Universal Analytics” as the tag type. This configuration will allow you to track UTM parameters in Google Analytics. Under “Track Type,” select “Page View” to track page views with UTM parameters.
choose-ga4-event-as-the-tag-type-in-gtm 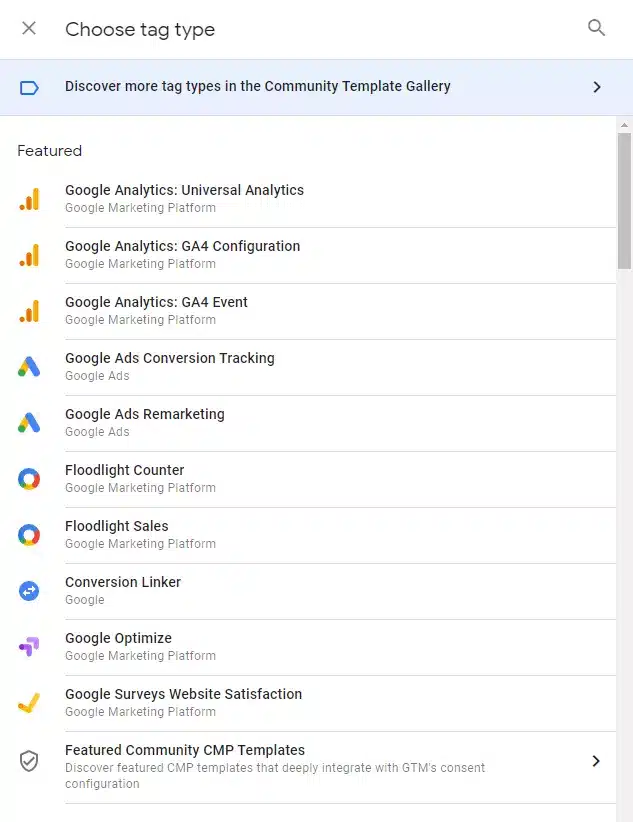
Step 5: Set Up the UTM Parameters
In the tag configuration, you’ll see a section for “Fields to Set.” Click “Add Row” and enter the UTM parameters you defined earlier. For each parameter, enter the field name (e.g., “campaignSource” for utm_source) and the corresponding value. You can use GTM variables to dynamically set these values based on the user’s actions or predefined constants.
Step 6: Create Variables for Dynamic Values
If you want to set UTM parameters dynamically, create variables in GTM. Click on “Variables” in the left-hand menu and then click “New” to create a new variable. Name your variable appropriately, such as “{{Campaign Source}}.” Choose the variable type based on how you want to set the value, such as “URL” to extract parameters from the URL or “Data Layer Variable” to use values from the data layer.
Step 7: Configure Triggers
After setting up your tag and variables, configure triggers to fire the tag. Click on “Triggers” in the tag configuration and then click “Add Trigger.” Choose an appropriate trigger type, such as “Page View” to fire the tag on every page load, or “Click” to fire the tag when a user clicks on specific elements. Configure the trigger conditions based on your tracking requirements.
create a new trigger in tag manager 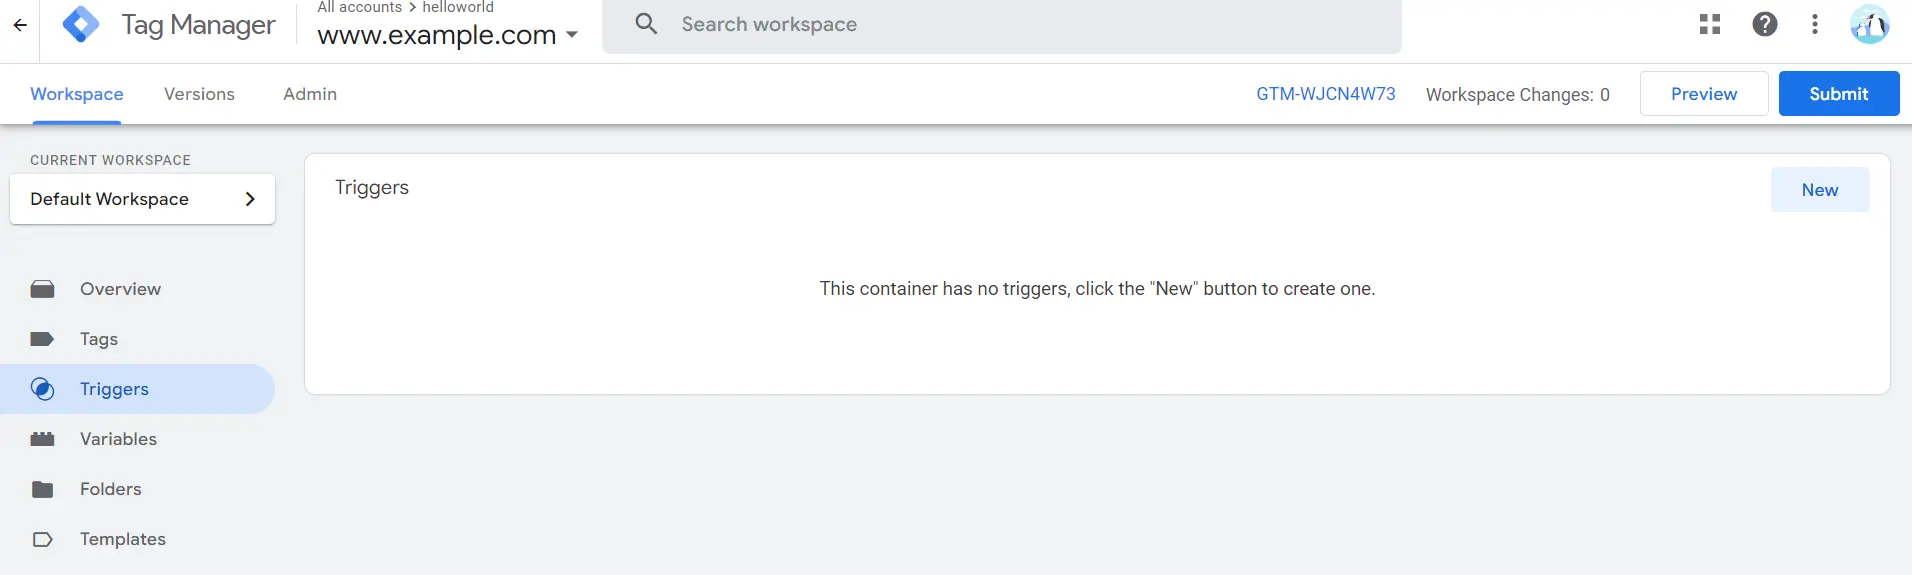
Step 8: Test Your Tag
Before publishing your tag, it’s crucial to test it to ensure it works correctly. Click on “Preview” in the GTM interface to enter preview mode. In this mode, navigate to your website and interact with the elements you configured triggers for. Use the GTM preview panel to verify that your tags are firing as expected and that UTM parameters are being set correctly.
preview-mode-in-google-tag-manager 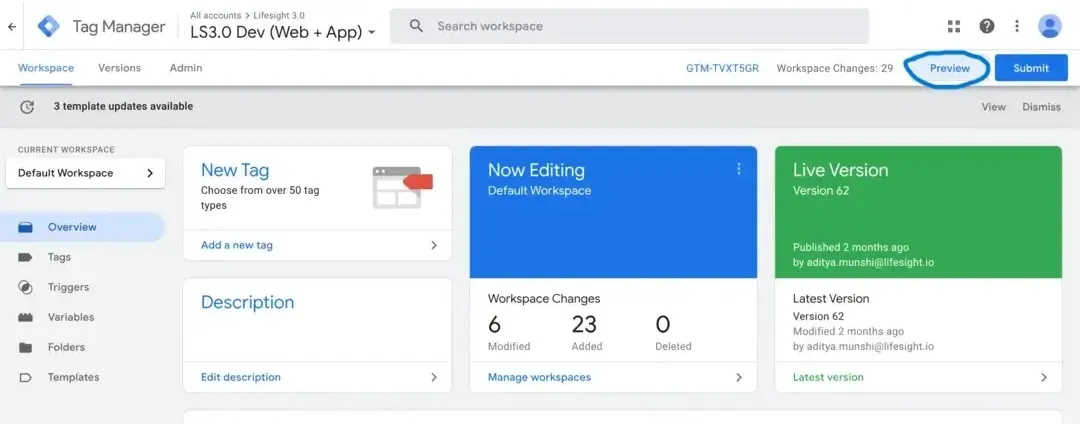
Step 9: Publish Your Container
Once you’ve tested your tag and confirmed it’s working correctly, publish your GTM container. Click on “Submit” in the GTM interface, provide a version name and description, and then click “Publish.” Your changes will go live, and GTM will start tracking UTM parameters based on your configuration.
publishing the container in google tag manager 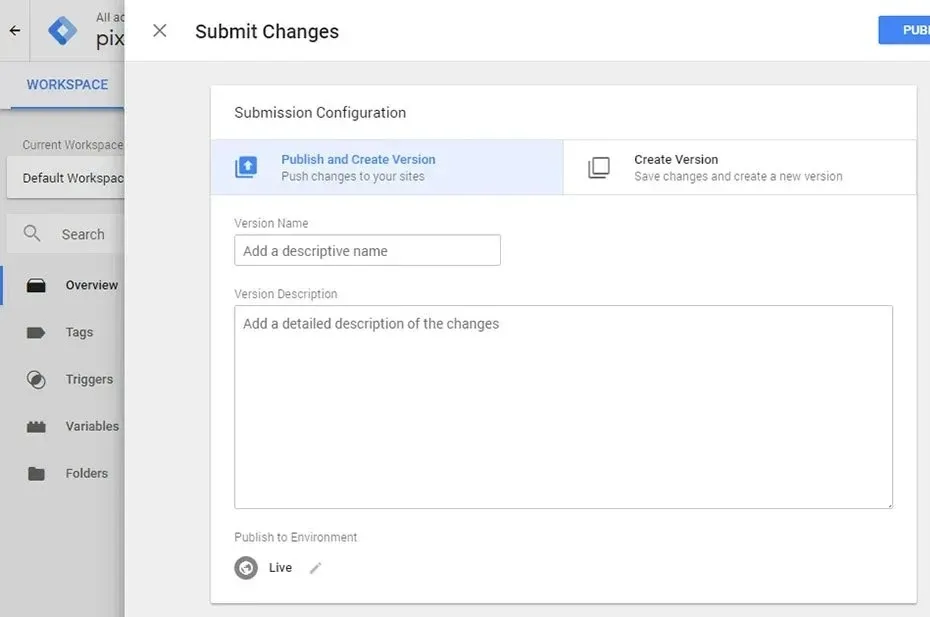
Step 10: Monitor and Analyze Data
After publishing your container, monitor your UTM parameters’ performance in Google Analytics. Go to the “Acquisition” section in Google Analytics and navigate to “Campaigns” to see the traffic and engagement metrics for your campaigns. Use this data to analyze the effectiveness of your marketing efforts and make informed decisions to optimize future campaigns.
Summary
Creating custom UTM parameters via Google Tag Manager is a powerful way to track the performance of your marketing campaigns. By following these steps, you can set up and manage UTM parameters dynamically, ensuring accurate tracking and comprehensive insights. Start by setting up GTM, defining your UTM parameters, and configuring tags and triggers. Test your setup thoroughly before publishing and continuously monitor your data in Google Analytics to optimize your campaigns. With GTM and UTM parameters, you can make data-driven decisions to enhance your marketing strategy.
Free essential resources for success


Discover more from Lifesight


