Introduction
Creating custom audiences in Google Ads allows businesses to target specific groups of users based on their behavior, interests, and other unique characteristics. This precision targeting enables advertisers to deliver more relevant ads, improve campaign performance, and maximize return on investment (ROI). In this guide, we will walk you through the step-by-step process of creating custom audiences in Google Ads.
Step 1: Access Your Google Ads Account
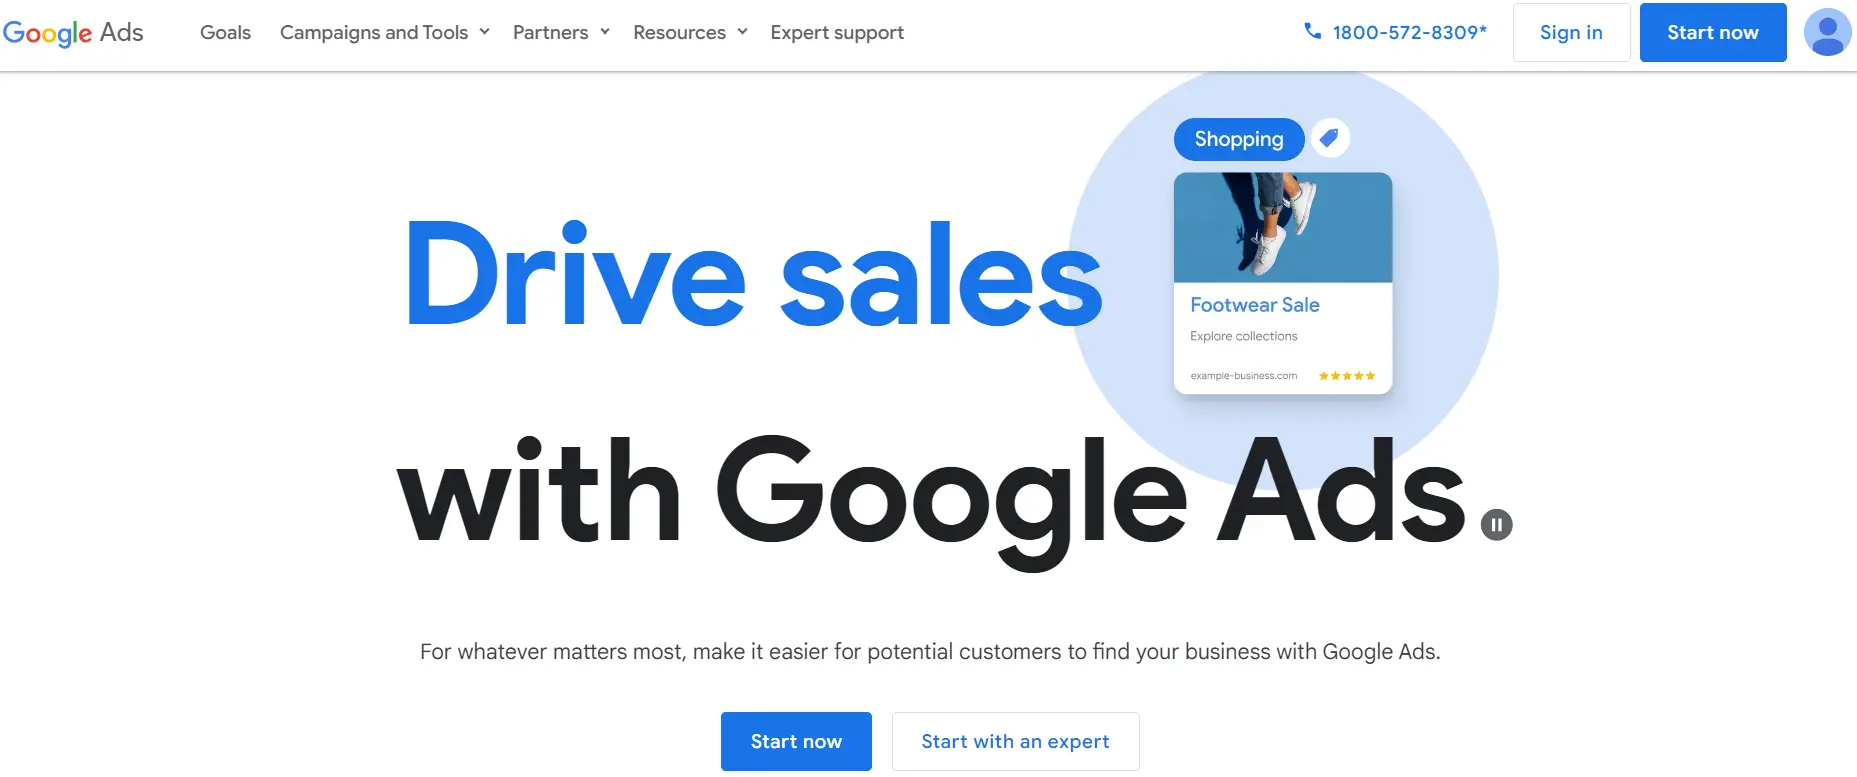
Start by logging into your Google Ads account. Ensure you have the necessary permissions to create and manage custom audiences. If you don’t have an account yet, you’ll need to set one up at Google Ads.
google-ads-digital-media-buying-platform
Step 2: Navigate to the Audience Manager
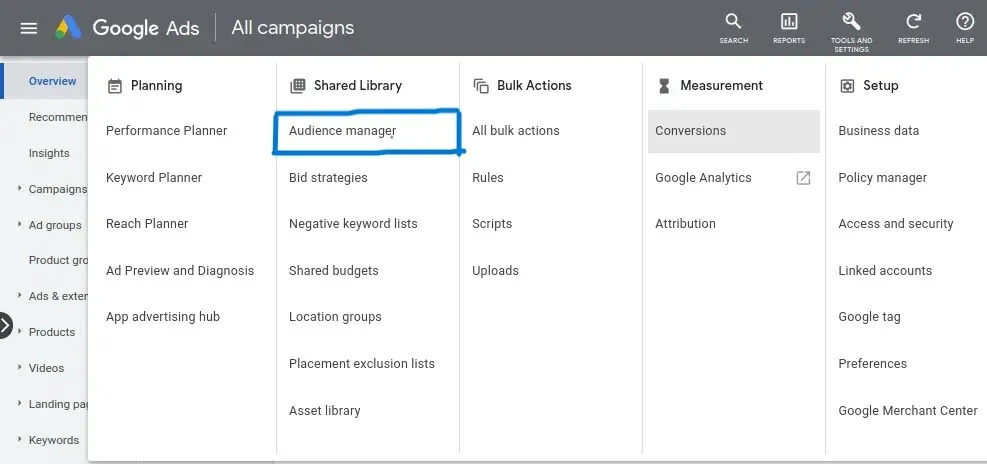
Once you’re logged in, go to the main dashboard. In the upper-right corner, click on the tools and settings icon (resembling a wrench) to access the tools menu. Under the “Shared Library” section, select “Audience Manager.” This is where you can create and manage your custom audiences.
Navigate-to-audience-manager-in-google-ads
Step 3: Create a New Audience
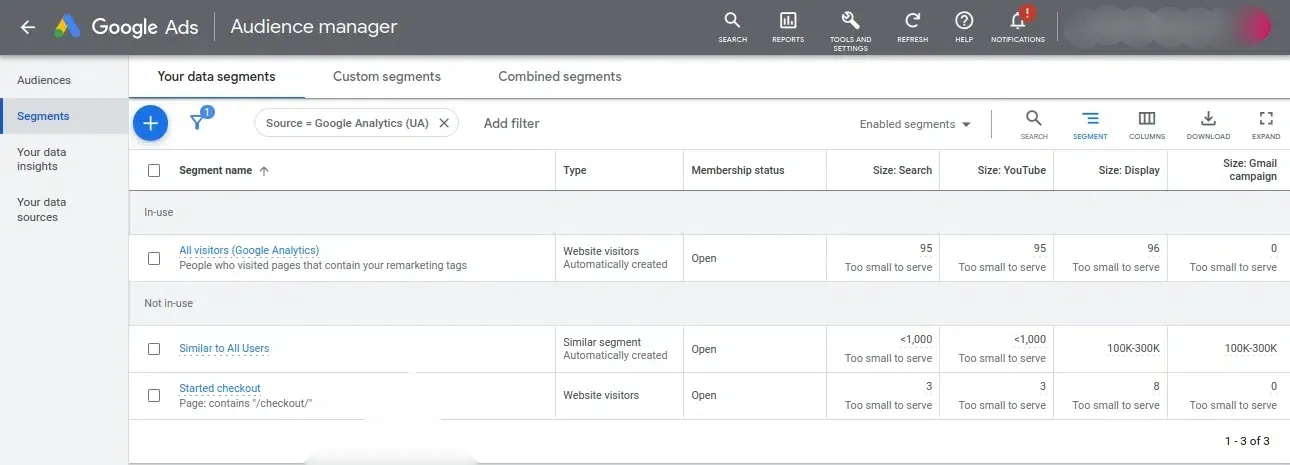
In the Audience Manager, click the blue plus button (+) to create a new audience. You will be presented with several options, including “Custom Audiences” and “Remarketing.” For this guide, we will focus on creating a “Custom Audience.”
create-new-audience-in-google-ads
Step 4: Choose Your Custom Audience Type
Google Ads offers two main types of custom audiences:
- Custom Intent Audiences: These target users based on their recent purchase intent or specific keywords they’ve searched for.
- Custom Affinity Audiences: These target users based on their interests and habits.
For example, if you want to target users actively searching for your products or services, you should choose “Custom Intent Audiences.” If you prefer to target users with a specific interest related to your business, select “Custom Affinity Audiences.”
Step 5: Define Your Audience
Once you have chosen your custom audience type, you need to define your audience criteria. For Custom Intent Audiences, you can enter keywords, URLs, or apps related to your target audience’s search intent. For Custom Affinity Audiences, you can enter interests, URLs, or places related to your audience’s affinities.
- Keywords: Enter a list of keywords or phrases that potential customers might use when searching for products or services similar to yours.
- URLs: Input URLs of websites your target audience might visit. This helps Google understand the type of content and sites that appeal to your audience.
- Apps: Specify apps that your target audience might use, providing further context for Google Ads to refine your audience.
Step 6: Refine Your Audience with Demographics
After defining your audience with keywords, URLs, or apps, you can refine it further by adding demographic details. This includes age, gender, parental status, and household income. Tailoring your audience with these demographic factors ensures your ads reach the most relevant users.
Step 7: Save Your Custom Audience
Once you’ve defined and refined your audience, give it a name that clearly describes the target group. This will help you easily identify and manage your audiences in the future. Click “Create” or “Save” to finalize your custom audience.
Step 8: Apply Your Custom Audience to Campaigns
With your custom audience created, the next step is to apply it to your ad campaigns. Go to your campaign settings and navigate to the “Audiences” section. Click on “Select an audience” and choose your newly created custom audience from the list.
Step 9: Monitor and Optimize
After applying your custom audience to your campaigns, monitor the performance closely. Google Ads provides detailed metrics and insights into how your audience is interacting with your ads. Use this data to make informed adjustments and optimize your audience targeting for better results.
Step 10: Iterate and Expand
Creating custom audiences is an ongoing process. Regularly review your audience’s performance and make necessary adjustments. Additionally, consider creating new custom audiences based on emerging trends, new products, or changes in your business objectives. Continuously iterating and expanding your custom audiences ensures you stay ahead of the competition and maintain effective targeting.
Summary
Creating custom audiences in Google Ads is a powerful way to enhance your ad targeting and improve campaign performance. By following these steps, you can define precise audience criteria, apply custom audiences to your campaigns, and optimize your ad strategy for better results. Regularly monitoring and refining your audiences will help you stay relevant and achieve your advertising goals.
Free essential resources for success
Discover more from Lifesight
