Introduction
Google Tag Manager (GTM) serves as a pivotal tool for marketers and website administrators to manage and deploy various tracking codes without the need for manual code implementation. However, it’s crucial to verify that GTM is correctly set up and functioning to ensure accurate data collection. In this detailed guide, we’ll take you through the step-by-step process of checking if Google Tag Manager is working seamlessly on your website.
Step 1: Confirm GTM Installation
Begin by confirming that the Google Tag Manager container snippet has been correctly installed on your website. Check the source code of your website’s pages to ensure the GTM container code is present in the <head> section. You can view the source code by right-clicking on your webpage and selecting “View Page Source” or using browser developer tools.
Confirm GTM Installation.webp 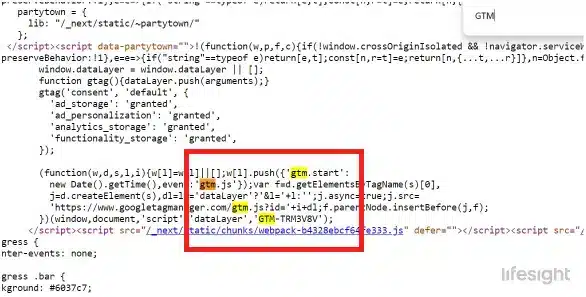
Step 2: Verify Container Loading
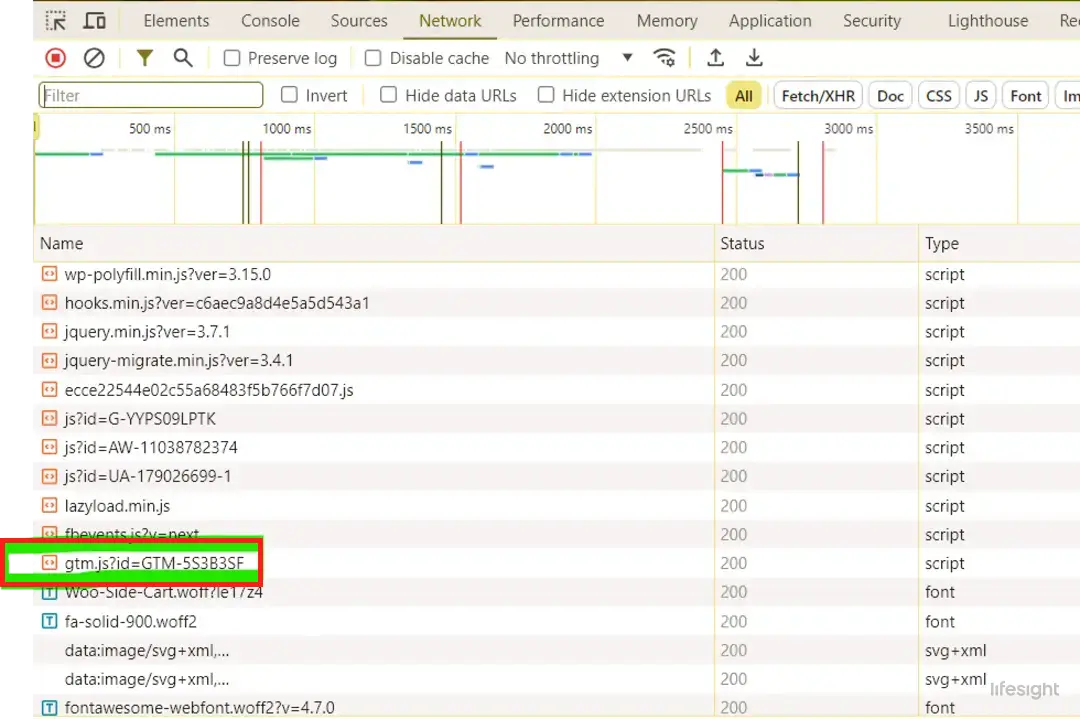
Access your website and check if the GTM container is loading. Open your browser’s developer tools (usually by right-clicking on the page and selecting “Inspect” or pressing Ctrl+Shift+I on Windows or Cmd+Opt+I on Mac). Go to the “Network” tab and refresh the page. Look for requests containing “gtm.js” or “gtm?id=GTM-XXXX” to confirm that the GTM container is loading.
Verify GTM Container Loading.webp
Step 3: Check for Errors in the Console
Within the browser developer tools, navigate to the “Console” tab. This area displays any errors or issues related to script execution. Look for error messages specifically related to Google Tag Manager. Absence of errors indicates that GTM is successfully loading without any issues.
Step 4: Preview Mode in Google Tag Manager
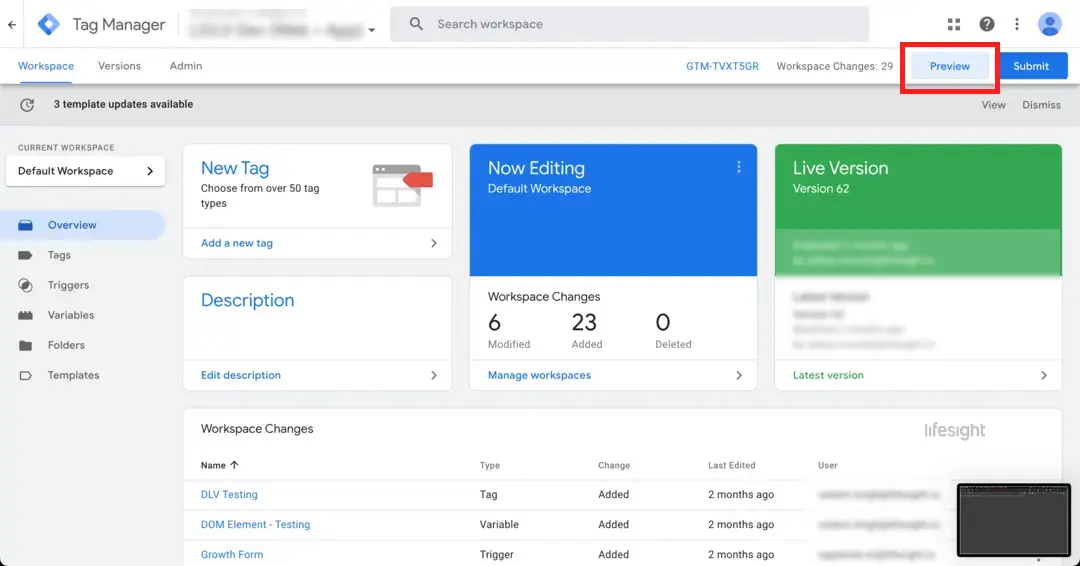
Utilize GTM’s Preview Mode to inspect how tags fire on your website. In your GTM account, click the “Preview” button at the top right. This enables Preview Mode, allowing you to see real-time changes and verify if tags are firing as expected. Open your website, and the GTM console will display information about tag firing status.
preview mode in google tag manager (GTM)
Step 5: Use Tag Assistant Chrome Extension
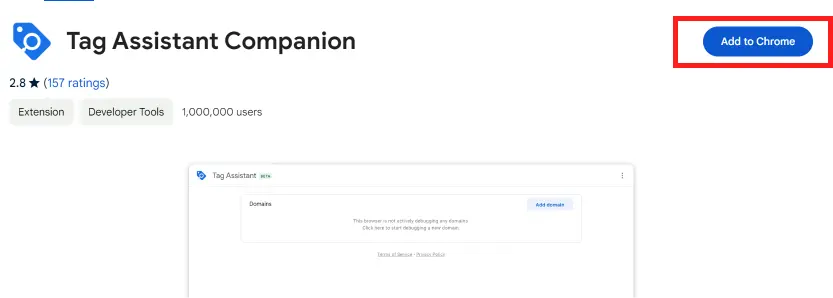
Google’s Tag Assistant Chrome extension is a valuable tool to verify the presence and firing of tags. Install the extension and navigate to your website. Click on the Tag Assistant icon in your browser to validate if the GTM container is present and if tags are firing correctly. The extension will provide insights into potential issues.
Use Tag Assistant Chrome Extension.webp
Step 6: Google Analytics Realtime Reports
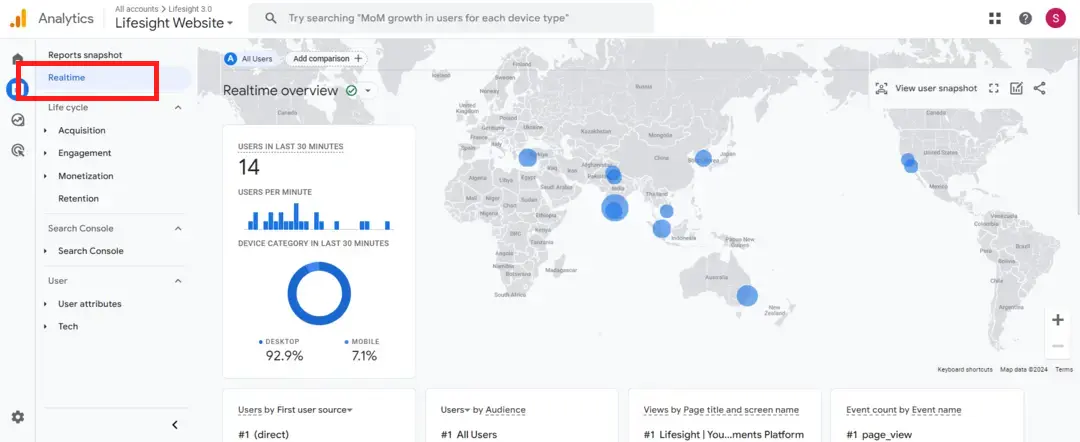
If you have Google Analytics tags implemented through GTM, access the Realtime reports in Google Analytics. In your Google Analytics account, go to “Reports” and select “Realtime.” Confirm if your own visit (or a colleague’s) is tracked in the Realtime reports. This ensures that the GTM implementation is correctly sending data to Google Analytics.
Google Analytics Realtime Reports.webp
Step 7: Check DataLayer Implementation
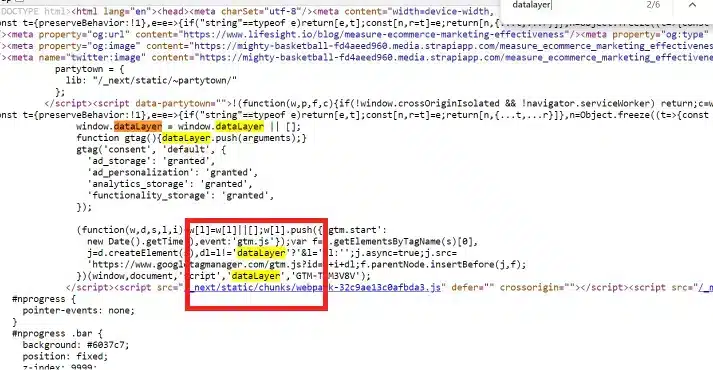
The DataLayer is a critical component in GTM, facilitating the communication of data between your website and GTM. Verify that the DataLayer is correctly implemented on your website. Inspect the source code or use browser developer tools to confirm the presence of DataLayer events related to your tracking requirements.
Check DataLayer.webp
Step 8: Test Individual Tags
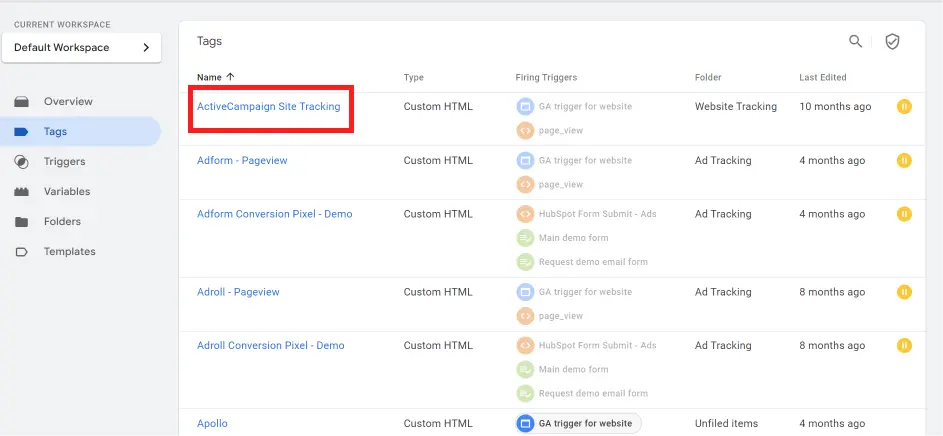
Within GTM, navigate to the “Tags” section and select a specific tag. Use the “Preview” mode, refresh your website, and confirm if the selected tag fires as expected. This step allows you to isolate and test individual tags to ensure they are functioning correctly.
Test Individual GTM Tags.webp
Step 9: Validate Conversion Tracking
For tags related to conversion tracking, such as Google Ads or Facebook Pixel, perform test conversions. Complete specific actions on your website that trigger the conversion tags. Check the respective advertising platforms’ reporting dashboards to confirm if the test
conversions
are recorded.
Validate Conversion Tracking.webp
Step 10: Regularly Monitor and Debug
Google Tag Manager may require ongoing monitoring, especially when changes are made to your website or tracking requirements evolve. Regularly check the GTM console for errors, use Preview Mode when implementing new tags, and stay vigilant about potential issues.
Summary
Verifying if Google Tag Manager is working effectively ensures that your tracking and analytics efforts are accurate. By following these steps, from confirming installation to testing individual tags and conversion tracking, you can be confident in the reliability of your GTM implementation.
Free essential resources for success
Discover more from Lifesight
