
Introduction
Google Ads, formerly known as Google AdWords, is one of the most powerful tools available to website owners looking to monetize their content or increase their online visibility. By integrating Google Ads into your website, you can generate revenue through ad clicks and impressions, attract targeted traffic, and enhance your marketing efforts. This guide will walk you through the essential steps to add Google Ads to your website, ensuring a smooth and effective integration.
Step 1: Create a Google Ads Account
To start using Google Ads, you need to have a Google account. If you already have one, simply sign in; otherwise, create a new Google account. Go to the Google Ads website. Click on the “Start Now” button. Follow the prompts to set up your account, including providing basic information about your business and setting your time zone and currency.
google-ads-digital-media-buying-platform 
Step 2: Set Up Billing Information
Before you can create ads, you need to set up your billing information. This ensures that Google can charge you for the ad campaigns you run. In your Google Ads account, navigate to the billing section. Enter your payment method details, such as credit card or bank account information. Review and confirm your billing information.
billing-setup-google-ads 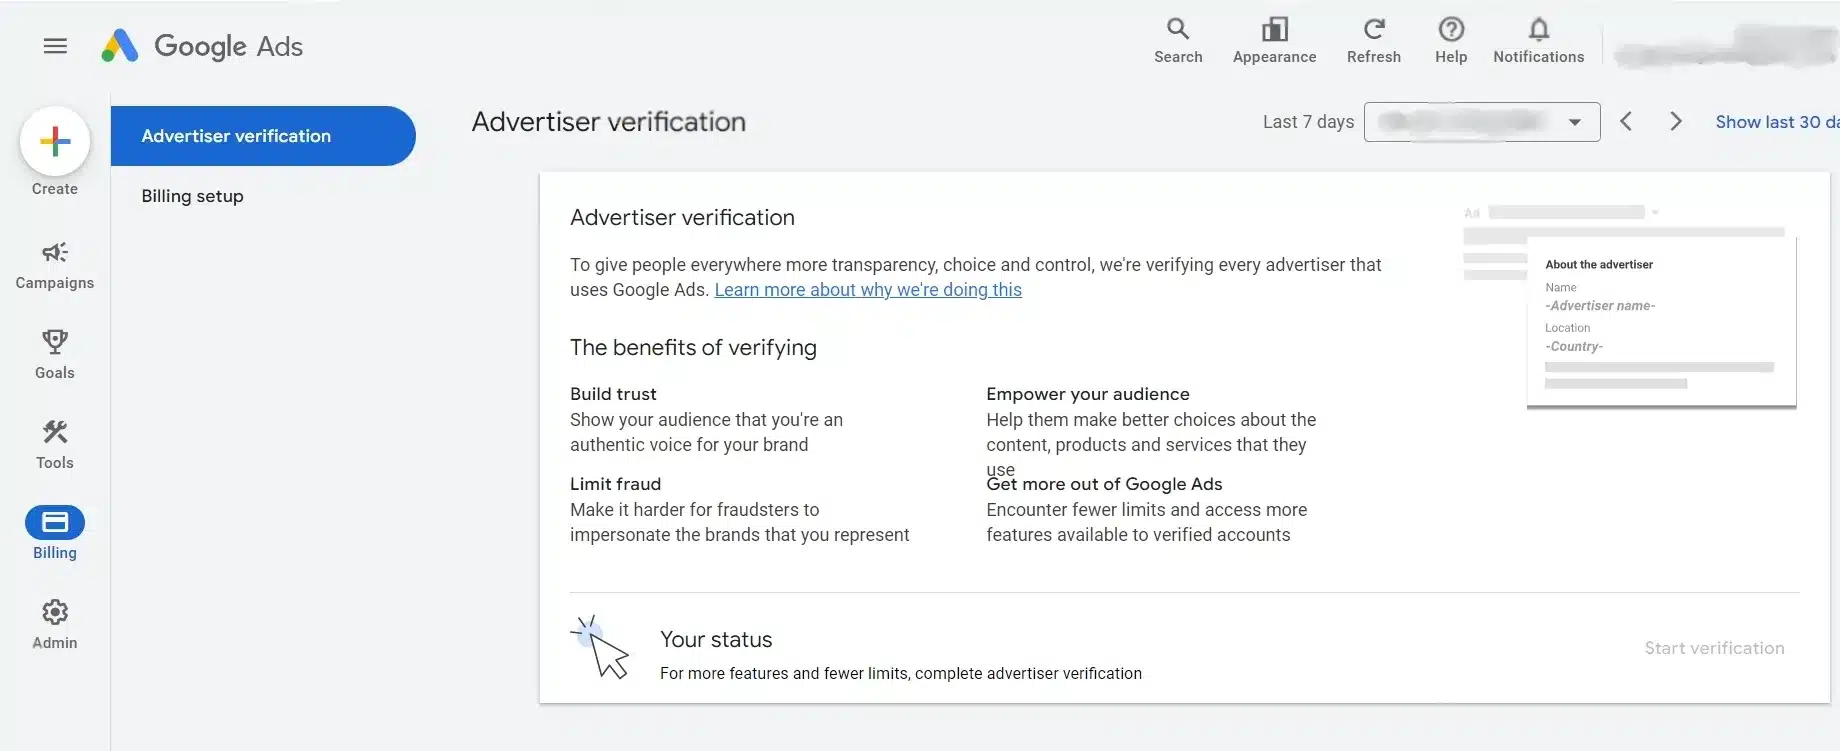
Step 3: Create a New Campaign
Once your account is set up and billing information is added, you can start creating your first ad campaign. Click on the “+ New Campaign” button. Select the goal for your campaign (e.g., website traffic, sales, brand awareness). Choose your campaign type (e.g., Search, Display, Video). Follow the prompts to set up the campaign, including selecting your target audience, budget, and bidding strategy.
Start Your New Campaign in Google Ads 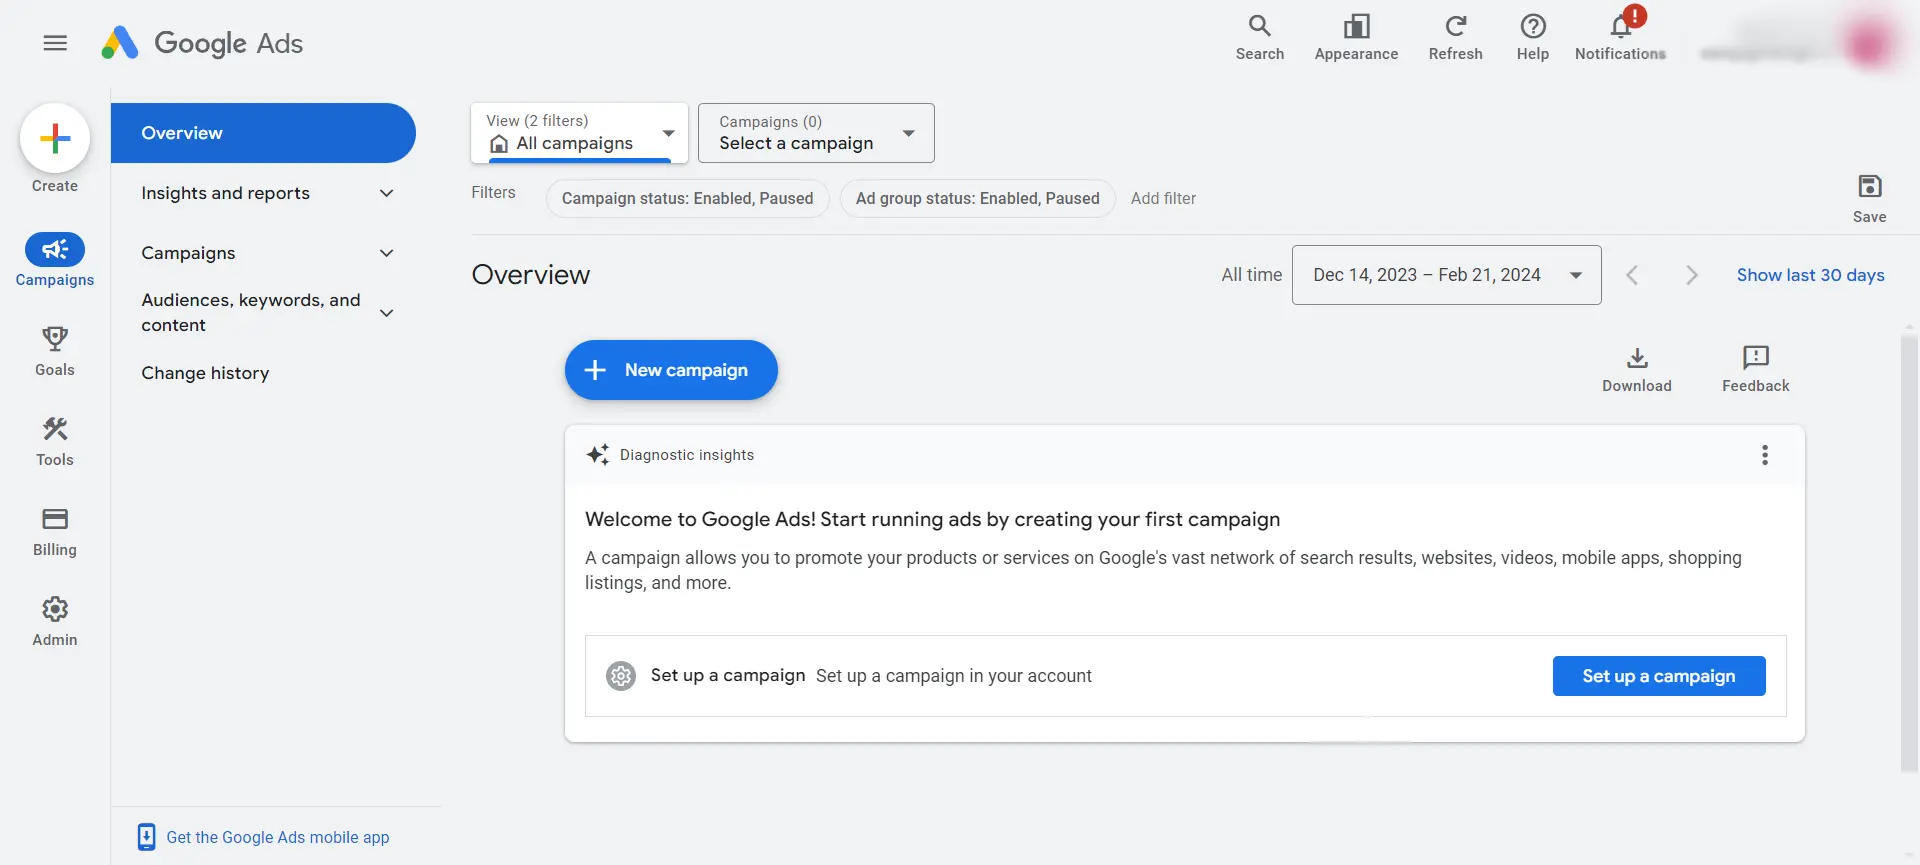
Step 4: Design Your Ads
Designing your ads involves creating the content that will be displayed to your audience. Google Ads offers various formats, such as text ads, image ads, and video ads. Click on “Ads & Extensions” in the left-hand menu. Click on the “+” button to create a new ad. Choose the type of ad you want to create. Enter the ad copy, including the headline, description, and URL. For image or video ads, upload the media files you want to use. Preview your ad and make any necessary adjustments.
Step 5: Select Keywords
Keywords are crucial for ensuring your ads are shown to the right audience. Selecting the right keywords can significantly impact the success of your ad campaign. Go to the “Keywords” section in your campaign settings. Use the Google Keyword Planner to research and select relevant keywords. Add your chosen keywords to your campaign. Group your keywords into ad groups based on themes or products.
Step 6: Set Up Ad Extensions
Ad extensions provide additional information and can make your ads more attractive to potential customers. They can include links to specific pages on your website, phone numbers, or additional text. Navigate to the “Ads & Extensions” section. Click on “Extensions.” Choose the type of extension you want to add (e.g., sitelink, callout, call). Enter the required information and save your extension.
setup-ad-extension-in-google-ads 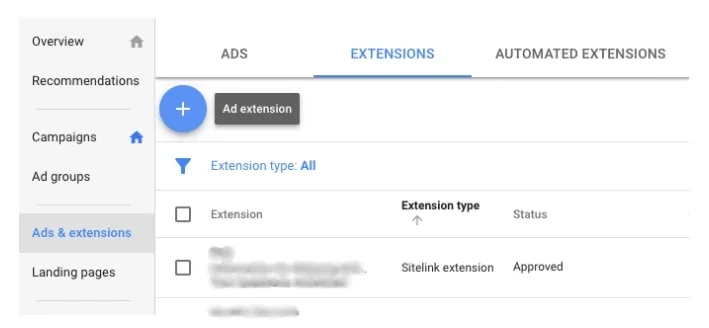
Step 7: Implement Conversion Tracking
Conversion tracking allows you to measure the effectiveness of your ads by tracking actions like purchases, sign-ups, or form submissions on your website. Go to the “Tools & Settings” menu and select “Conversions.” Click on the “+ New Conversion Action” button. Follow the prompts to set up the type of conversion you want to track. Generate the conversion tracking tag provided by Google. Add the tracking tag to your website’s code, typically in the header or thank-you page.
Implement-conversion-tracking-google-ads ![]()
Step 8: Integrate Google Ads with Google Analytics
Integrating Google Ads with Google Analytics provides deeper insights into your ad performance and user behavior on your website. In your Google Ads account, go to “Tools & Settings” and select “Linked Accounts.” Click on “Google Analytics” and follow the prompts to link your accounts. In Google Analytics, navigate to the Admin section and select “Google Ads Linking.” Select your Google Ads account and click “Link.”
integrate-google-ads-to-google-analytics 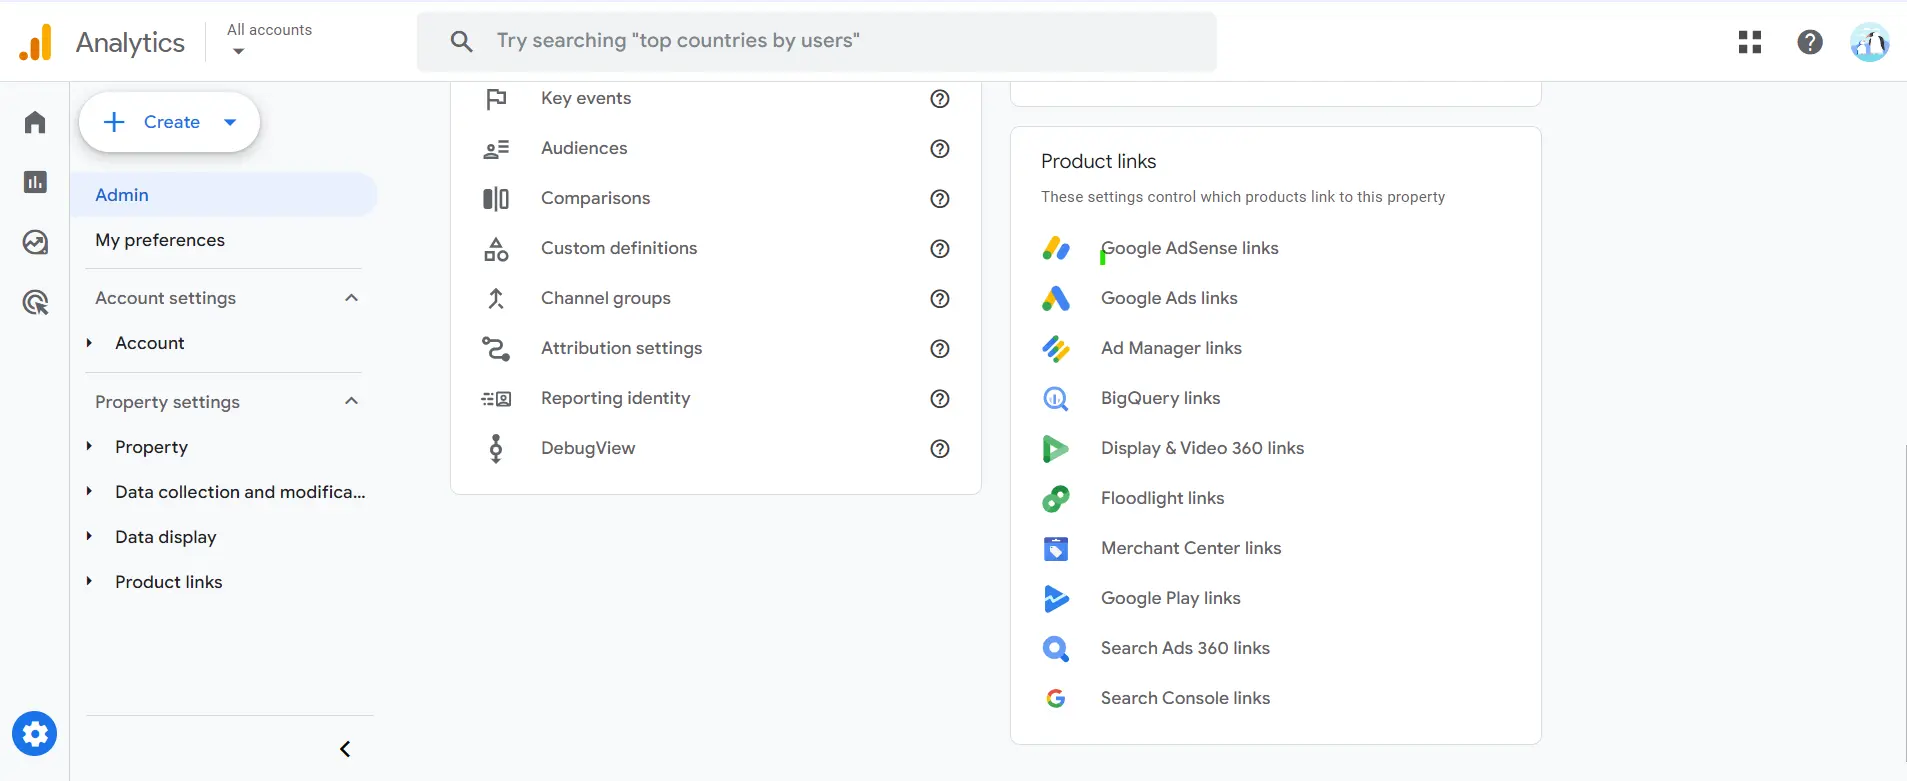
Step 9: Monitor and Optimize Your Campaigns
After your ads are live, it’s essential to monitor their performance and make adjustments to optimize results. Regularly check your campaign performance in the Google Ads dashboard. Analyze metrics such as click-through rate (CTR), cost per click (CPC), and conversion rate. Make data-driven decisions to adjust your bids, keywords, and ad copy. A/B test different ad variations to find the most effective combination.
Summary
Adding Google Ads to your website is a strategic way to drive traffic and generate revenue. By following these steps — creating an account, setting up billing, designing ads, selecting keywords, and monitoring performance — you can effectively integrate Google Ads into your website. Regular optimization and analysis will ensure your campaigns remain successful and provide the best return on investment.
Free essential resources for success


Discover more from Lifesight


