Introduction
The Facebook Pixel is a powerful analytics tool that helps you measure the effectiveness of your advertising by understanding the actions people take on your website. Integrating the Facebook Pixel with Google Tag Manager simplifies the management and deployment of your tags, allowing you to track conversions, optimize ads, and build targeted audiences for future ads. This step-by-step guide will walk you through the process of adding the Facebook Pixel to Google Tag Manager, ensuring accurate tracking and data collection.
Step 1: Create a Facebook Pixel
Go to the Facebook Business Manager and log in with your account credentials. In the Business Manager dashboard, click on the ‘Events Manager’ option in the left-hand menu.
create-facebook-pixel ![]()
Click on ‘Add Data Source’ and select ‘Facebook Pixel.’ Follow the prompts to create a new Pixel. Provide a name for your Pixel and enter your website URL. Once the Pixel is created, you will be given a Pixel ID, which you will need for the next steps.
Step 2: Set Up Google Tag Manager
Navigate to the Google Tag Manager website and log in with your Google account credentials.
If you haven’t already created a container for your website, click ‘Create Account’ and follow the prompts to set up a new container. Enter your account and container name, select ‘Web’ as the target platform, and click ‘Create.’ Open the container you created for your website. This is where you will add the Facebook Pixel tag.
Step 3: Add a New Tag in Google Tag Manager
In the Google Tag Manager dashboard, click on ‘Tags’ in the left-hand menu and then click on ‘New’ to create a new tag. Click on ‘Tag Configuration’ and select ‘Custom HTML’ from the list of tag types. This will allow you to add custom code for the Facebook Pixel.Copy the base code provided by Facebook in the Events Manager and paste it into the Custom HTML tag configuration in Google Tag Manager. The base code looks something like this:
<!– Facebook Pixel Code –>
<script>
!function(f,b,e,v,n,t,s)
{if(f.fbq)return;n=f.fbq=function(){n.callMethod?
n.callMethod.apply(n,arguments):n.queue.push(arguments)};
if(!f._fbq)f._fbq=n;n.push=n;n.loaded=!0;n.version=’2.0′;
n.queue=[];t=b.createElement(e);t.async=!0;
t.src=v;s=b.getElementsByTagName(e)[0];
s.parentNode.insertBefore(t,s)}(window, document,’script’,
‘https://connect.facebook.net/en_US/fbevents.js’);
fbq(‘init’, ‘YOUR_PIXEL_ID’);
fbq(‘track’, ‘PageView’);
</script>
<noscript><img height=”1″ width=”1″ style=”display:none”
src=”https://www.facebook.com/tr?id=YOUR_PIXEL_ID&ev=PageView&noscript=1″/>
</noscript>
<!– End Facebook Pixel Code –>
Replace ‘YOUR_PIXEL_ID’ with the Pixel ID you obtained from Facebook.
Give your tag a descriptive name, such as ‘Facebook Pixel Base Code,’ and click ‘Save.’
Step 4: Set Up Triggering
Click on ‘Triggering’ in the tag configuration and select ‘All Pages.’ This ensures that the Facebook Pixel will fire on all pages of your website, tracking page views. After selecting ‘All Pages,’ click ‘Save’ to confirm the trigger configuration.
create a new trigger in tag manager 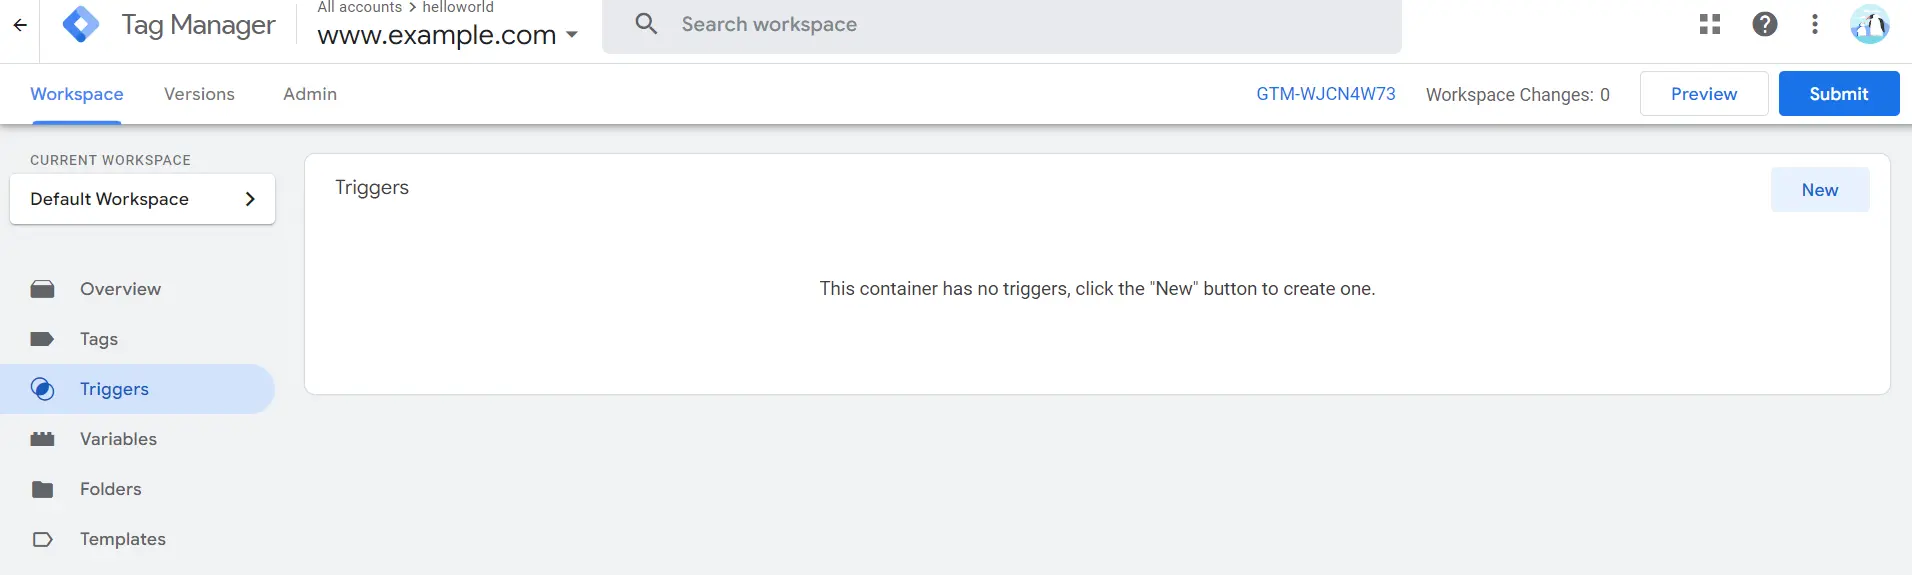
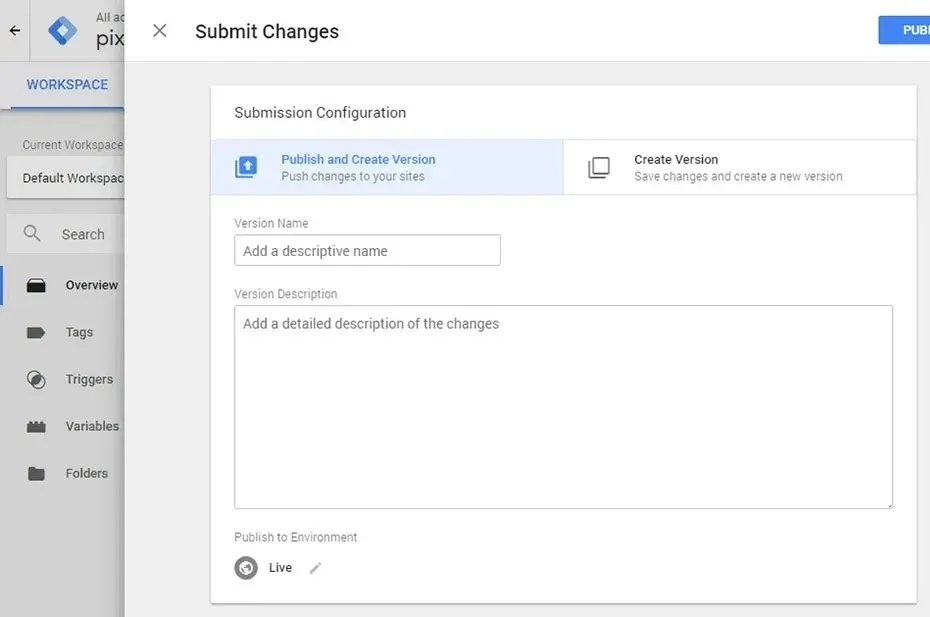
Step 5: Publish the Container
Click on the ‘Submit’ button in the top right corner of the Google Tag Manager dashboard. This will prompt you to enter a version name and description for your changes. Enter a relevant name and description, then click ‘Publish.’ After publishing, verify that the Facebook Pixel is working correctly by using the Facebook Pixel Helper Chrome extension. This tool will indicate if the Pixel is firing correctly on your website.
Step 6: Test and Validate
Install and open the Facebook Pixel Helper extension. Navigate to your website and check for any Pixel activity. The extension will show if the Pixel is installed correctly and firing on your pages. Go back to Facebook Events Manager and check the Pixel’s status. You should see activity and data being received from your website if the installation was successful.
Summary
Integrating the Facebook Pixel with Google Tag Manager allows you to efficiently manage your tags and ensure accurate data collection. By following the steps outlined in this guide – creating a Pixel, setting up Google Tag Manager, adding the Pixel code, configuring triggers, and publishing your container – you can successfully add the Facebook Pixel to your website. This integration will enable you to track conversions, optimize your ads, and build targeted audiences, enhancing your e-commerce and marketing efforts.
Free essential resources for success

Discover more from Lifesight


