Introduction
Exporting data from Google Analytics is crucial for businesses looking to analyze their website traffic, understand user behavior, and make data-driven decisions. Google Analytics offers a wealth of information, but to fully leverage this data, exporting it for further analysis in tools like Excel, Google Sheets, or specialized analytics software is essential. This guide will walk you through the step-by-step process of exporting Google Analytics data, ensuring you can access and manipulate your data as needed.
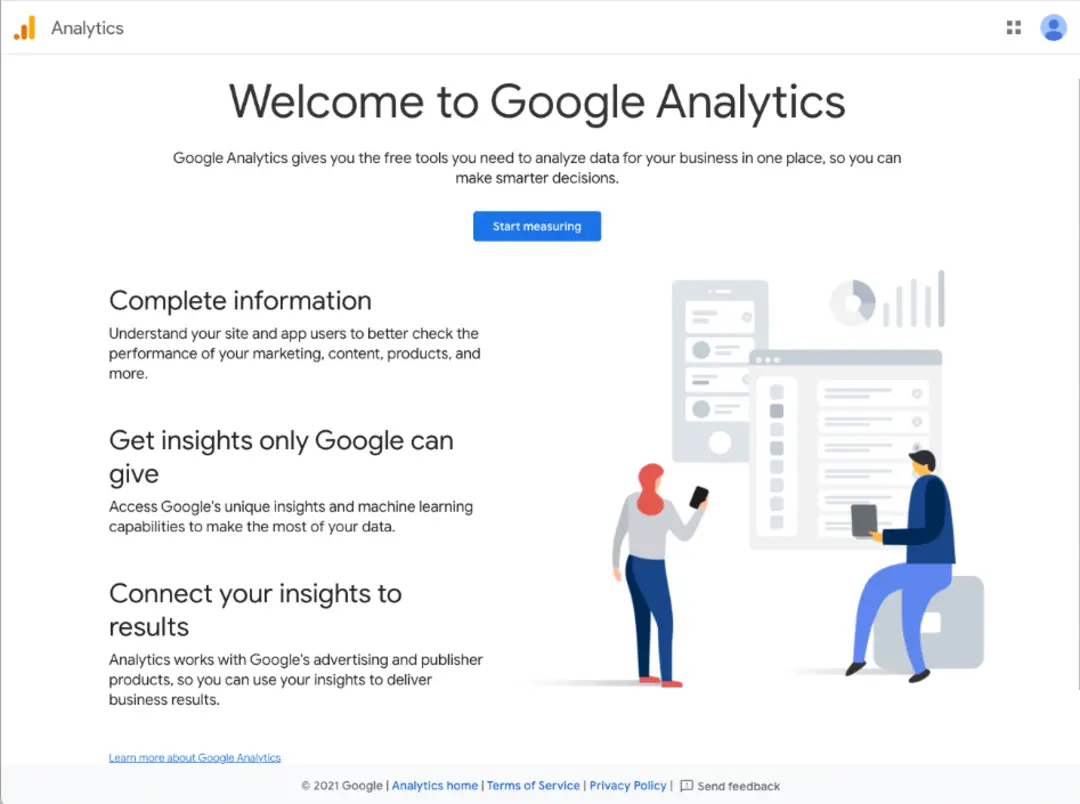
Step 1: Access Your Google Analytics Account
Start by logging into your Google Analytics account. Ensure you have the necessary permissions to view and export data. If you don’t have an account, you’ll need to set one up at Google Analytics.
login-into-google-analytics
Step 2: Navigate to the Desired View
Once you’re logged in, select the account, property, and view you want to export data from. Google Analytics allows you to have multiple views for a single property, so make sure you’re in the correct view that contains the data you need.
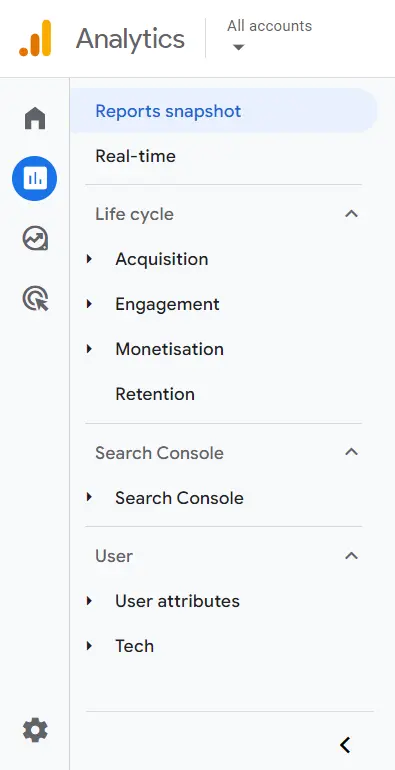
Step 3: Select the Reporting Tab
In the left-hand menu, click on the “Reporting” tab. This will take you to the main reporting interface where you can access various reports such as Audience, Acquisition, Behavior, and Conversions.
select-the-reporting-tab
Step 4: Choose the Report You Want to Export
Google Analytics offers numerous reports that can be exported. Choose the specific report you’re interested in, such as “Audience Overview,” “Acquisition Channels,” or “Behavior Flow.” Navigate through the menu on the left to find the report you need.
Step 5: Set the Date Range
Before exporting, ensure you set the correct date range for your report. In the top right corner of the reporting interface, click on the date range selector. You can choose predefined ranges (like “Last 7 days,” “Last month,” etc.) or set a custom date range to match your specific needs.
Step 6: Apply Filters (Optional)
If you need to refine your data further, apply filters. Filters allow you to include or exclude specific data points based on criteria like user location, device category, or traffic source. This step ensures you only export the most relevant data for your analysis.
Step 7: Click the Export Button
Once you’ve selected the desired report, date range, and applied any necessary filters, it’s time to export your data. At the top of the report, you’ll see an “Export” button. Click this button to reveal a dropdown menu with various export options.
Step 8: Choose Your Export Format
Google Analytics offers several export formats including PDF, Google Sheets, Excel (XLSX), and CSV. Choose the format that best suits your needs. For instance, choose PDF for a quick, readable report or CSV/Excel for in-depth data manipulation and analysis.
Step 9: Download the Exported File
After selecting your preferred export format, the file will be generated and downloaded automatically. Depending on your browser settings, it may save to your default downloads folder or prompt you to choose a location.
Step 10: Open and Analyze Your Data
Open the exported file using the appropriate software (Excel, Google Sheets, etc.). Review the data to ensure it includes all necessary information. You can now manipulate, analyze, and visualize the data as needed for your business insights and reporting.
Step 11: Automate Exports with Google Analytics API (Advanced)
For advanced users, automating data exports using the Google Analytics API can save time and ensure you always have the latest data. Set up an API connection to automatically pull data into your preferred analysis tools. This step involves coding and is best suited for those familiar with APIs and data integration.
Summary
Exporting data from Google Analytics is a fundamental skill for anyone looking to perform detailed analyses and gain deeper insights into their website’s performance. By following these steps, you can ensure you have access to the right data, in the right format, whenever you need it. Regularly exporting and analyzing your Google Analytics data will help you make informed decisions and optimize your marketing strategies.
Free essential resources for success
Discover more from Lifesight


